
Camera Settings for Landscape Photography: A Beginner's Guide to Getting Off Auto Mode
Camera Settings for Landscape Photography: A Beginner's Guide to Getting Off Auto Mode
You bought a great camera, and it is still sitting in auto mode. I understand: manual mode looks intimidating, with three dials fighting each other. But here is the truth: for landscape photography, manual mode is not complicated at all. I use the same simple formula on almost every landscape photo I take, and in this article I am going to give it to you with real examples and the exact settings for each photo.
My Simple Formula for Landscape Photography
Here it is:
- Put your camera in manual mode.
- Set your ISO to 100. This gives you the cleanest possible image with no noise.
- Set your aperture between f/6.3 and f/9. Use f/6.3 to f/7 when nothing is close to your lens, and f/8 to f/9 when you have foreground elements you want sharp.
- Adjust your shutter speed until the photo is slightly underexposed.
That is the whole formula. ISO 100, f/7 or f/8, and whatever shutter speed gives you a slightly underexposed photo. That is how you get out of auto mode and into professional mode.
Why slightly underexposed? Because a digital camera can recover an enormous amount of detail from the shadows, but once your highlights are blown out — a white sky, a burned sunset — that information is gone forever. Protect the highlights, and bring the shadows back later in Lightroom.
Now let me show you this formula on five real photos.
Example 1: Hunts Mesa, Monument Valley — ISO 100, f/9
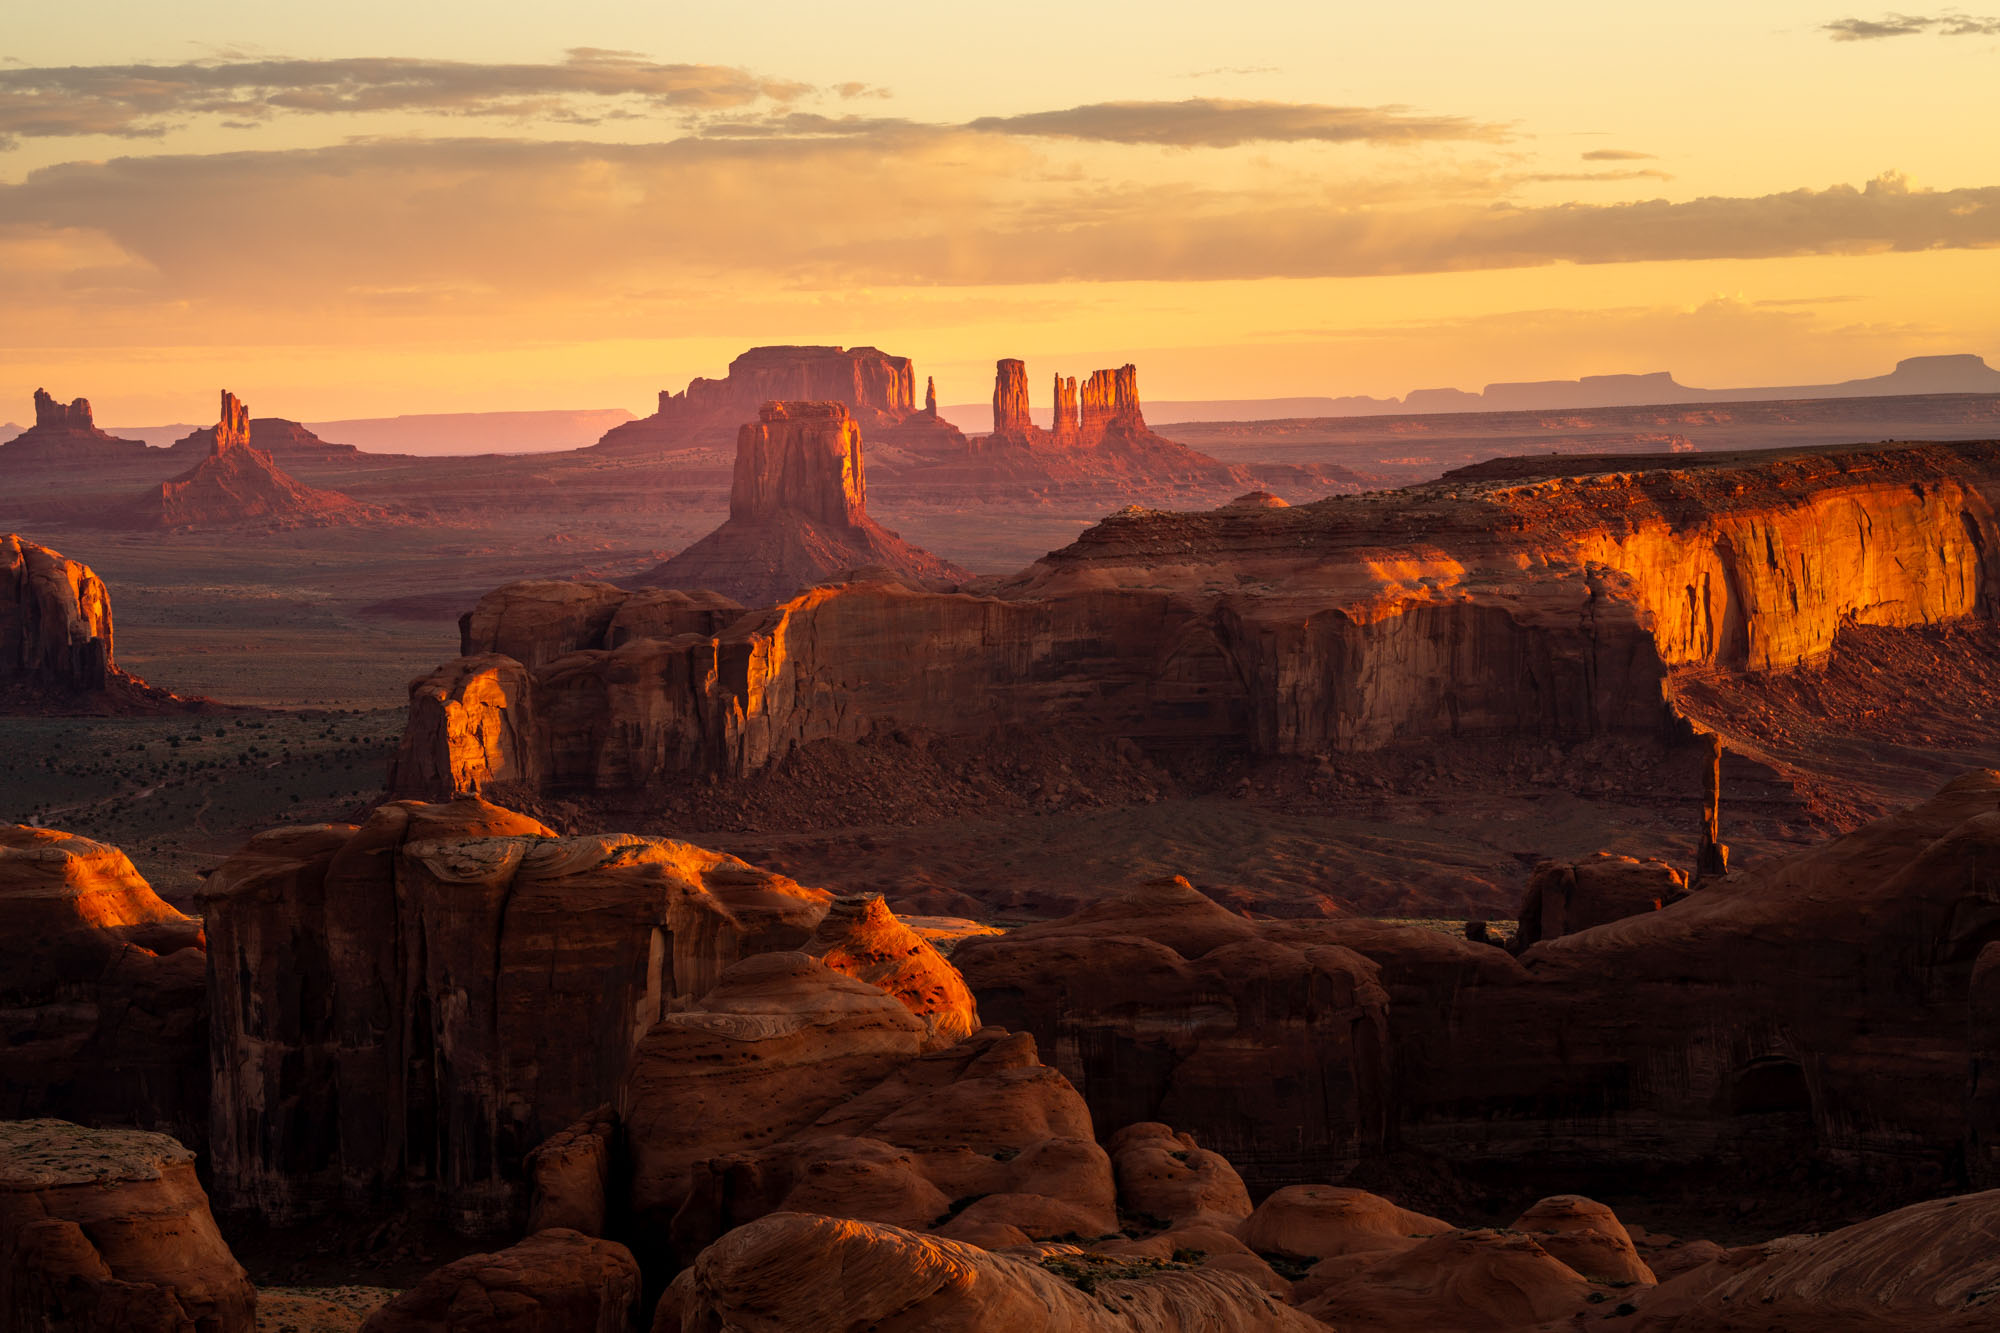
For this sunset from Hunts Mesa, I went to f/9. Why f/9 and not f/6.3? Because I had rocks close to my camera, and I wanted everything in focus, from the foreground stones to the buttes on the horizon. ISO 100, f/9, and then I picked the shutter speed that gave me a slightly underexposed image.
Example 2: Tuscany — ISO 100, f/8, 1/80s
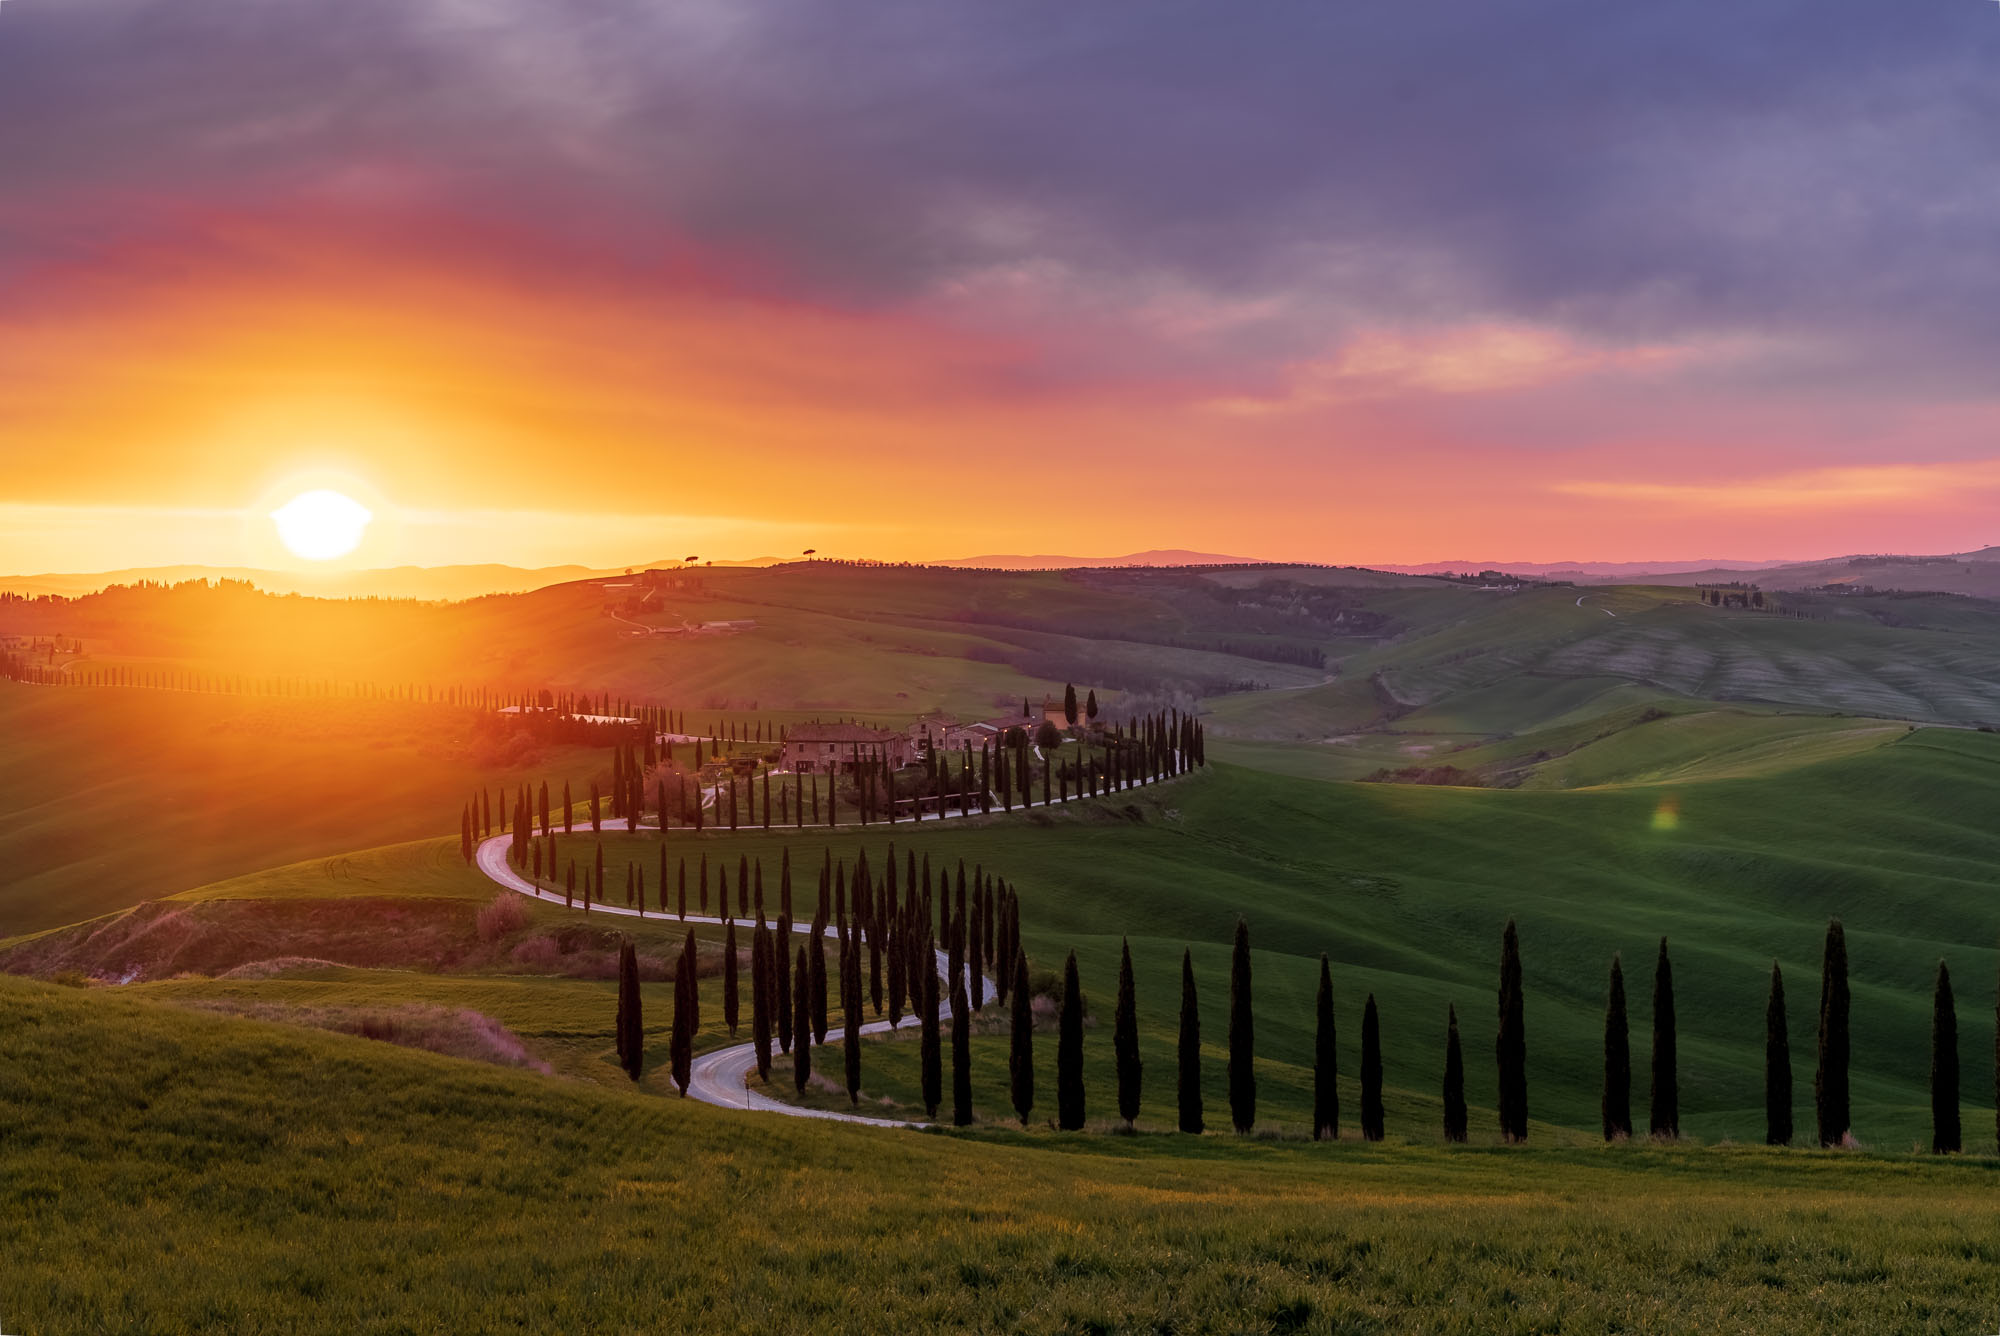
Same formula in Tuscany. ISO 100, f/8 this time because I did not have anything very close to my lens, and 1/80th of a second gave me a good, slightly underexposed exposure. The rolling hills, the cypress trees, the farmhouse: everything is sharp.
Example 3: Westminster Bridge, London — f/8, 1/100s (and My Mistake)
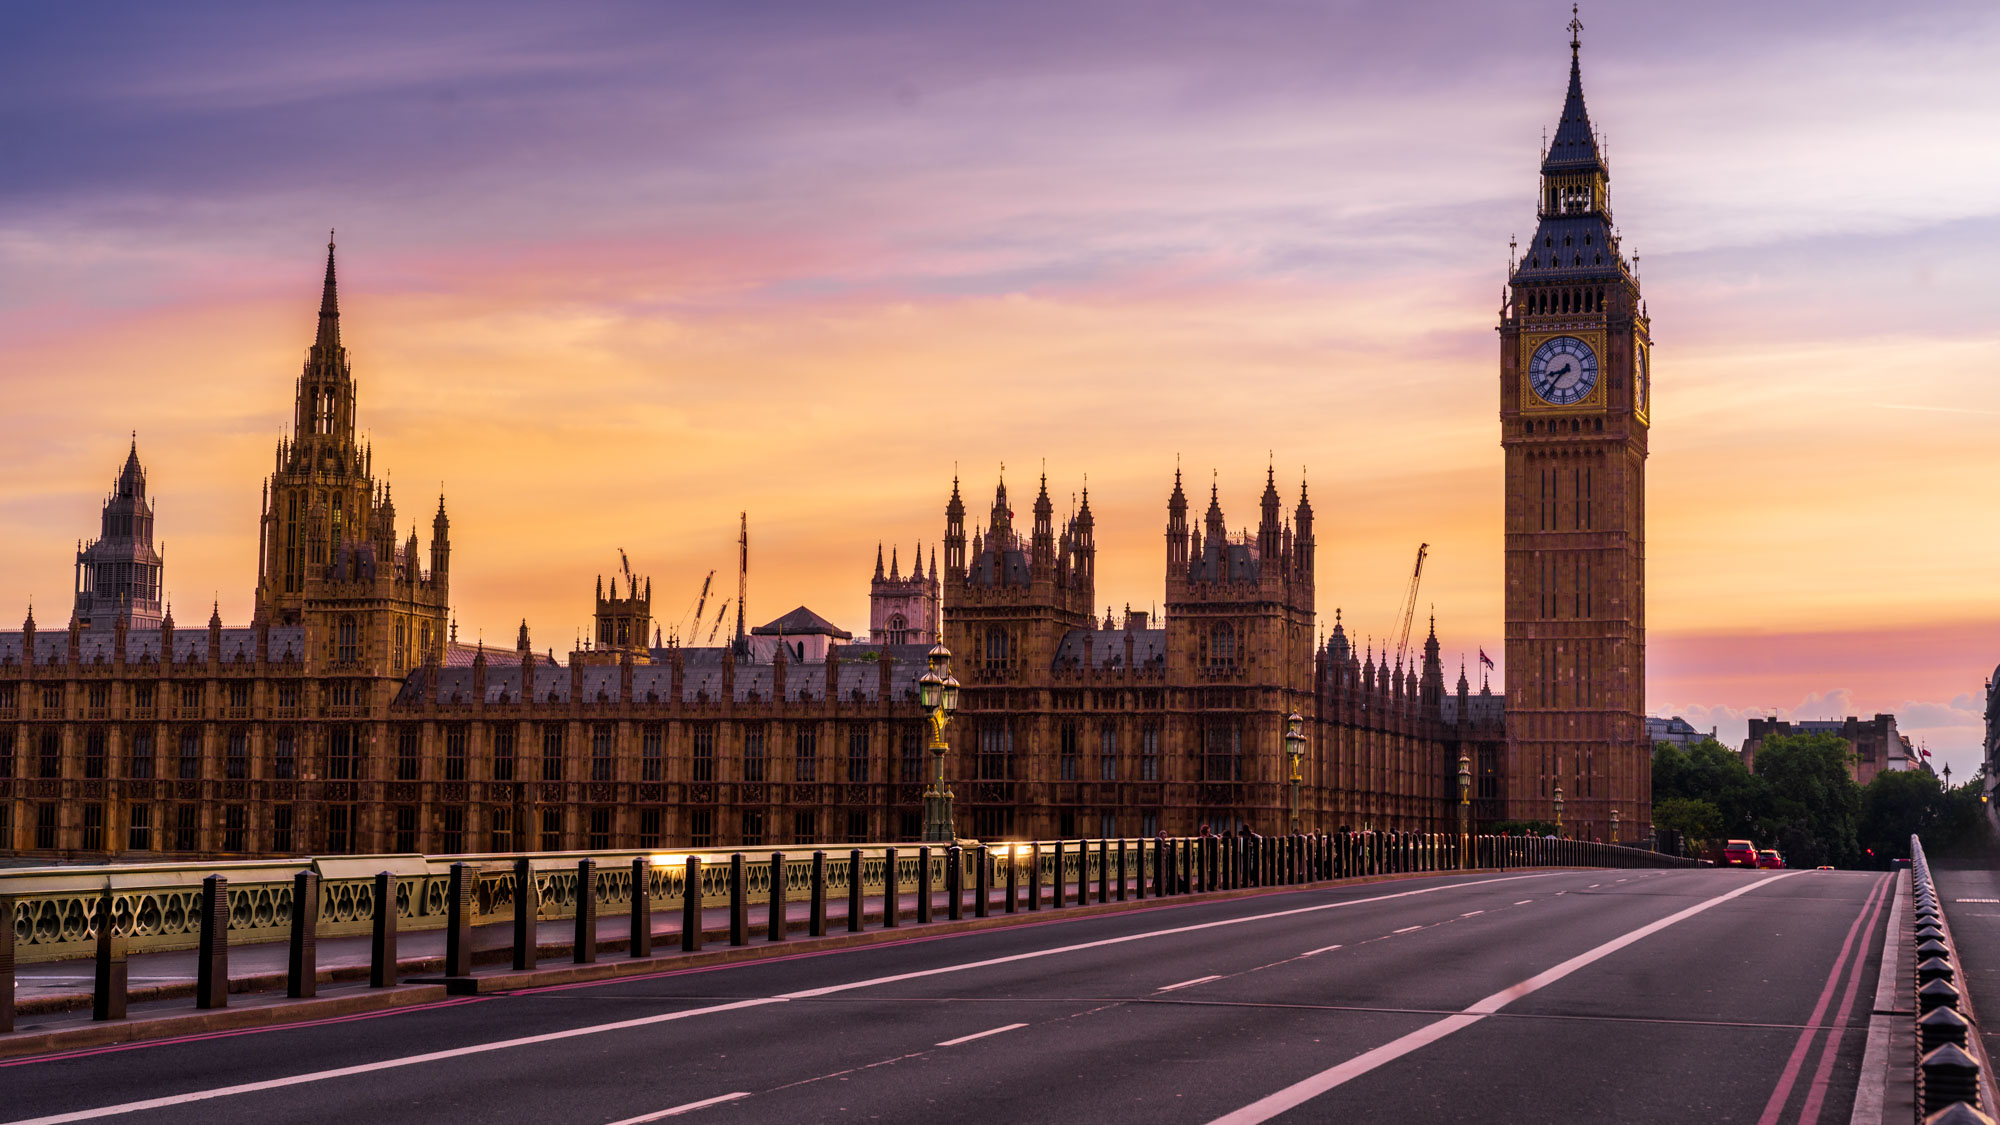
This one is from my London book, and I am showing it to you because I made a mistake: I was at ISO 125 when it should have been ISO 100. Not a catastrophe, but there is no reason to be above 100 on a static landscape. I was at f/8, 1/100th of a second, and you can see everything is sharp, with a slightly underexposed result that retouched beautifully.
Even professionals leave a dial in the wrong position sometimes. Check your ISO before you shoot.
Example 4: Big Ben Through the Arch — Long Exposure, ISO 50, f/22, 4 Seconds
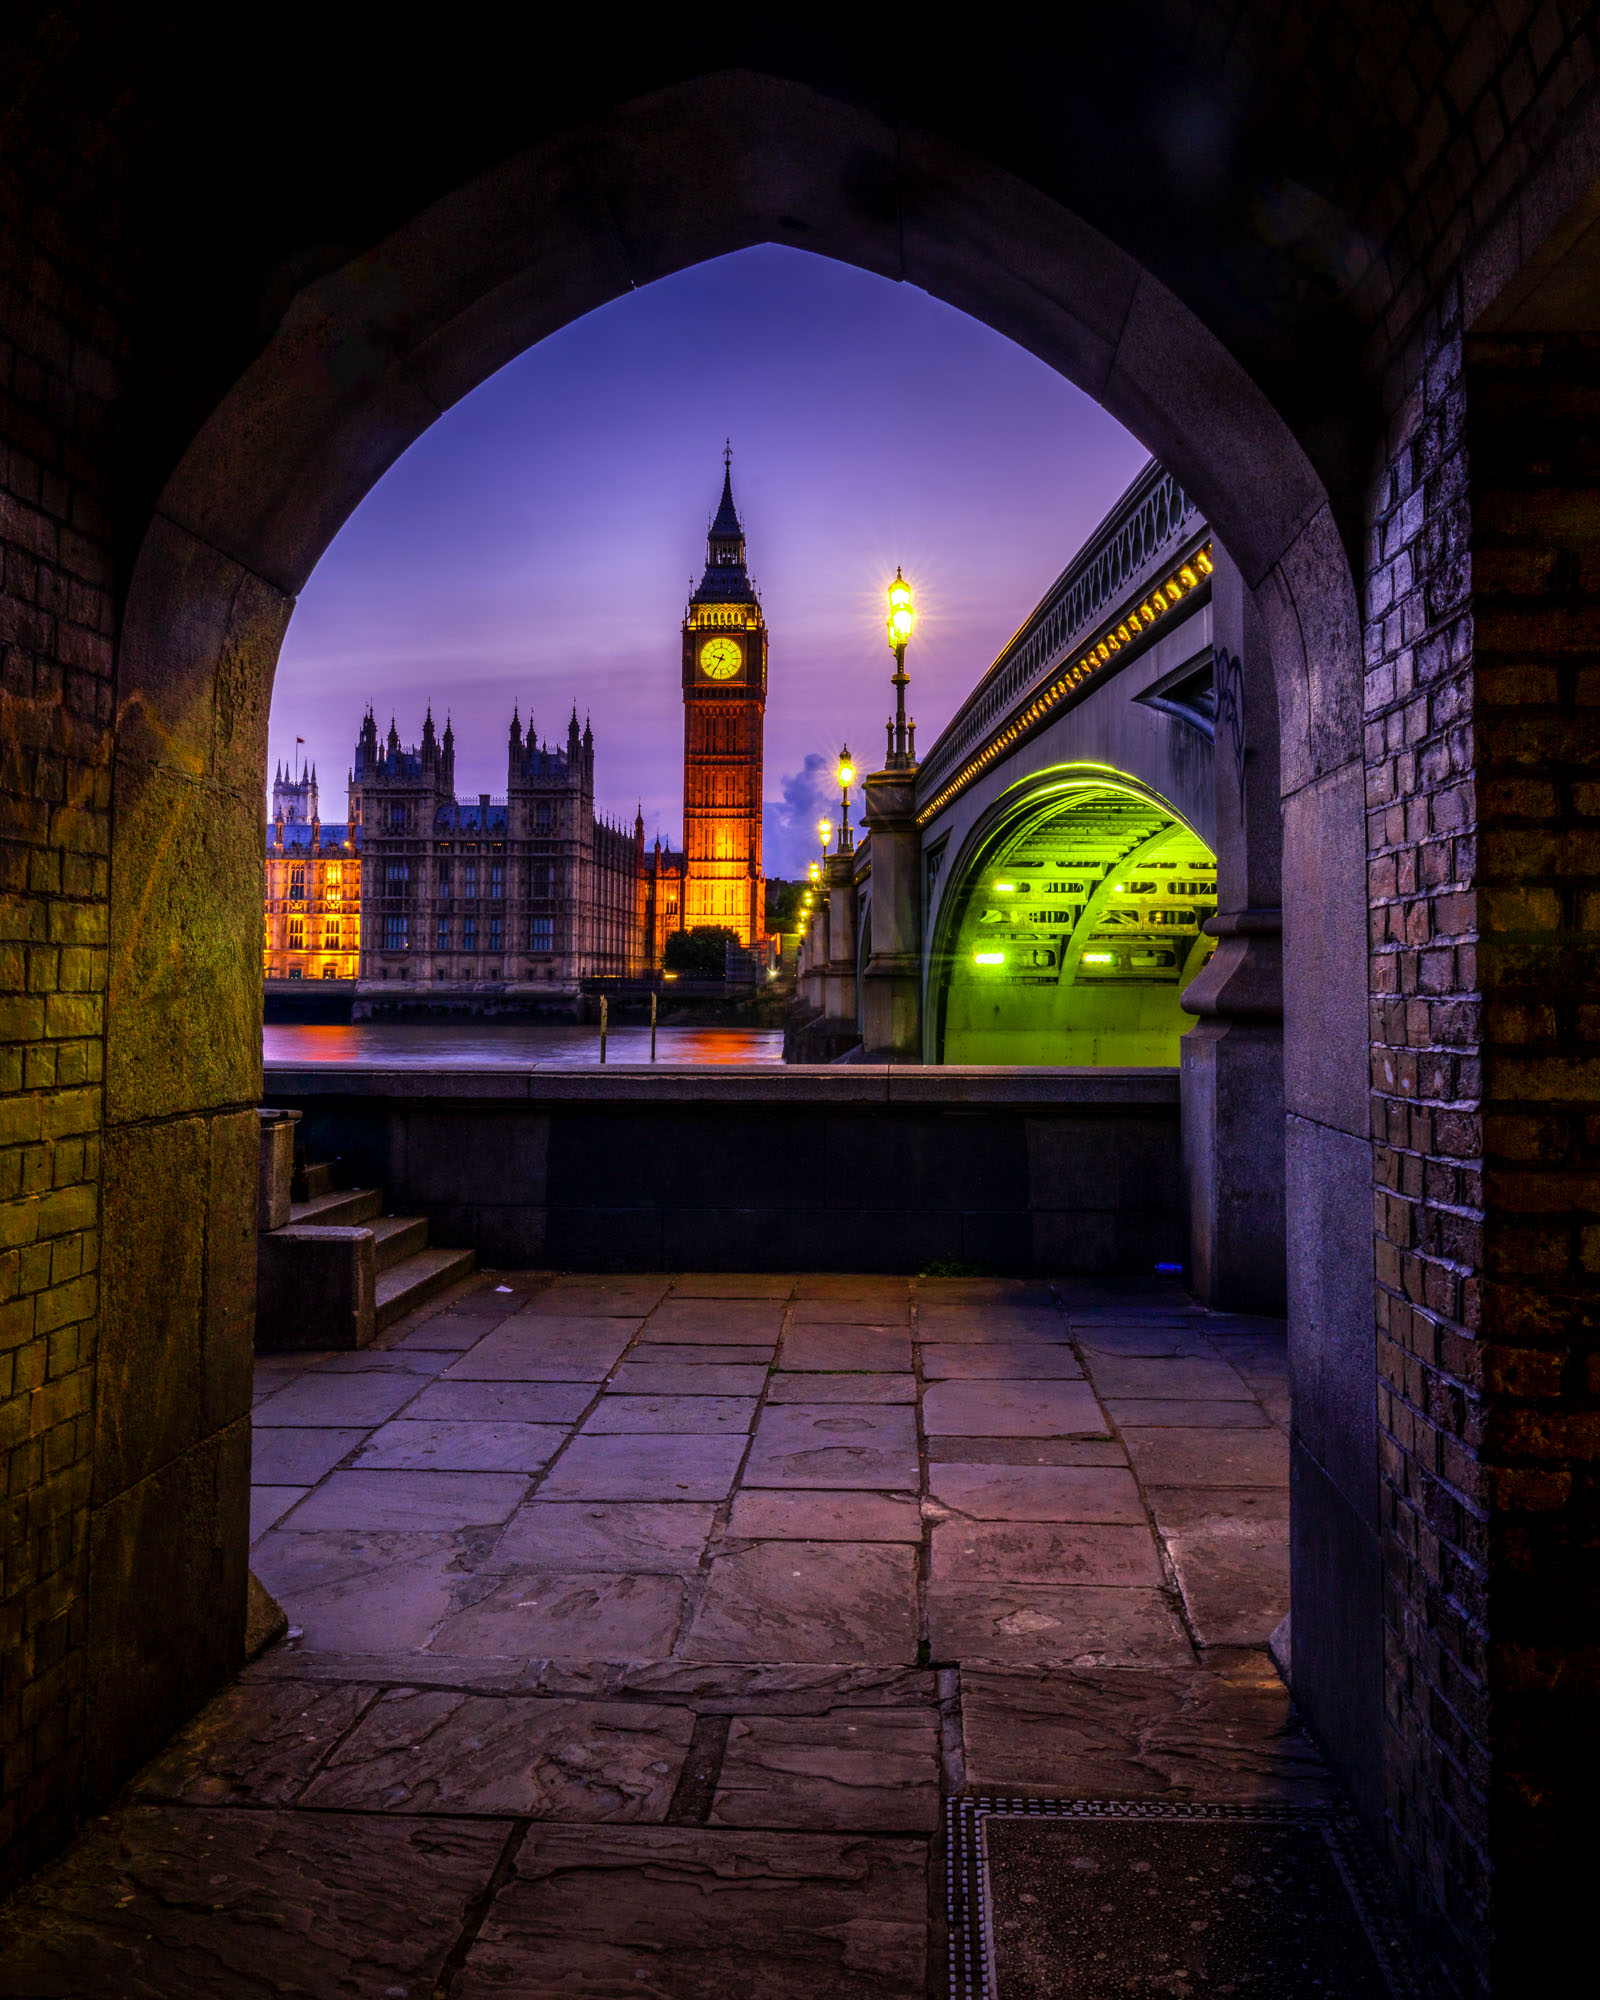
This one breaks the formula on purpose, and it teaches you what the settings actually do. I wanted everything sharp from the bricks of the arch all the way to Big Ben, and I wanted the water and sky to be smooth and a little flat, so I needed a long exposure.
So I inverted everything: ISO 50 to let in as little light as possible, f/22 for the biggest depth of field, and that forced the shutter to 4 seconds. Same three dials, different goal. Once you understand the formula, you know exactly which dial to push to get a creative effect. You need a tripod for this one, obviously.
Example 5: Monument Valley at Sunrise — ISO 100, f/6.3, 1/80s
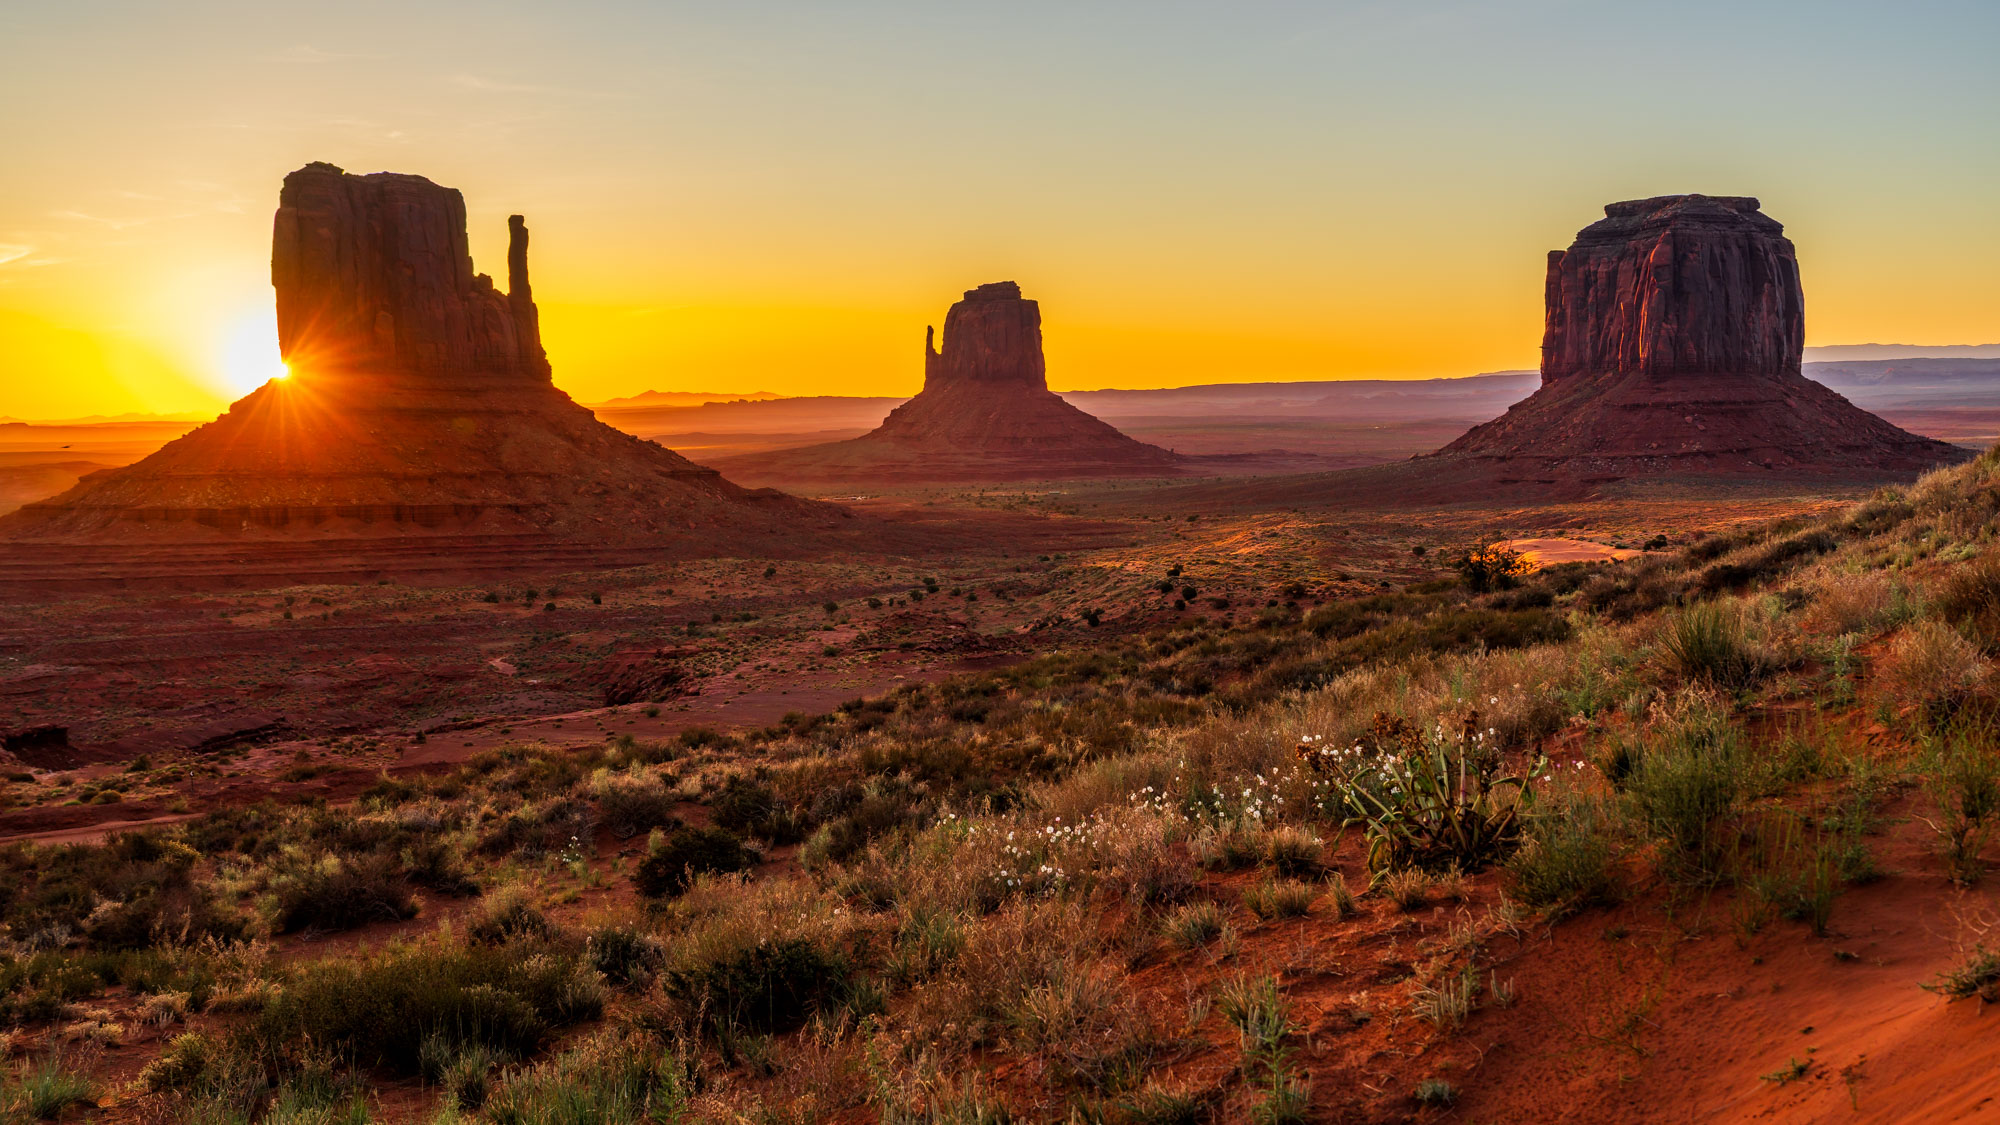
Last one, the classic: ISO 100, f/6.3 because I had nothing very close to my lens, and 1/80th of a second. When your closest subject is hundreds of meters away, you do not need f/9; a wider aperture like f/6.3 keeps everything sharp and lets in more light.
What "Slightly Underexposed" Looks Like
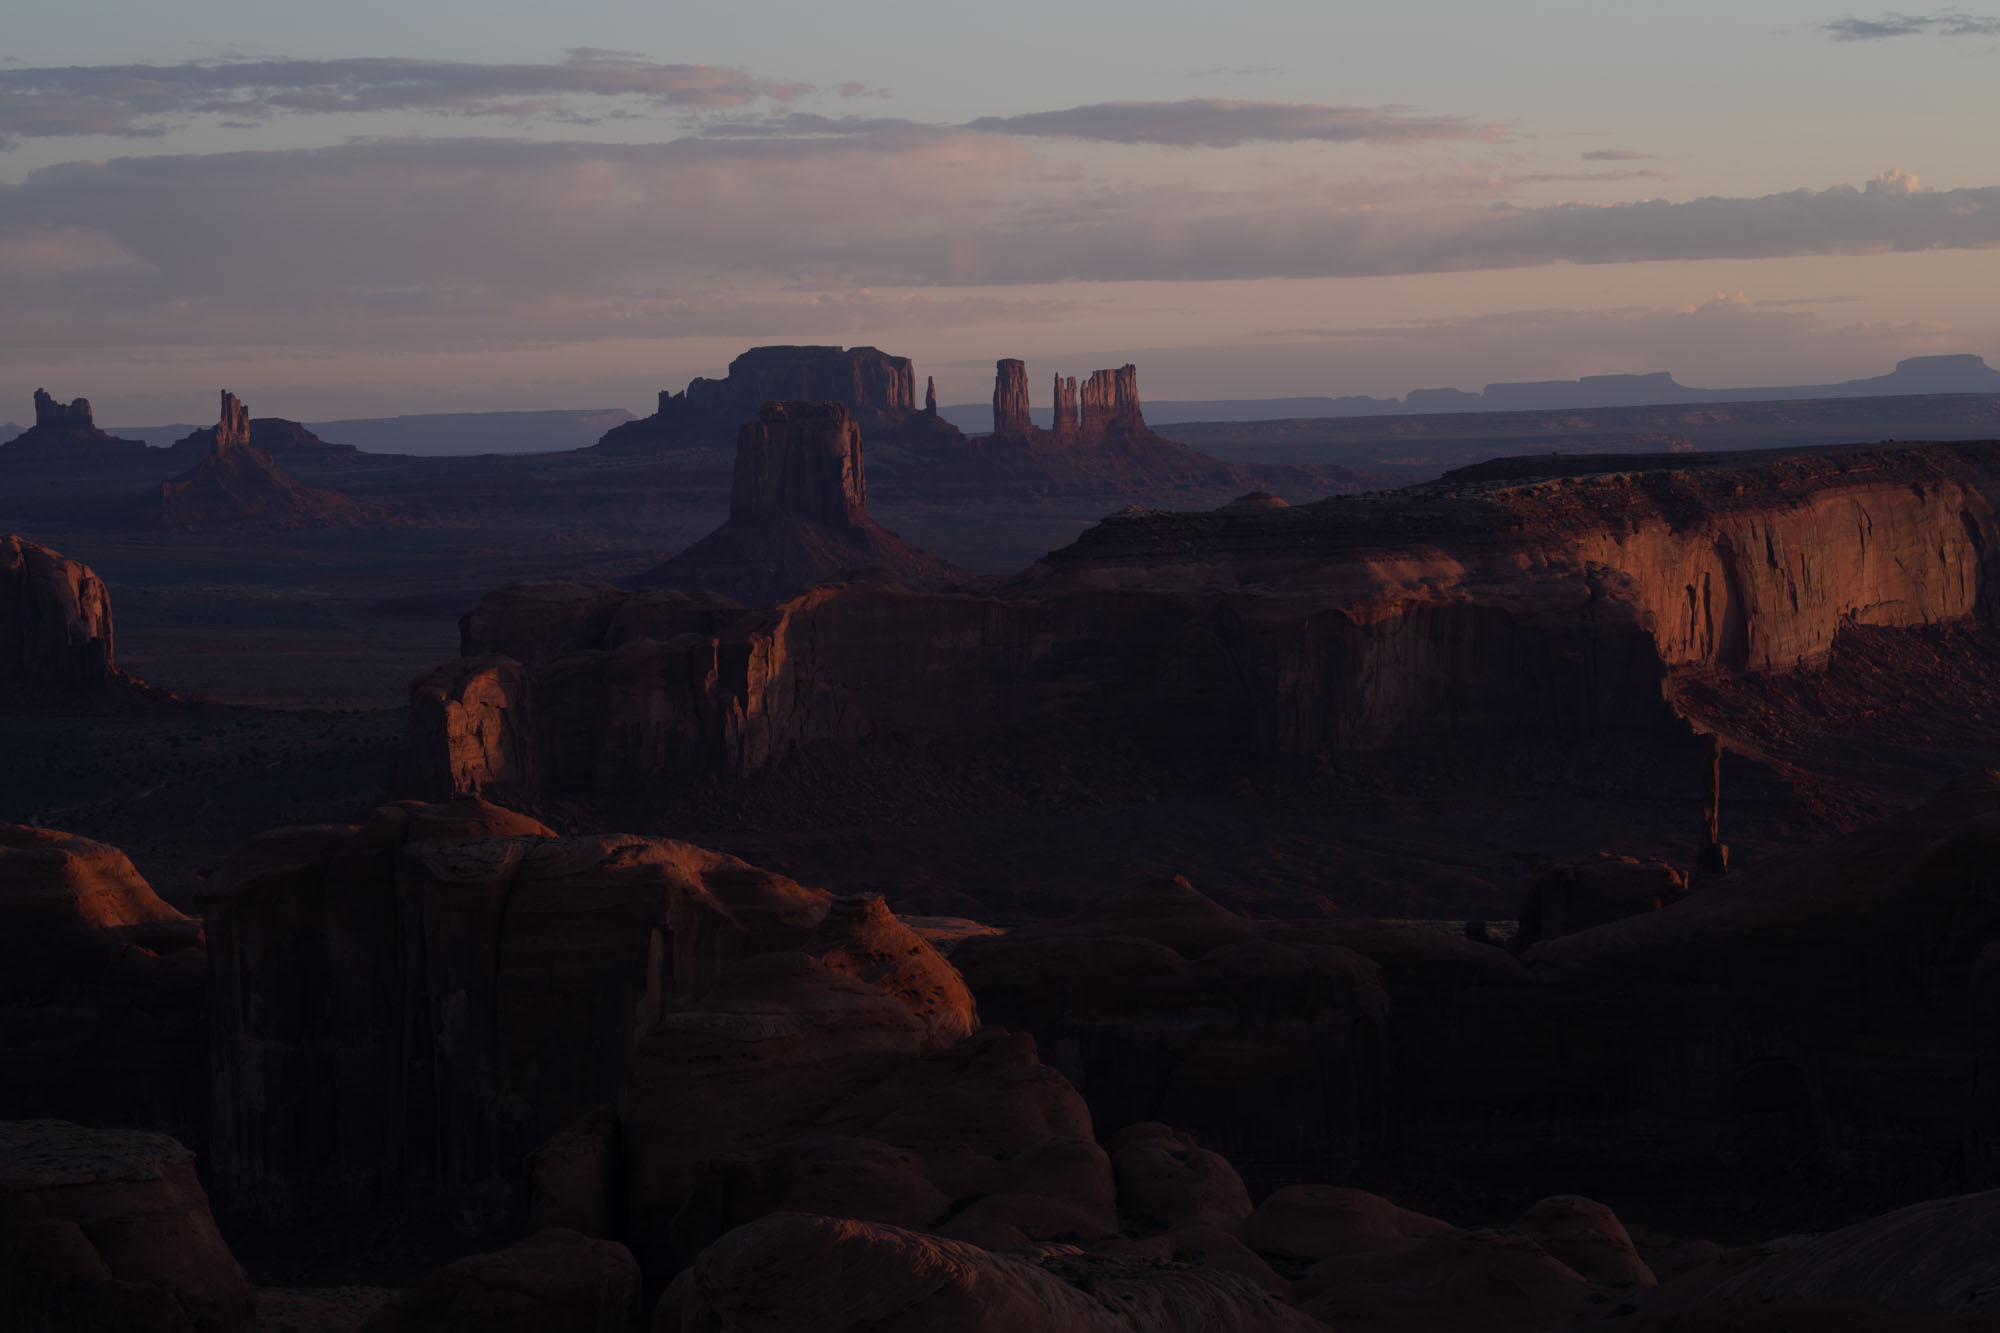
This is important: with my formula, your photo will come out of the camera looking dark, like this one. Do not panic. This is exactly what you want. All the color and detail of the sunset is protected inside that RAW file, and it comes to life in Lightroom in a few clicks: white balance, exposure, dodge and burn. The photo in Example 1 started exactly like this.
This is also why you must shoot in RAW, not JPEG. A RAW file keeps all the data; a JPEG throws most of it away.
Your Cheat Sheet
- Manual mode, always
- ISO 100 (the sun gives you plenty of light)
- f/6.3 to f/7 if nothing is close to the lens; f/8 to f/9 if you have close foreground
- Shutter speed: whatever makes the photo slightly underexposed
- Shoot RAW
- For long exposures: ISO 50, f/22, tripod
The Second Half of the Formula
Getting the shot is 50% of the work. The other 50% is the retouching, and that dark RAW file only becomes a great photo in Lightroom. If you want the exact looks I use on my own photos in one click, my Lightroom presets are the fastest way to start: Get my Lightroom presets here
All photos © Serge Ramelli. All rights reserved.
