
Golden Hour vs Blue Hour: How to Choose the Right Light for Your Photos
By Serge Ramelli-
Every photographer eventually runs into the same debate: golden hour or blue hour? Both are prized for their beautiful, low-angle or ambient light, but they behave very differently, and picking the right one for the scene in front of you can make or break the shot. In this guide, we'll break down what each type of light actually does, when it happens, and how to use it for landscapes, cityscapes, and everything in between.
What Is Golden Hour?
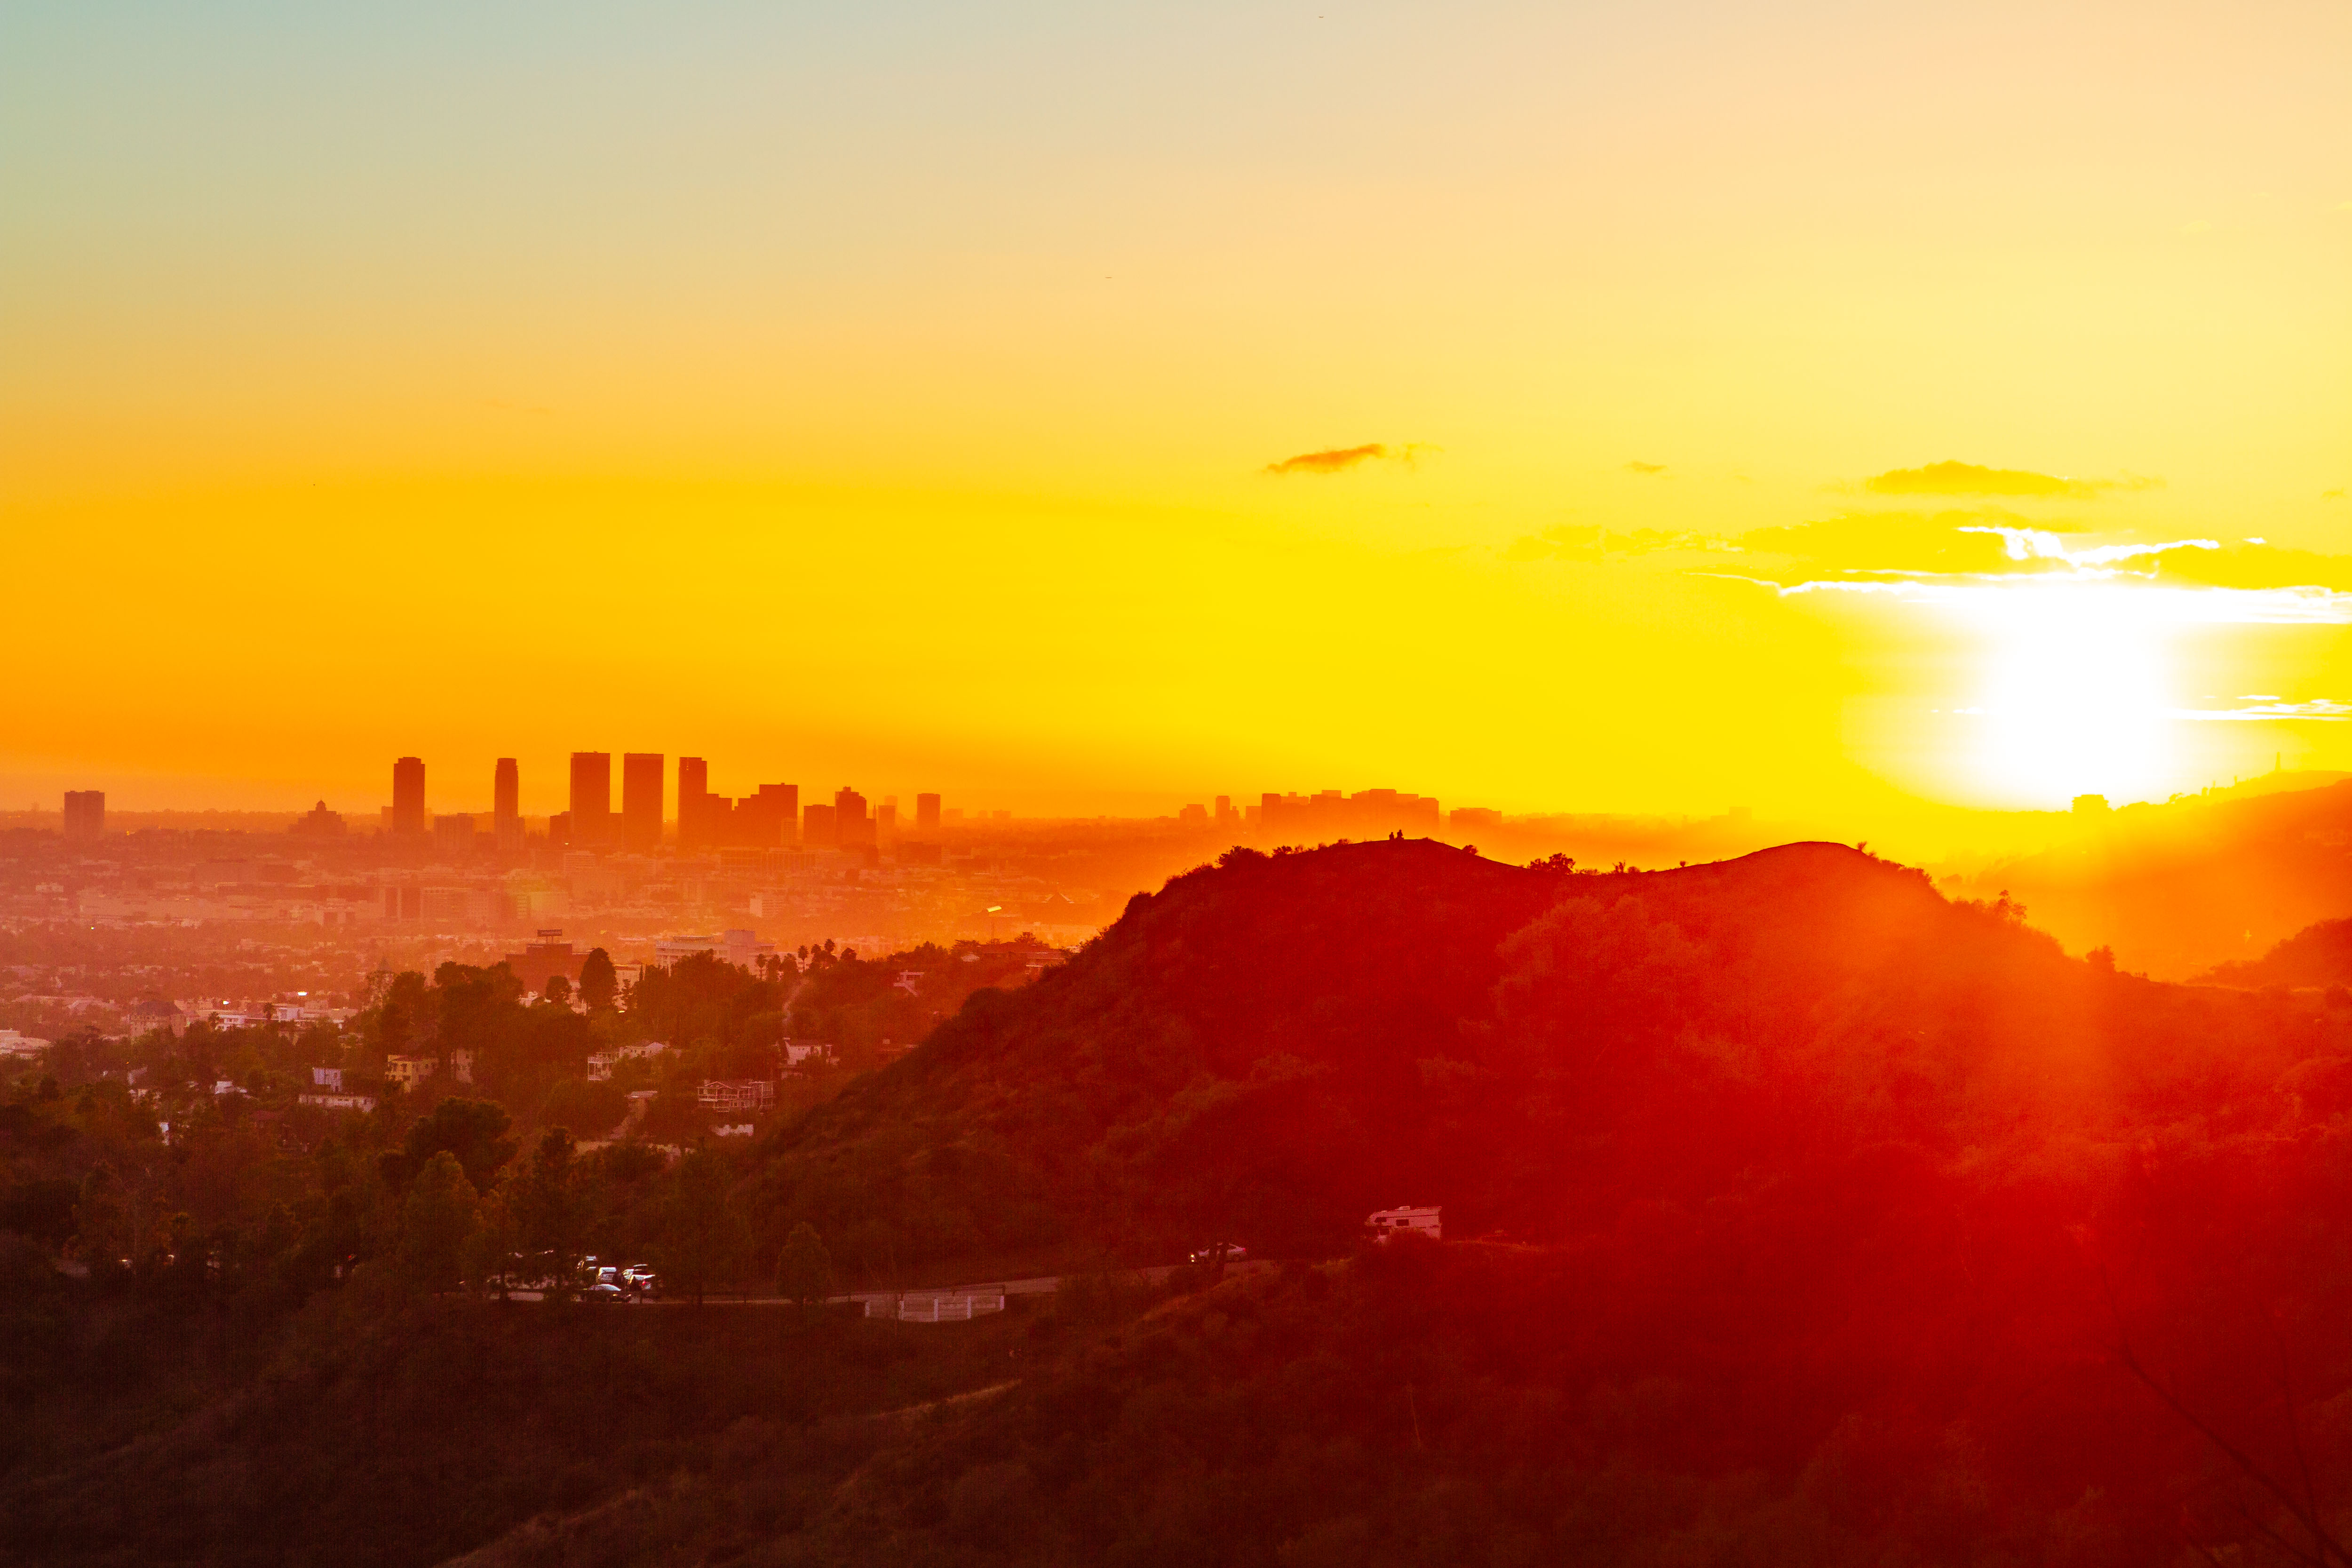
Golden hour is the window shortly after sunrise or shortly before sunset when the sun sits low on the horizon. At that angle, sunlight travels through more of the atmosphere, which scatters away much of the blue light and lets warm reds, oranges, and yellows through. That's what gives golden hour its soft, glowing quality.
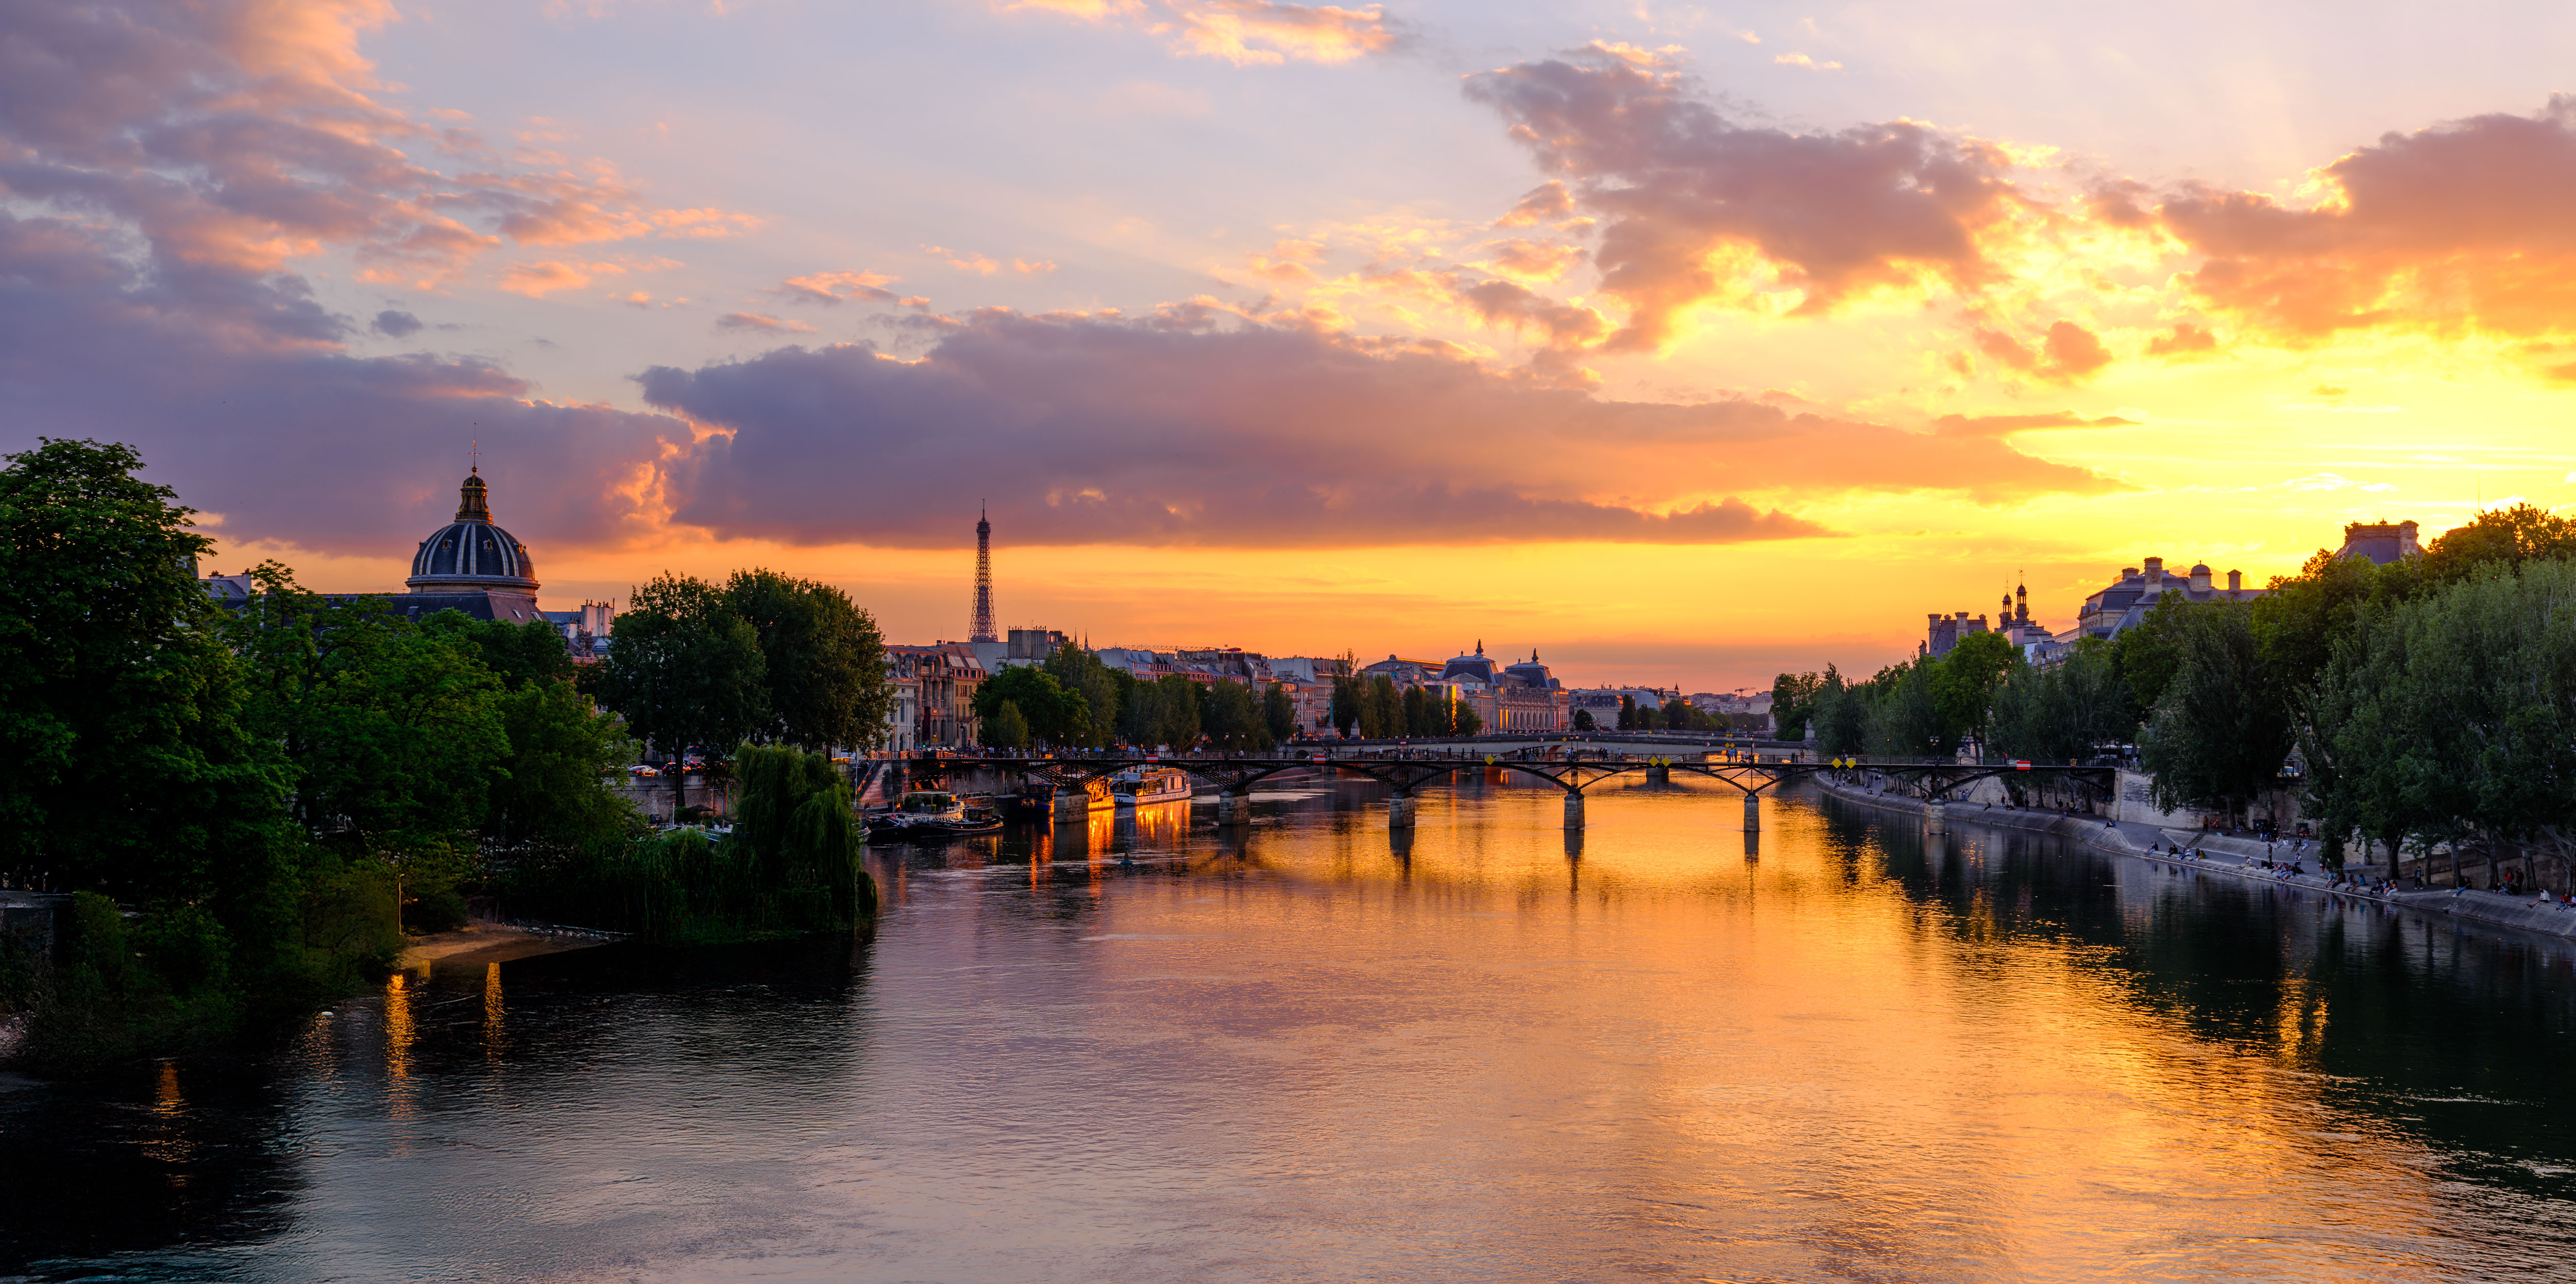
Golden hour over the Seine, Paris: the Pont des Arts in the midground, the Institut de France dome to the left, and the Eiffel Tower silhouetted against a blazing orange sky. The river reflects every shade of gold — this is the light that makes Paris look exactly like Paris is supposed to look.
Golden hour typically lasts 30 to 60 minutes, though the exact length depends on your latitude and the season — it stretches longer near the poles and shrinks near the equator.
Ready to get 1 on 1 support to master your tools and take photos that have that WOW factor? Apply to become a certified Master of Photography here.
Key characteristics of golden hour:
- Warm, directional light that flatters skin tones and textures
- Long, soft-edged shadows that add depth
- Gentle contrast — easier to expose correctly than harsh midday sun
- Great conditions for backlighting, rim light, and silhouettes
This makes golden hour a favorite for landscape photography, portraits, and any scene where warmth and texture are the goal.
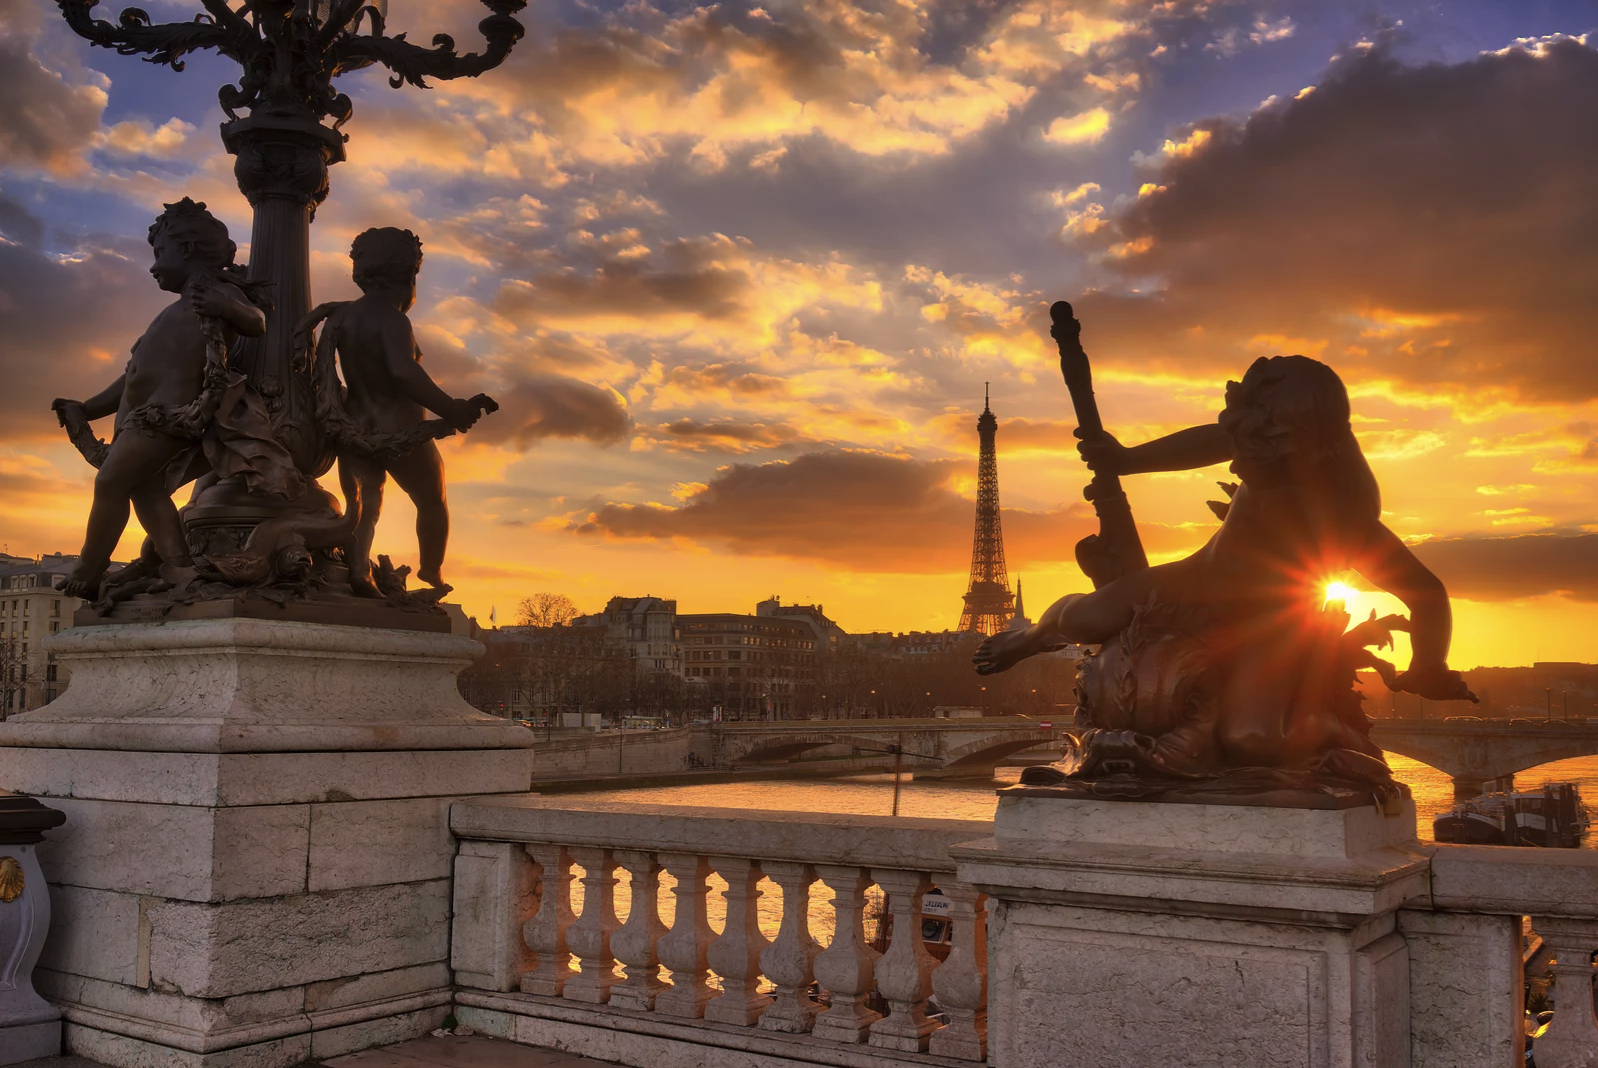
Pont Alexandre III at golden hour, Paris: the ornate bronze sculptures in the foreground frame the Eiffel Tower perfectly against a sky on fire. The sunburst catching through the statues on the right is the kind of split-second light that makes you stay on a bridge for two hours waiting.
What Is Blue Hour?
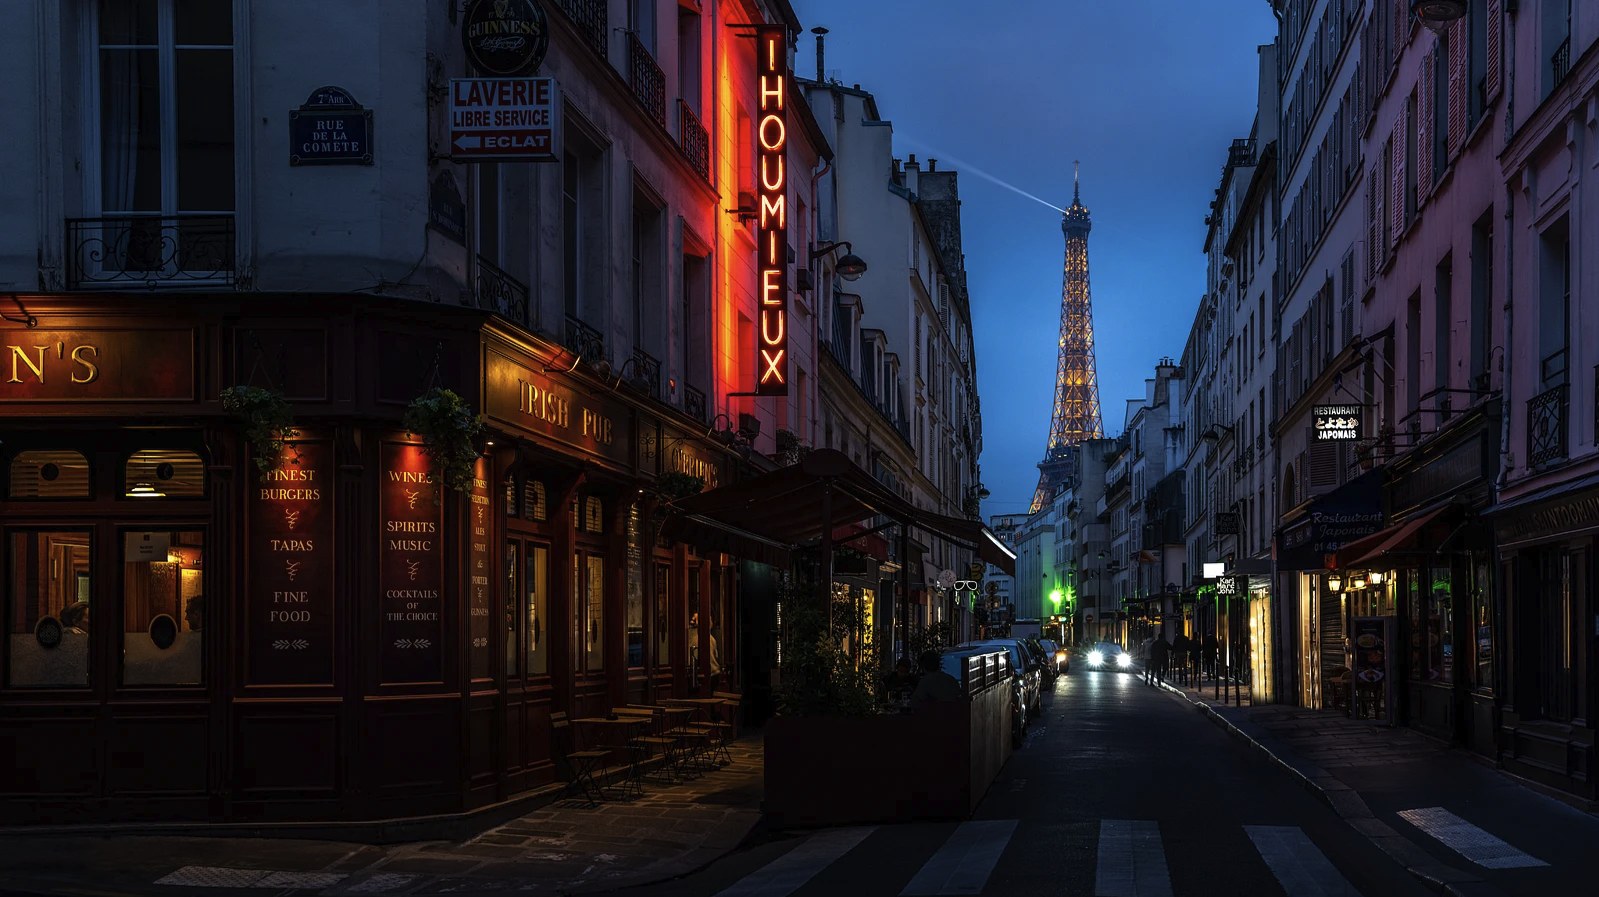
Blue hour happens right before sunrise and right after sunset, once the sun has dipped below the horizon but the sky still holds onto residual light. Without direct sun, the scene is lit by indirect, scattered light dominated by cool blue tones.
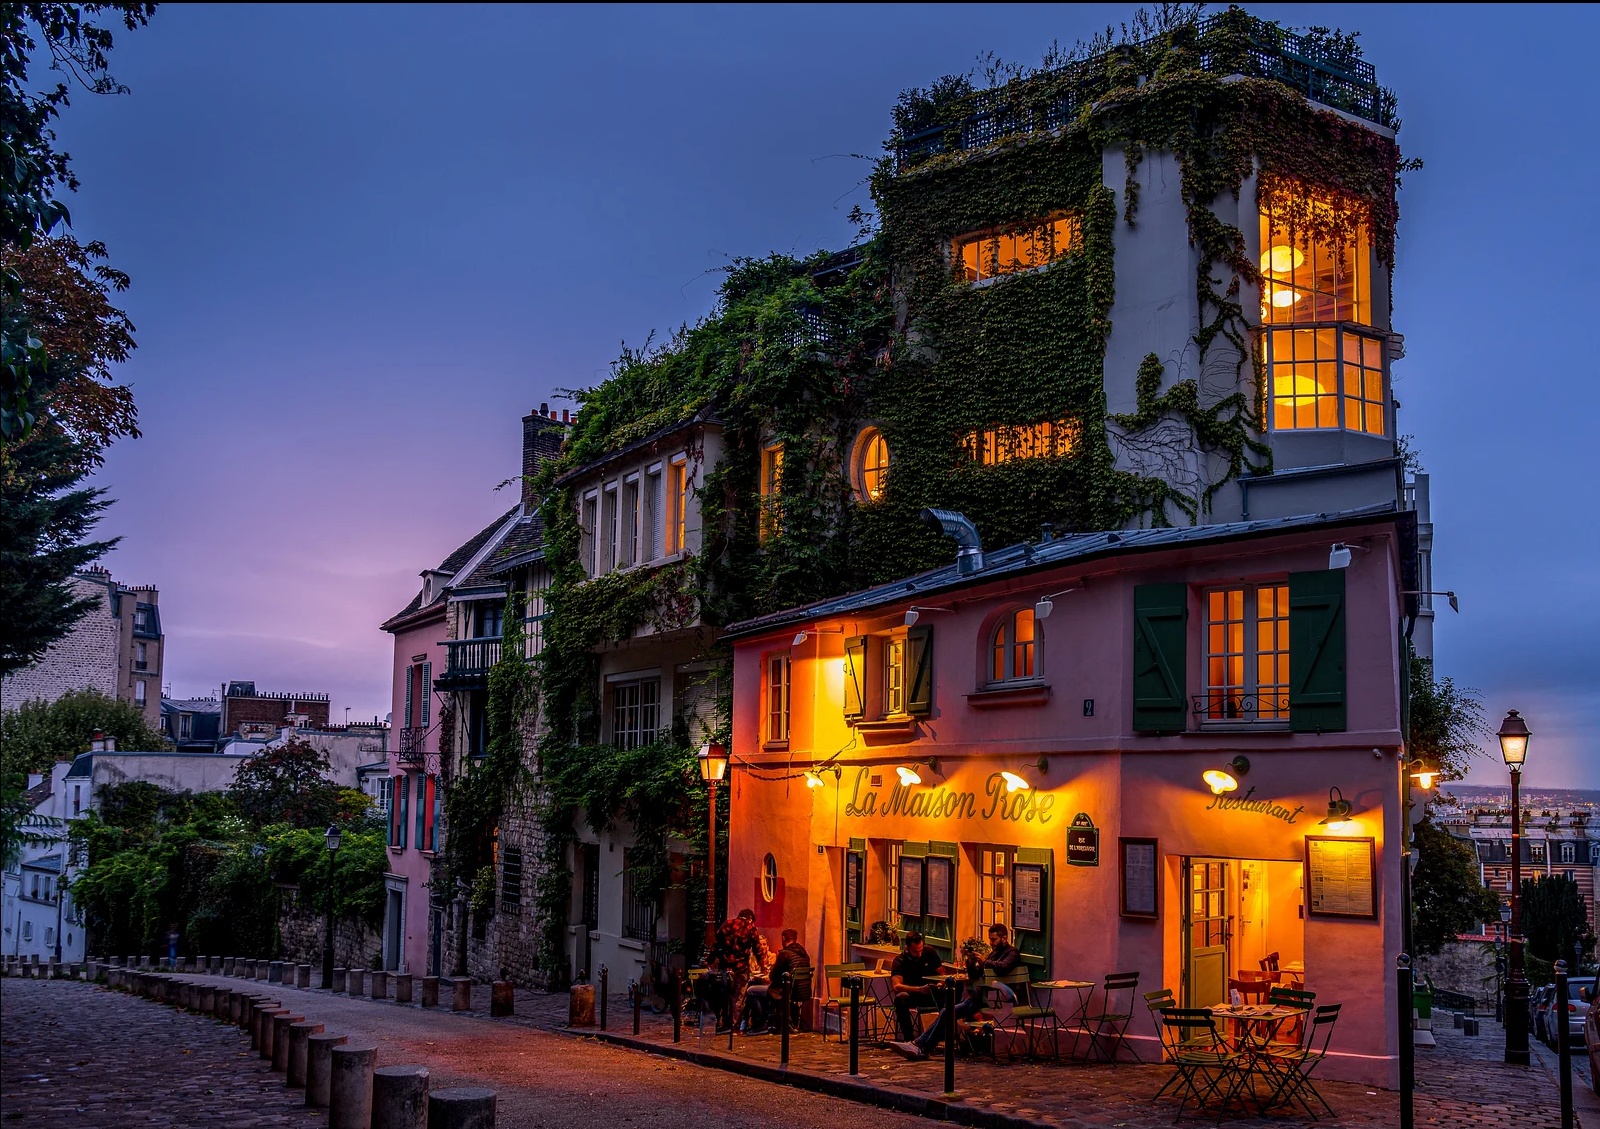
La Maison Rose in Montmartre at blue hour: the warm amber glow of the restaurant spilling onto the cobblestones against the deep blue-purple sky — the exact warm/cool tension that makes blue hour in Paris unlike anywhere else in the world.
Blue hour is shorter than golden hour, often just 20 to 30 minutes, and it's the sweet spot for cityscape and architecture photography. That's because artificial light sources — street lamps, illuminated buildings, floodlit landmarks — balance beautifully against a sky that's still holding some ambient brightness rather than going fully black.
Key characteristics of blue hour:
- Cool, even, low-contrast light with virtually no harsh shadows
- Longer exposures needed, which opens the door to light trails and silky water
- Artificial lights become part of the composition, not just a distraction
- A very short window — you need to be set up and ready before it starts
Ready to get 1 on 1 support to master your tools and take photos that have that WOW factor? Apply to become a certified Master of Photography here.
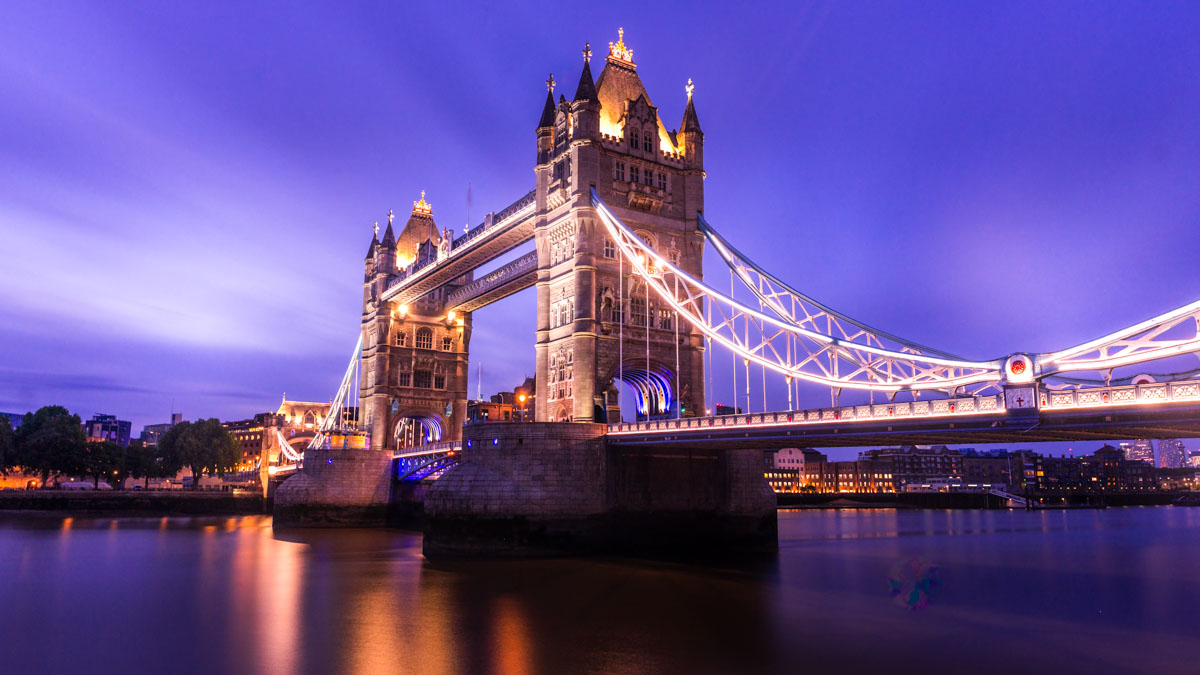
Tower Bridge, London, during blue hour — a long exposure smooths the water and lets the bridge lighting take center stage against the deep blue sky.
Golden Hour vs Blue Hour: Key Differences
Here's a quick side-by-side comparison to help you plan a shoot around the right light:
|
Aspect |
Golden Hour |
Blue Hour |
|
When it happens |
Just after sunrise / just before sunset |
Just before sunrise / just after sunset |
|
Duration |
30-60 minutes |
20-30 minutes |
|
Color tone |
Warm (orange, gold, red) |
Cool (deep blue, violet) |
|
Light quality |
Directional, soft shadows |
Even, low contrast, no shadows |
|
Best for |
Landscapes, portraits, backlighting |
Cityscapes, architecture, light trails |
|
Typical gear need |
Handheld often fine, ND grad optional |
Tripod essential, remote shutter |
Camera Settings for Each
Golden Hour Settings
- Aperture: f/8-f/11 for landscapes to keep everything sharp; f/1.8-f/4 for portraits if you want soft, blurred backgrounds
- ISO: keep it as low as possible, ISO 100 in most cases
- Shutter speed: often fast enough to shoot handheld, especially early in the hour
- Consider a graduated ND filter if the sky is much brighter than the foreground
- Shoot in RAW so you can recover highlight and shadow detail in post
Blue Hour Settings
- Tripod: essential. Shutter speeds often run from 1 to 30 seconds
- Aperture: f/8-f/16 for cityscapes, to keep depth of field deep and points of light crisp
- ISO: 100-400, only raising it if you need a faster shutter for a specific effect
- Use a remote shutter release or a 2-second self-timer to avoid camera shake
- Bracket exposures if the scene mixes very bright lights with dark shadow areas
Which One Should You Choose?
There's no universal winner — the right light depends on the subject and the mood you're after.
- Warm, textured landscapes → golden hour
- Moody, minimal wide landscapes → either works, blue hour if you want a calmer palette
- Cityscapes and illuminated architecture → blue hour
- Portraits → golden hour, for flattering warm light and natural catchlights
- Reflections on water → both work well; blue hour if artificial lights are part of the reflection
Ready to get 1 on 1 support to master your tools and take photos that have that WOW factor? Apply to become a certified Master of Photography here.
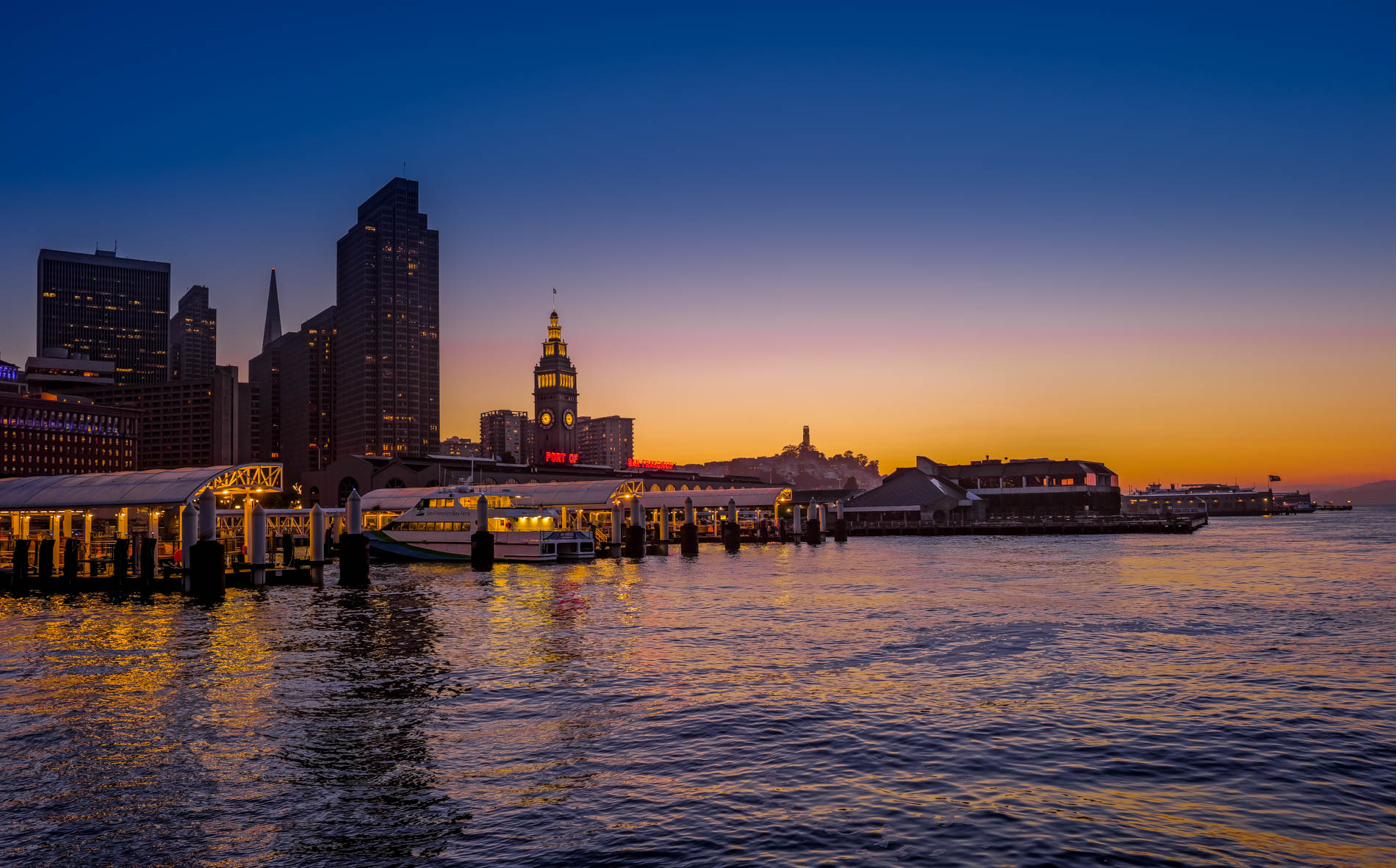
The Ferry Building along the Embarcadero at sunset, San Francisco — blue hour and calm water producing soft reflections, ideal for a warm cityscape shot.
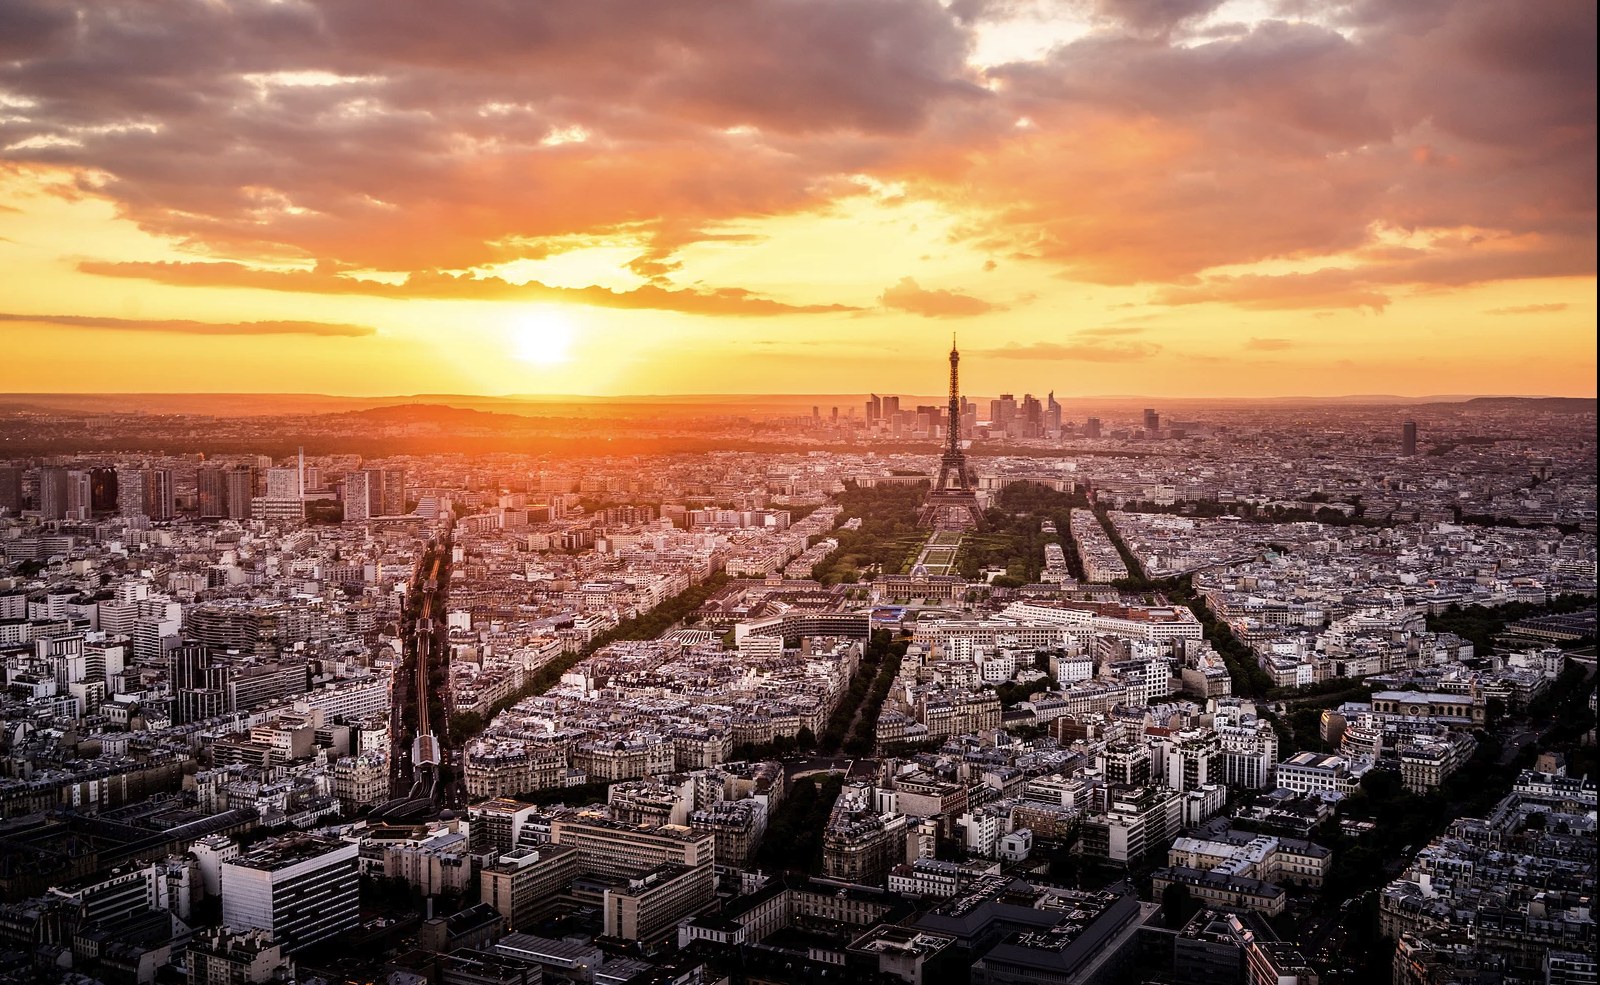
Paris from above at golden hour, shot from the top of Tour Montparnasse: the entire city bathed in deep amber, the Eiffel Tower standing as a dark silhouette against a blazing sky, and La Défense dissolving into the light on the horizon. The kind of shot that reminds you why you climb 59 floors with a camera.
Editing Tips for Each
Golden Hour Edits
- Boost warmth slightly, but keep an eye on the whites so you don't wash out the golden tones
- A light vignette can help draw the eye toward a backlit subject
- Watch for blown highlights if the sun itself is in frame — recover them from the RAW file rather than the sky's natural gradient
Blue Hour Edits
- Cool the white balance, but leave a touch of warmth in artificial light sources so they don't turn an unnatural green or magenta
- Reduce noise if you had to raise ISO
- A small contrast boost helps, since blue hour scenes can look flat straight out of camera
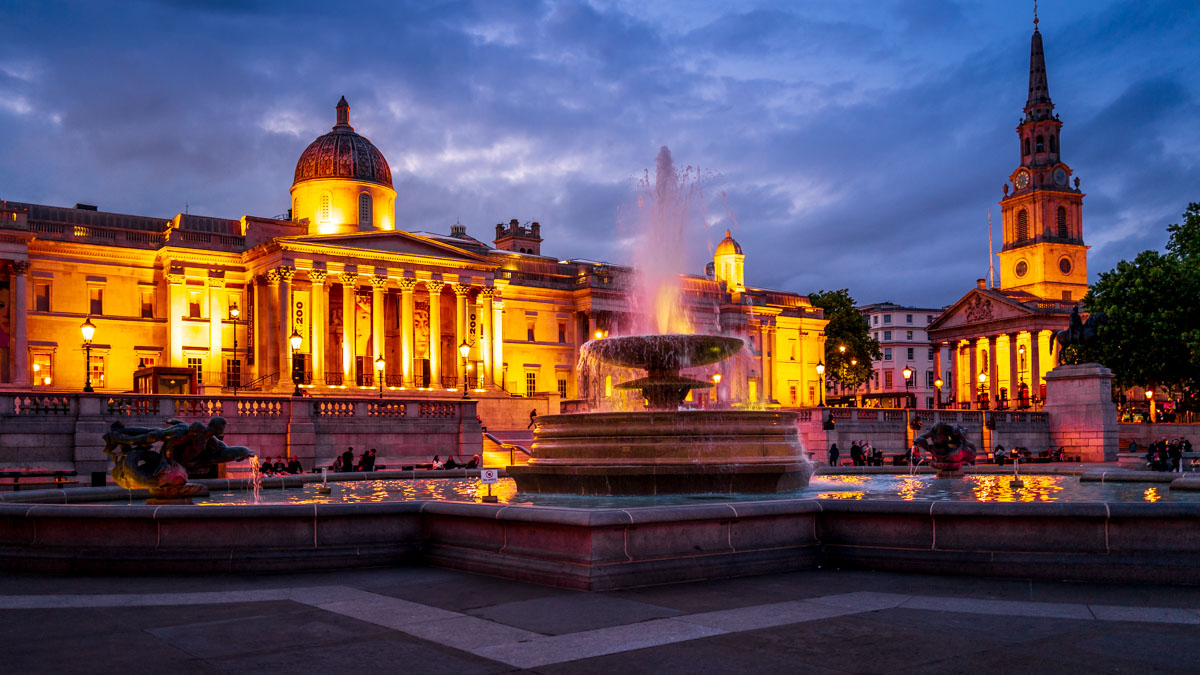
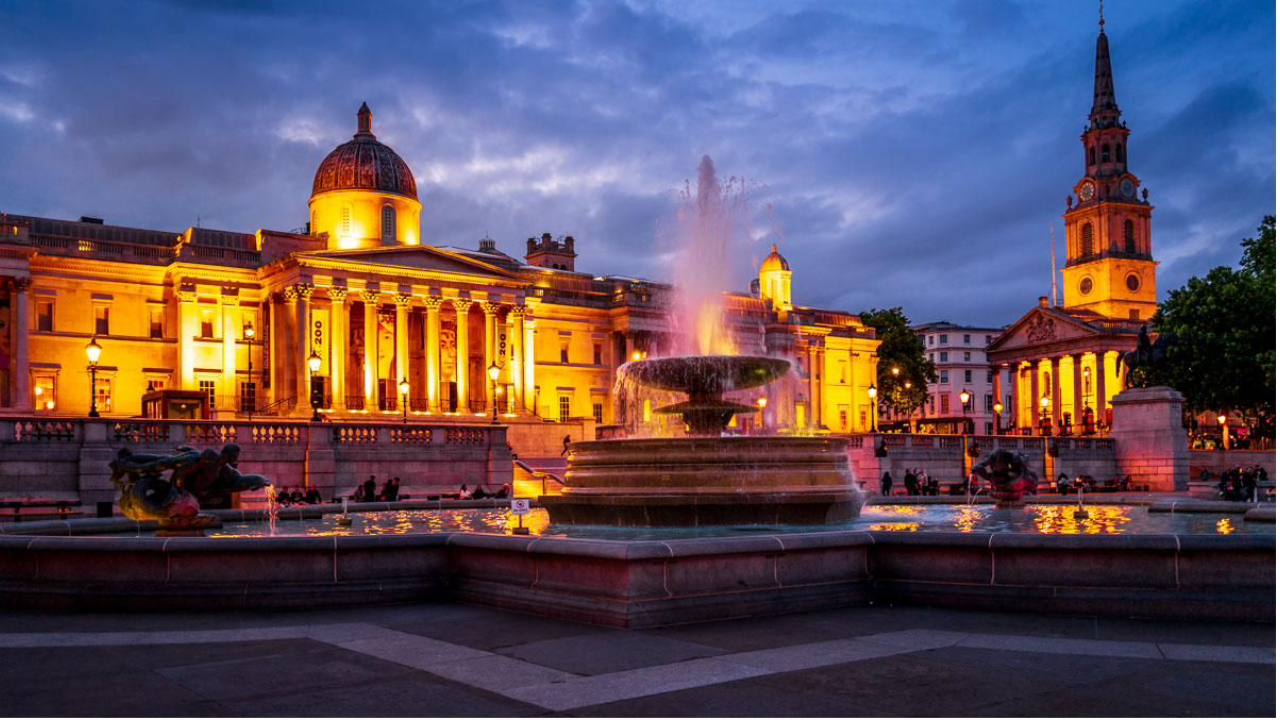
Trafalgar Square and the National Gallery at blue hour, London — a good reference for balancing artificial light against a deep blue sky in post-processing.
Final Thoughts
Golden hour and blue hour aren't competitors — they're two different tools for two different jobs. Chasing warm, textured light for a landscape or portrait? Head out just before sunset. Want a polished, moody city shot with lights glowing against a rich blue sky? Stay twenty minutes longer and let blue hour take over.
In fact, many photographers plan a single outing around both: start shooting as the sun drops for golden hour, then keep the camera out through the transition into blue hour. It's one of the most efficient ways to come home with two very different looks from a single session.
Now open up Lightroom and give it a try!
Want more? Explore 10 Lightroom secrets to instantly improve your photos and the best photography locations in Paris. Love a shot? You can license my prints here.
Get my FREE Lightroom preset here: https://bit.ly/AIPresets
Serge — Photoserge | Coaching photographers who are serious about getting to the next level.
