
Handheld Long Exposure Photography: How to Shoot Without a Tripod
The number one mistake I see is photographers arriving somewhere beautiful, saying "oh, it's beautiful," and taking one quick shot before moving on. That's how you miss the photo.
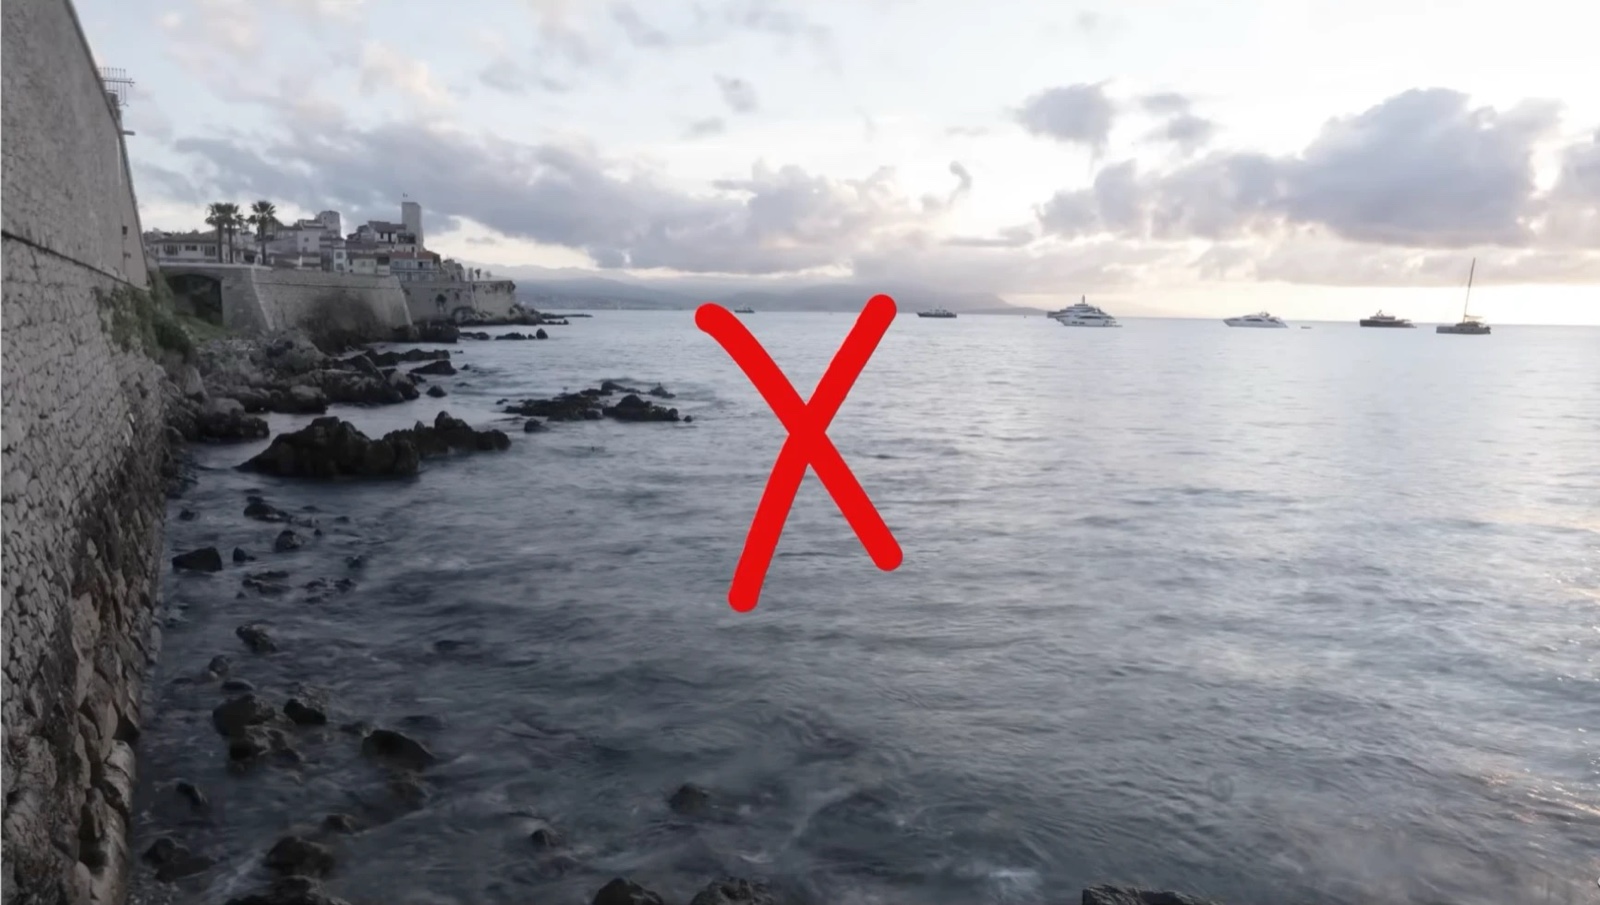
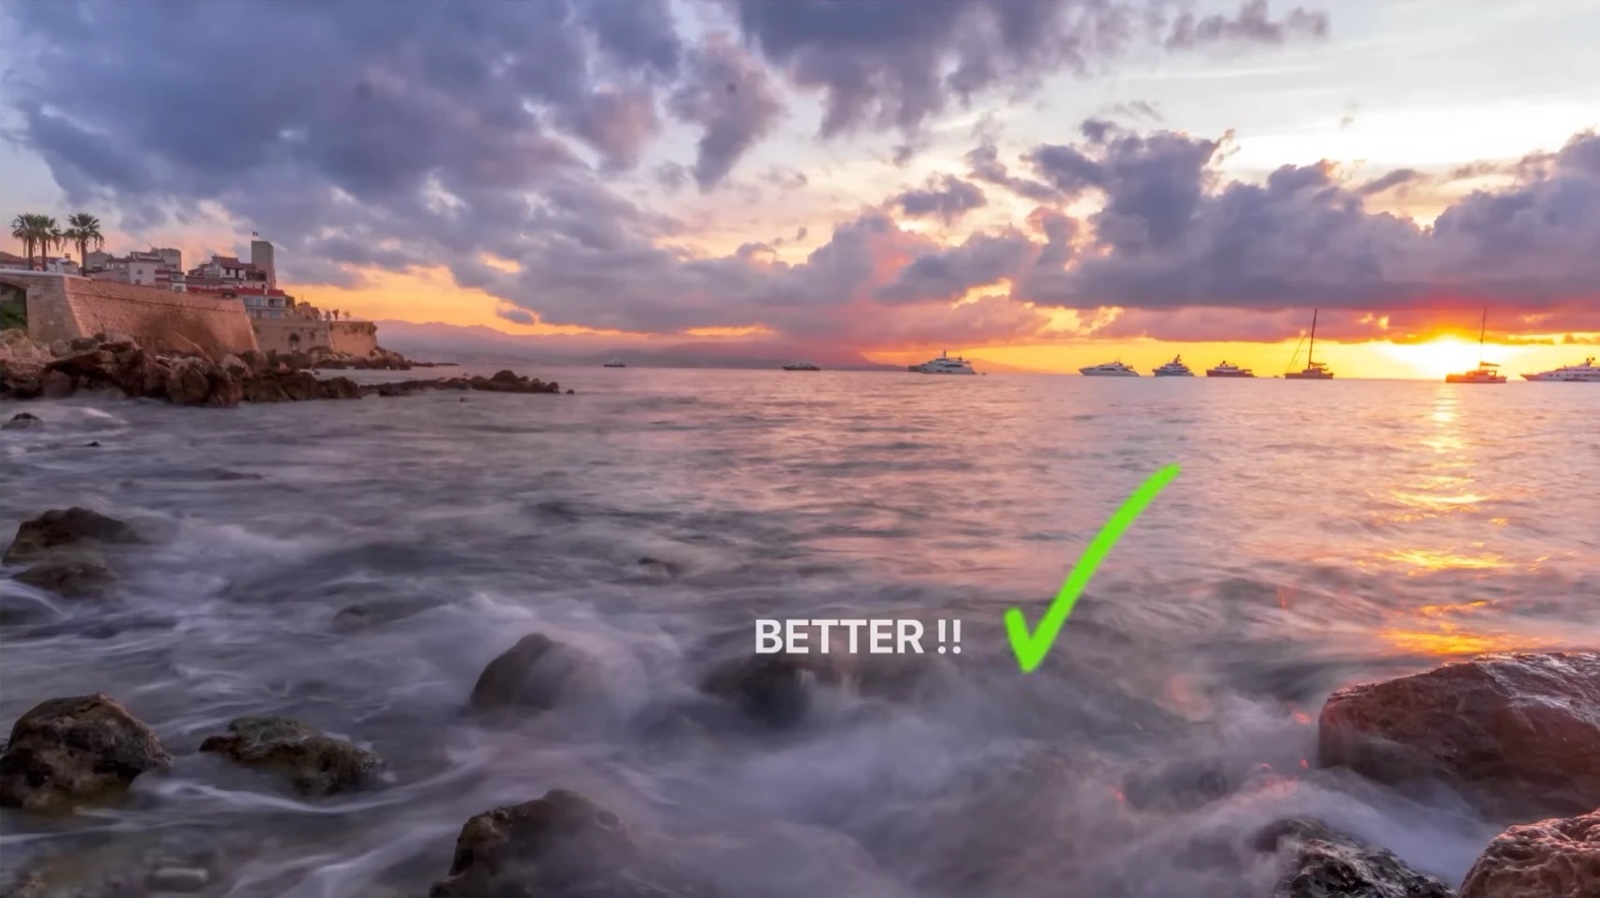
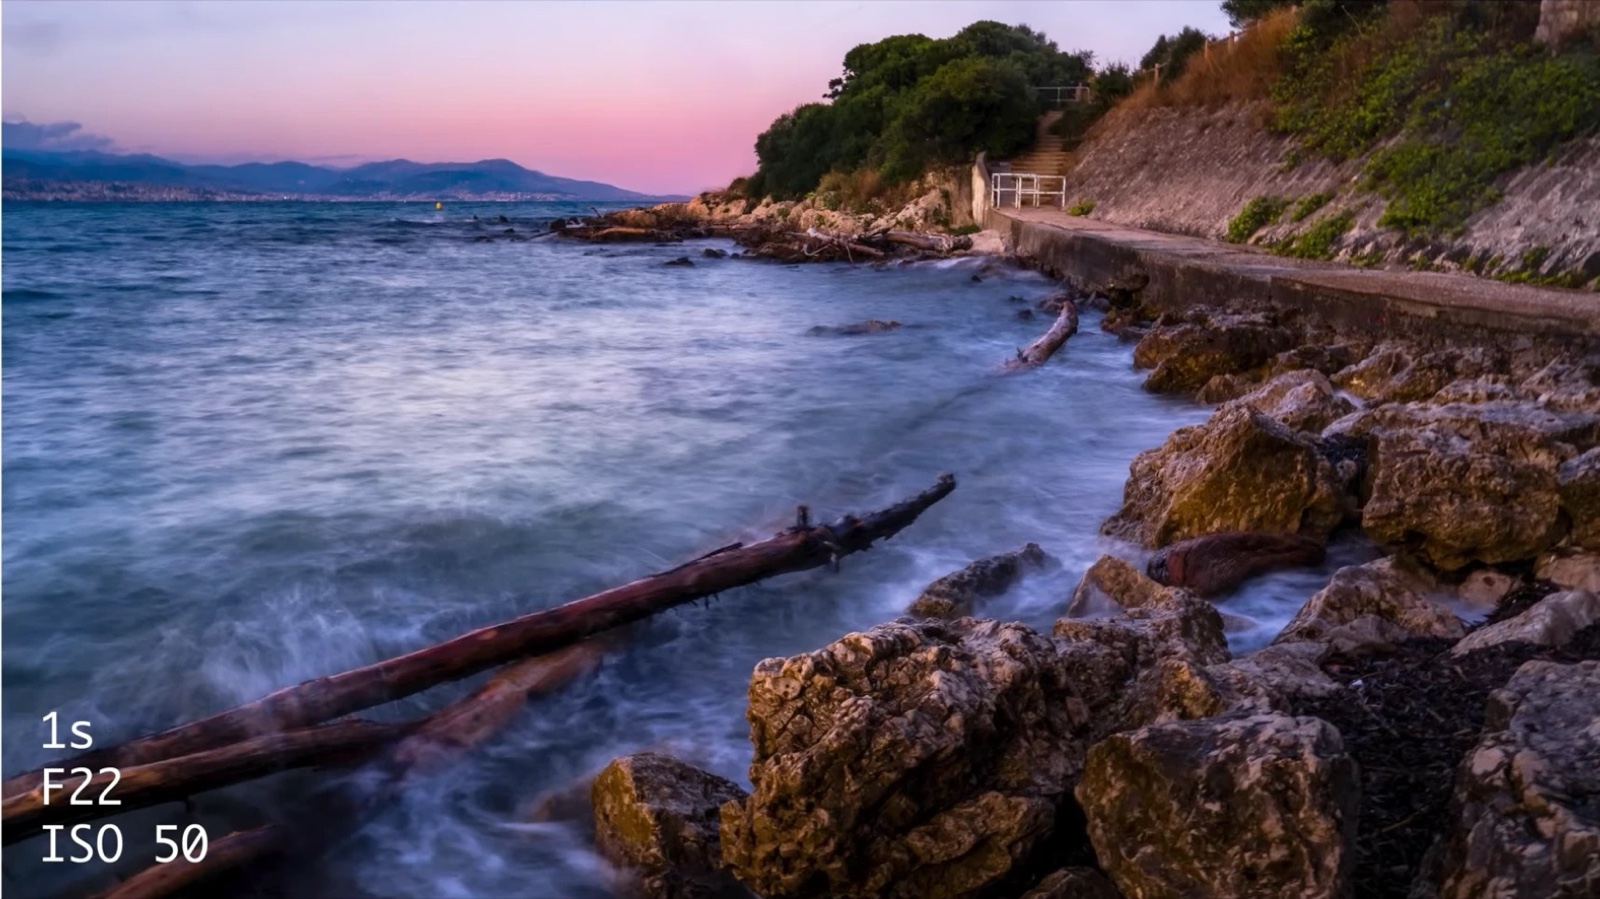
I filmed this whole process on the French Riviera, in Antibes and Eze, specifically to answer a question I get all the time: can you actually get a real long exposure look without a tripod? I shot the same scenes two ways, a traditional 30-second tripod exposure and a handheld exposure around half a second, so I could compare them side by side. Here's exactly how the handheld version works, and how I edited both in Lightroom afterward.
The Handheld Long Exposure Settings That Actually Work
This is the opposite of everything you'd do on a tripod, which is exactly why it works.
- Turn image stabilization ON. On a tripod, you switch it off. Handheld, you need it on, full stop.
- Shutter speed around 1/2 second. That's the sweet spot: slow enough to blur moving water into that long-exposure look, fast enough to shoot handheld.
- ISO 100, or even 50 if you want to underexpose slightly and keep the shot moody.
- Aperture to match the light. In bright conditions I was often at f/20-f/22 just to get down to a usable shutter speed.
- Use a 2-second self-timer. Pressing the shutter directly shakes the camera. The timer lets that motion settle before the exposure fires.
- Hold your breath, then shoot.
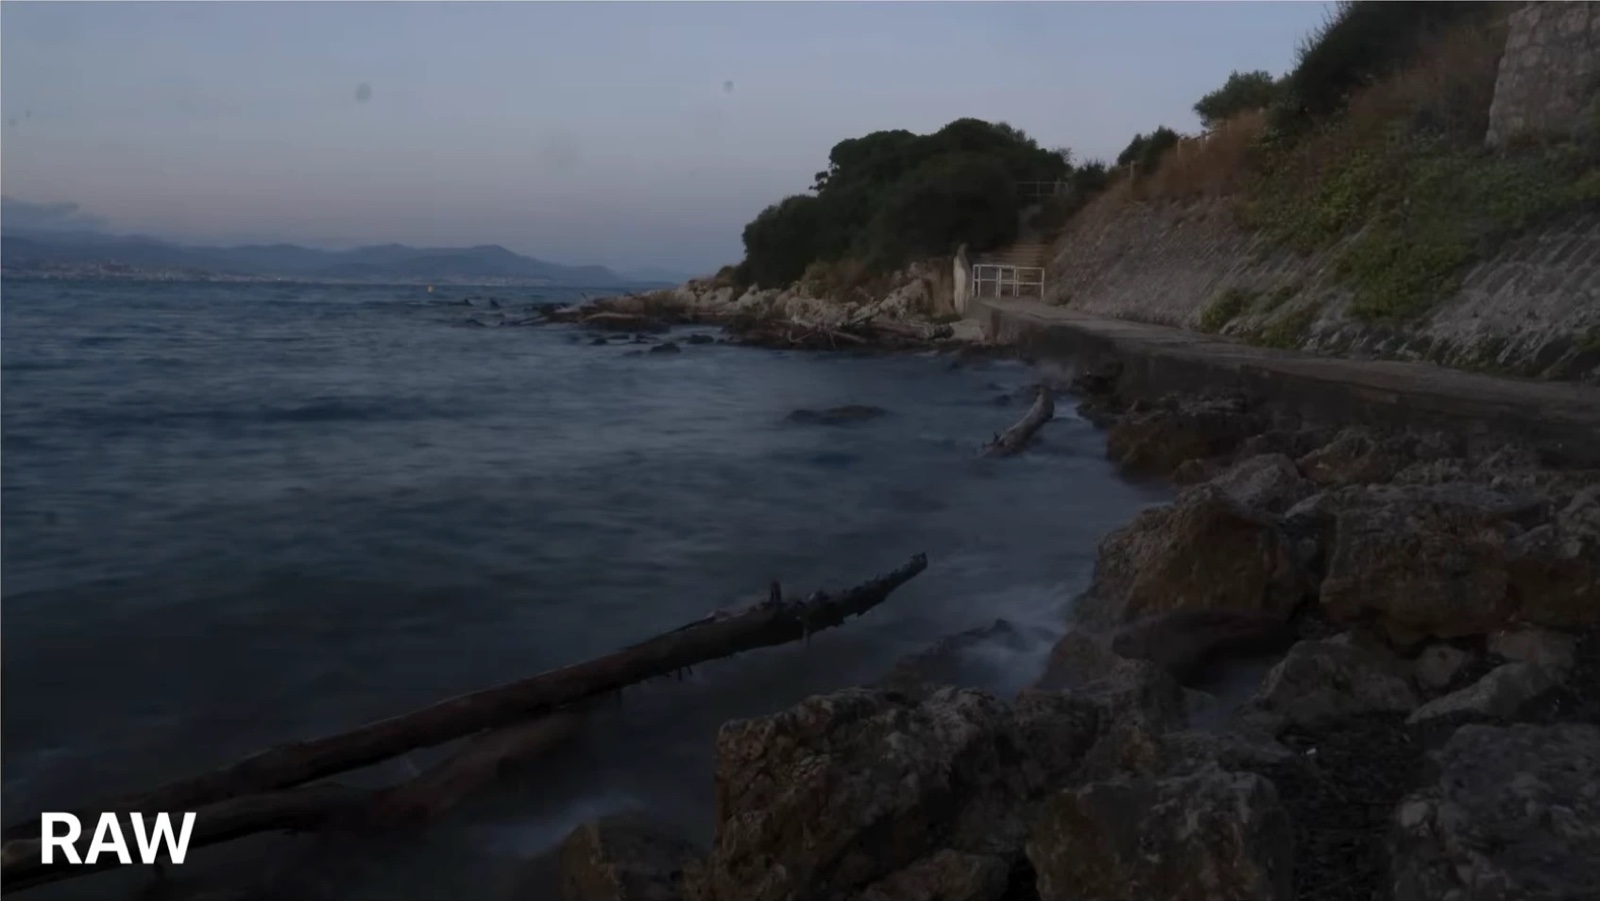
Half a second won't give you the same silky-smooth water as 30 seconds. But if there's enough movement in the water, it's often enough, and sometimes a shorter exposure gives you a more interesting "wave painting" texture than a longer one would have smoothed away entirely.
How to Stabilize Your Camera Without a Tripod
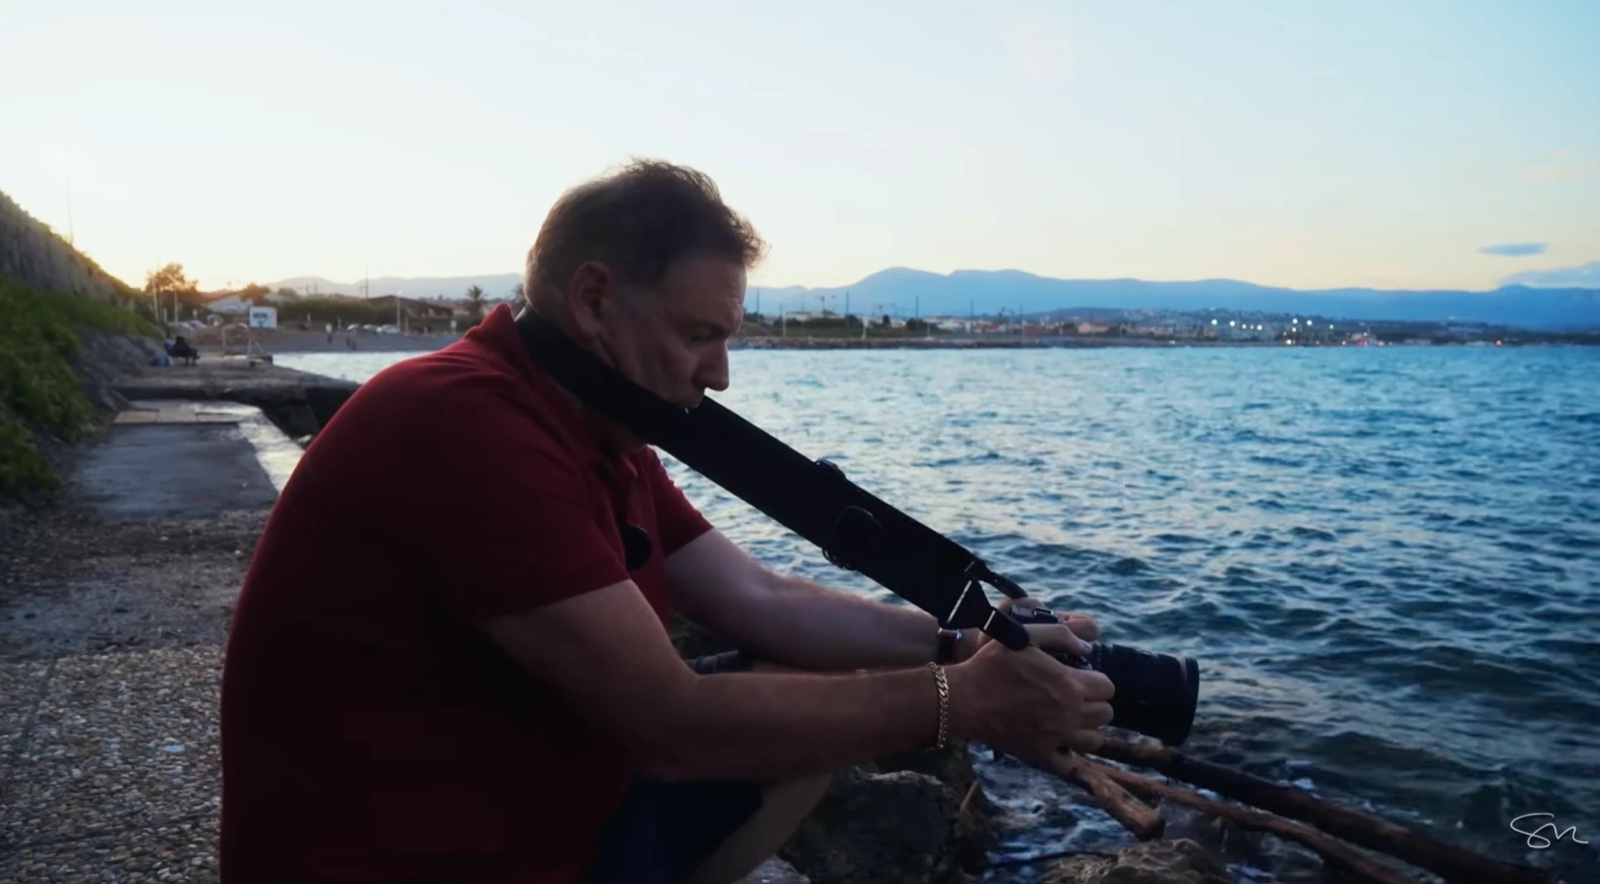
Your body is the tripod. A few positions that actually work:
- Elbows pulled in tight against your body, camera braced against your face
- Camera braced against your shoulder if your arms alone aren't steady enough
- Getting low, down near the ground, which also happens to be a better angle for water anyway
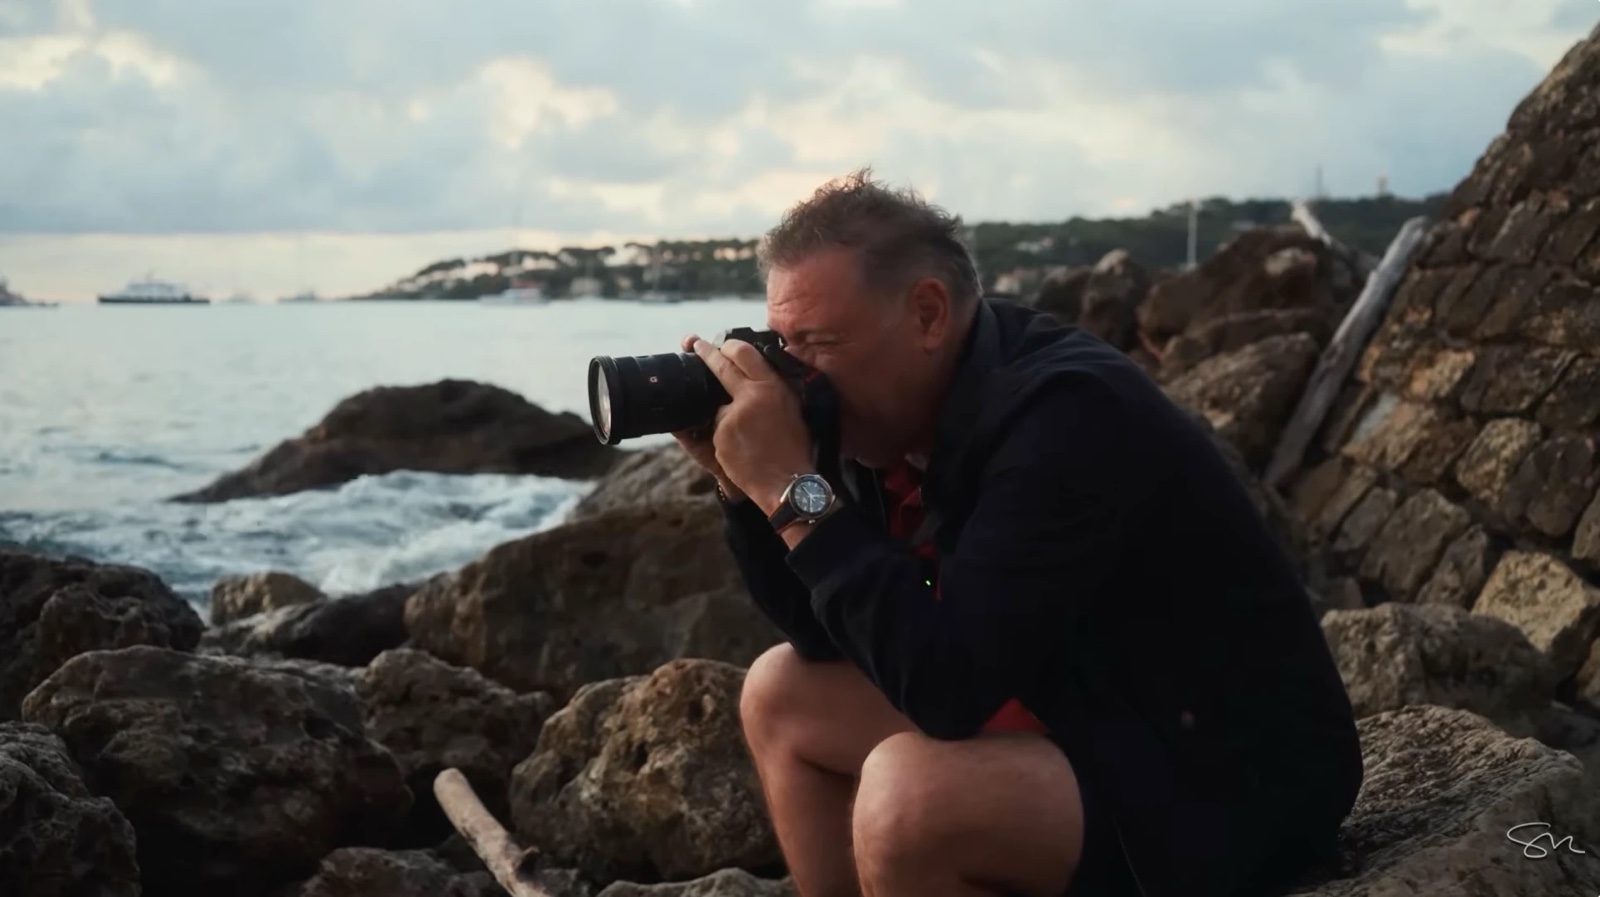
Whichever position you use, check every single shot. Zoom in to 100% on the back screen after each frame. A shot that looks sharp at a glance can be quietly soft when you check it properly, and by the time you notice at home, the moment is gone.
One more trick worth knowing: when a good wave comes through and you miss it because your 2-second timer delayed the shot, stay ready. There's almost always a second wave right behind it.
Scouting the Shot Before Sunrise
Good light rewards planning, not luck. I use an app called LocationScout.net to find compositions in advance, in this case a spot in Eze with a rock, a tree, and the sea lined up almost perfectly, before I've even seen it in daylight. We were on site by 6:15am to catch blue hour into sunrise, which is also when the light shifts fastest and the window for the best frame is shortest.
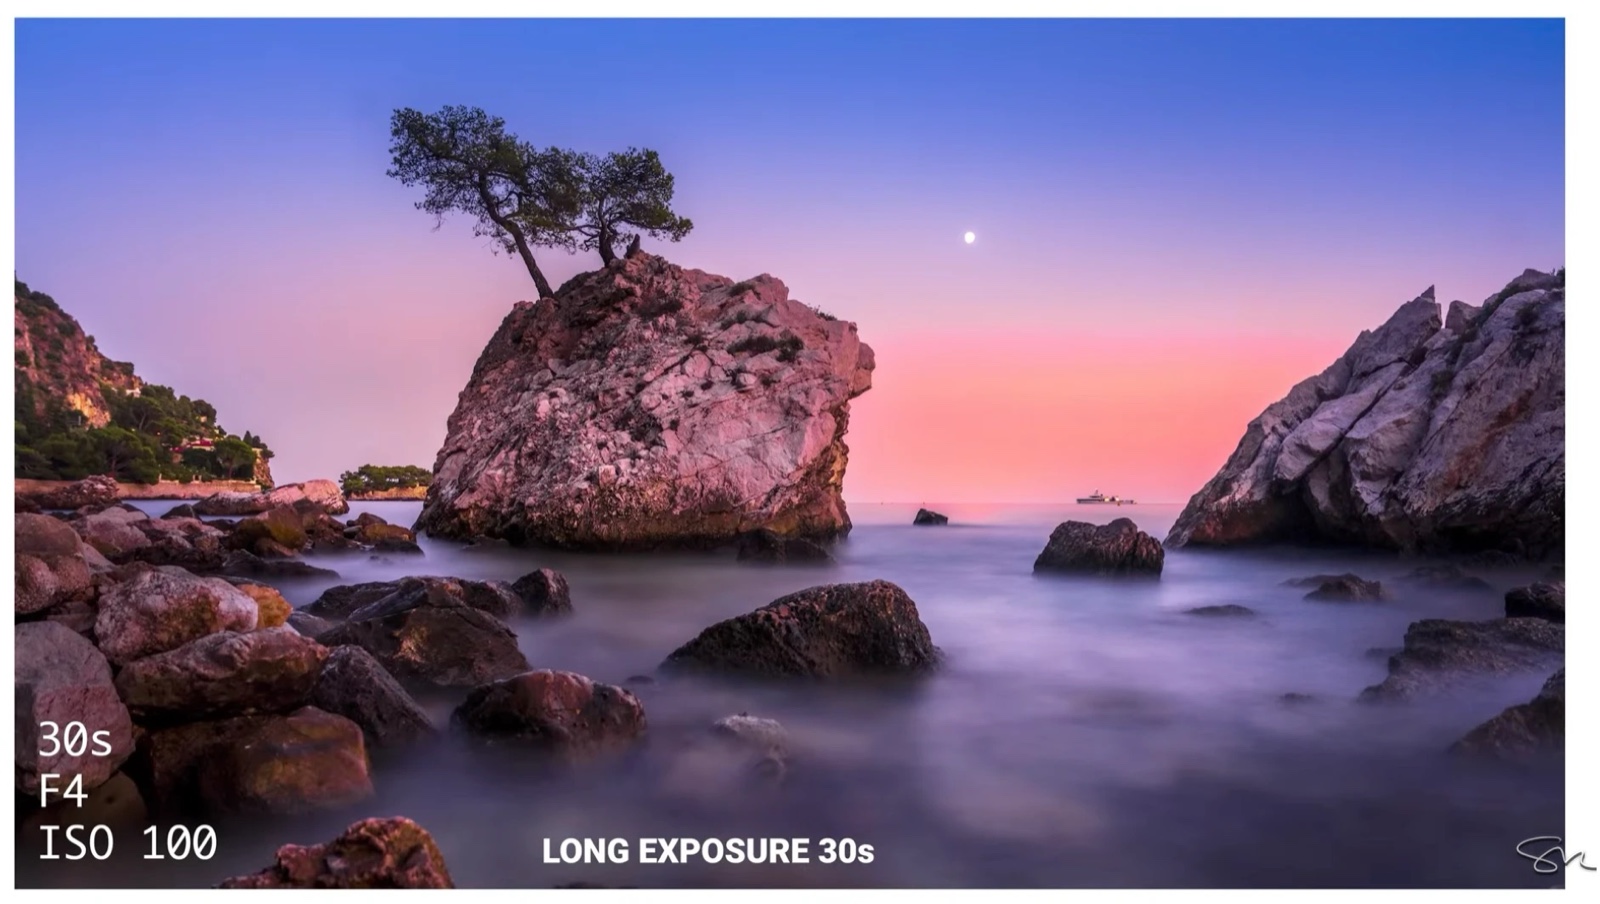
At a location like that, I shoot everything three ways if I can: a 30-second tripod exposure with an ND filter, a shorter exposure without the filter (because an ND can shift your colors right when the light is doing something beautiful), and the handheld version. That gives me options later, and it's how I ended up able to compare all three fairly.
A Bonus Trick If You Only Have an iPhone
Go as wide-angle as your phone allows, switch to Live mode, then tap and hold on the sky to lock exposure on it. That drags the whole exposure down and makes the sky, and the colors in it, noticeably punchier straight out of camera. Fine-tune the rest later in Lightroom Mobile.
Get My Free Lightroom AI Presets
Every photo in this article, handheld and tripod, was edited using the presets I built for my upcoming London coffee table book. They're free: download them here.
Editing the Final Images in Lightroom
My editing workflow leans hard on presets because it's fast, and because 90% of the work is genuinely done the moment I click one.
Start With a Preset, Then Check Your Black and White Points
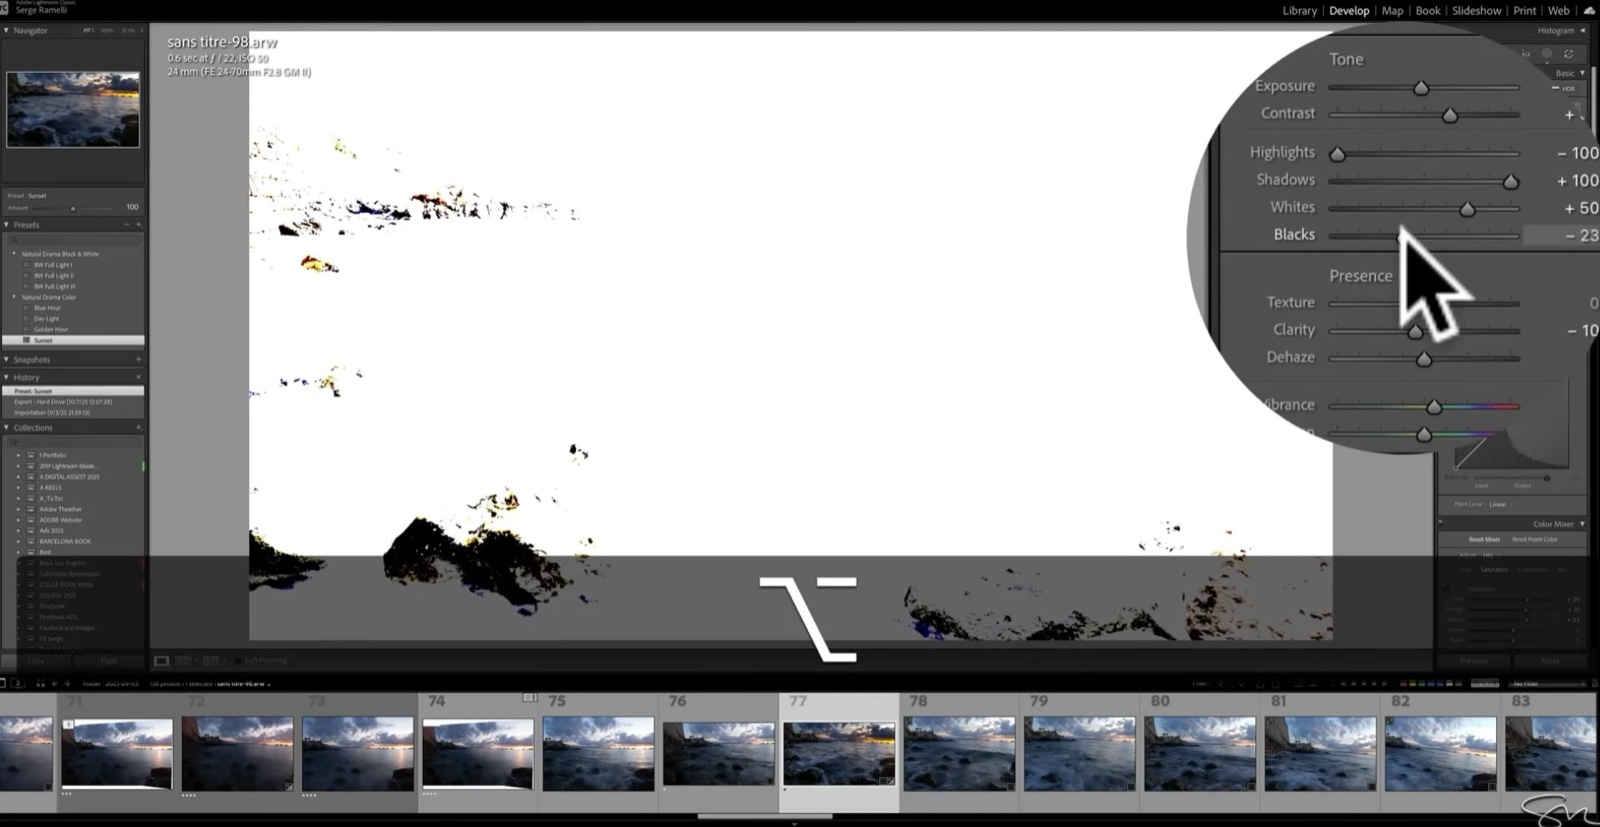
I applied my Sunset preset to most of these (not Daylight, not Golden Hour), then held Option (Alt on Windows) while dragging the black and white sliders. That reveals clipping so you know exactly how far to push before you lose detail. From there it's usually a small nudge to exposure and a touch more warmth in the white balance.
Use Select Landscape to Fix Water and Sky Independently
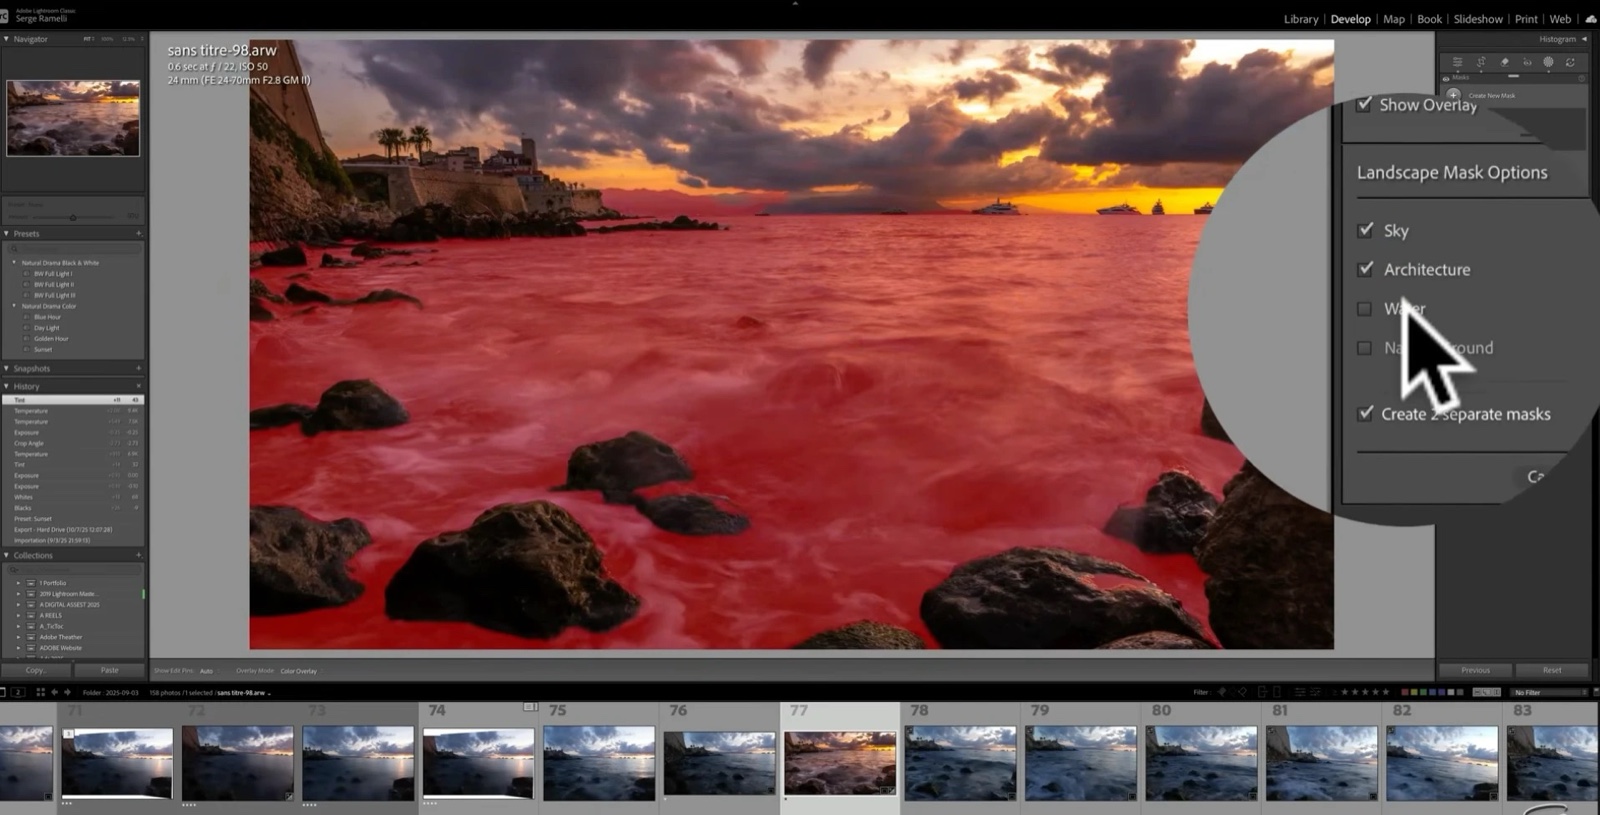
Lightroom's newer Select Landscape mask breaks a photo down into sky, architecture, water, and natural ground automatically. On these images I selected just the water and added blue back into it, which builds contrast against a warmer sky without touching anything else in the frame. This is the same category of tool I cover in more depth in my guide to Lightroom's AI masking, if you want the fuller breakdown.
Merge Your Tripod Shots Into a Panorama
For the 30-second exposures, I usually shoot two overlapping frames rather than one, select both, right-click, and choose Photo Merge > Panorama with the Perspective projection. It's a wider, more immersive final image than a single frame gets you, and the preset still applies cleanly afterward.
Clean Up Dust and Water Spots With Generative AI
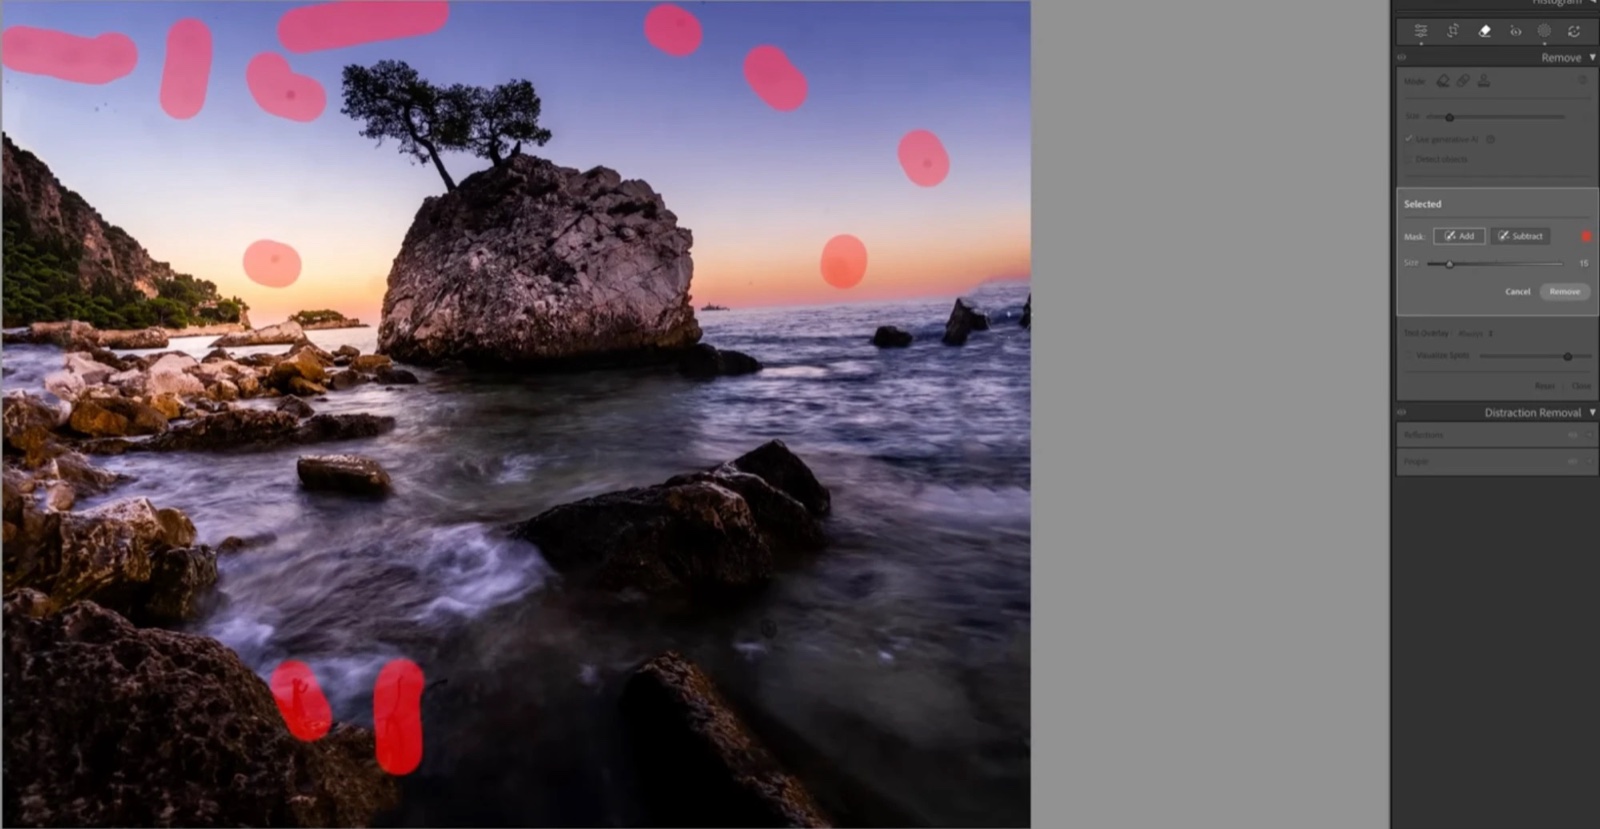
Sea spray on the lens is a real risk when you're shooting this close to moving water, and it shows up as dust spots in the sky. Rather than cloning each one out by hand, I use the Generative Remove tool: a rough brush over the affected areas is usually enough for AI to reconstruct a clean sky.
Finish With Local Brushing
A small brush pass to soften water texture in one area, or hold back brightness on a rock that's pulling too much attention, is often the last 10% that separates a good preset result from a finished, gallery-ready file.
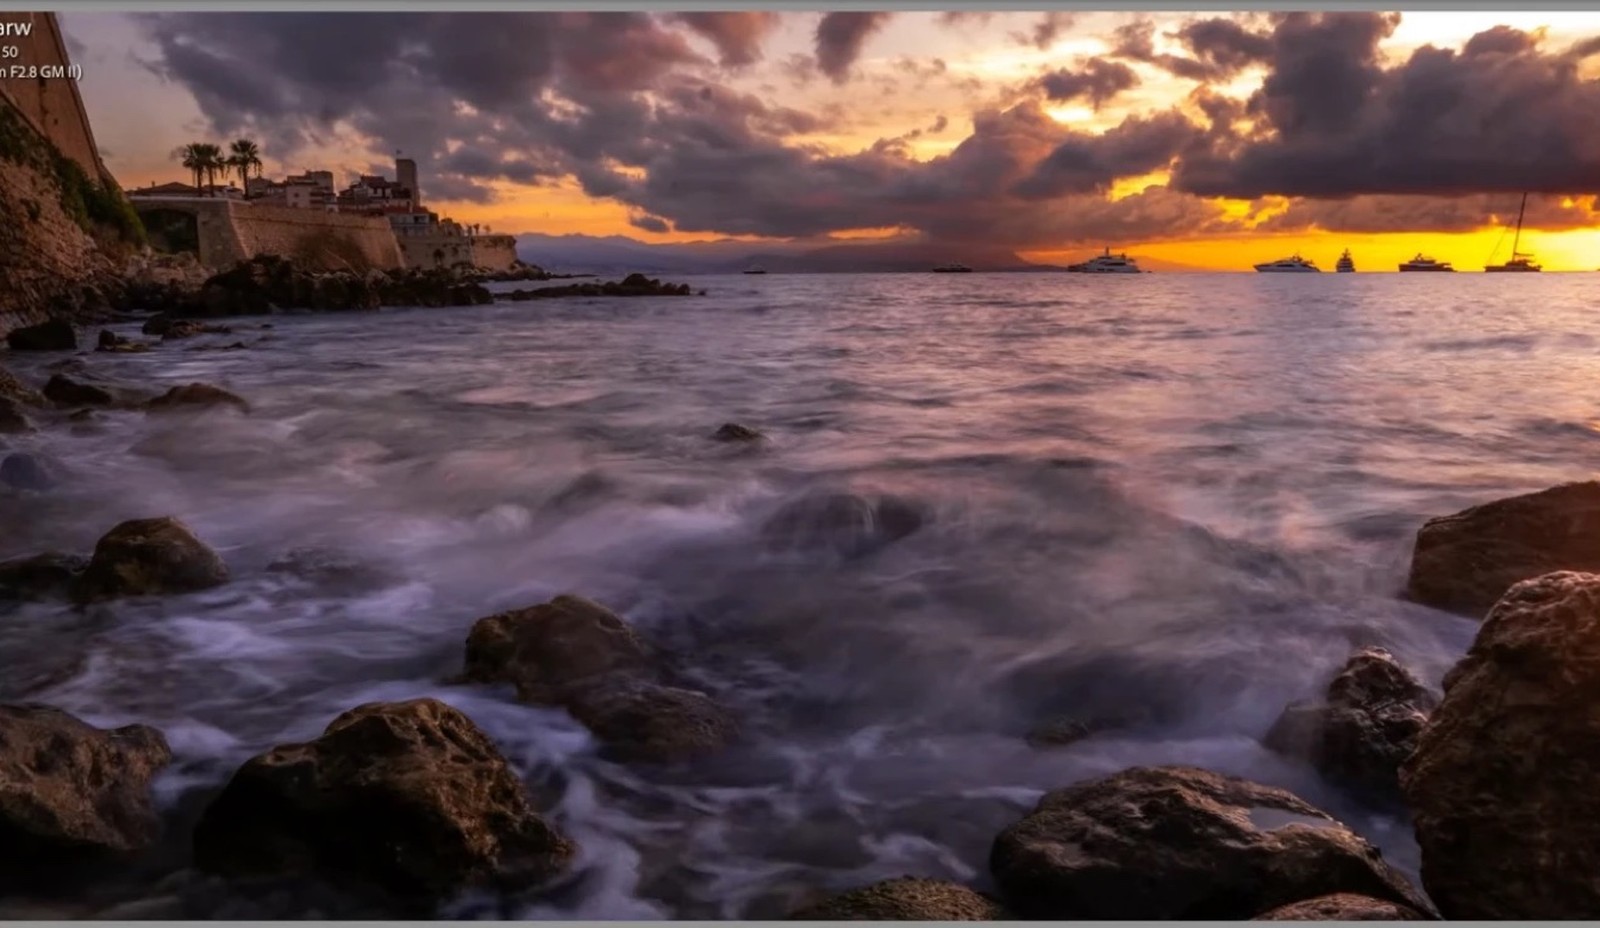
Handheld vs. Tripod: Is It Actually Worth It?
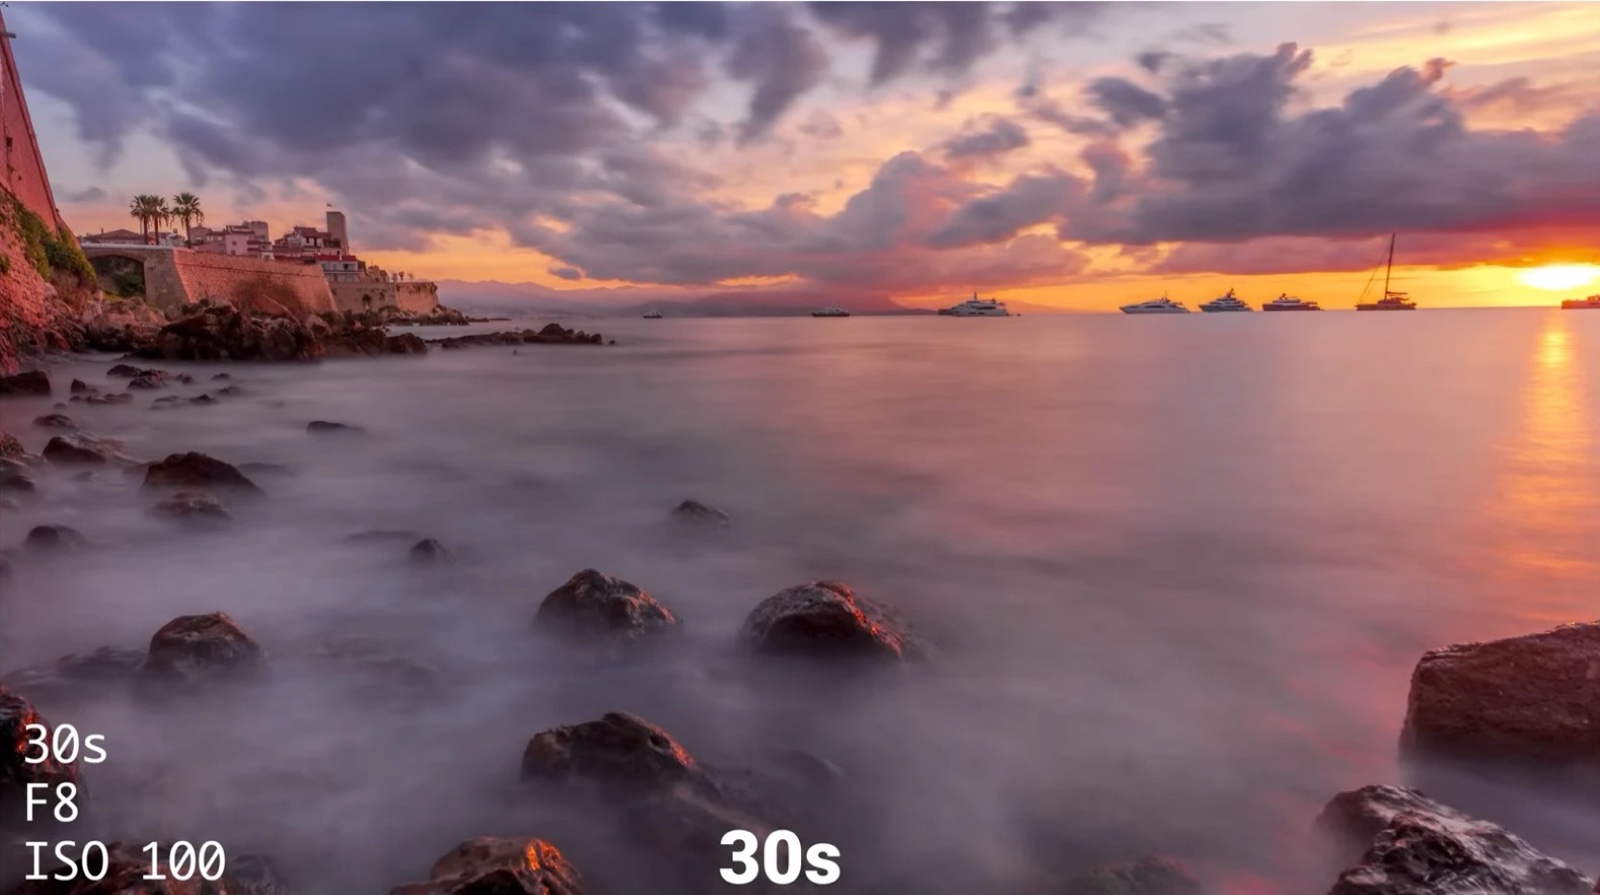
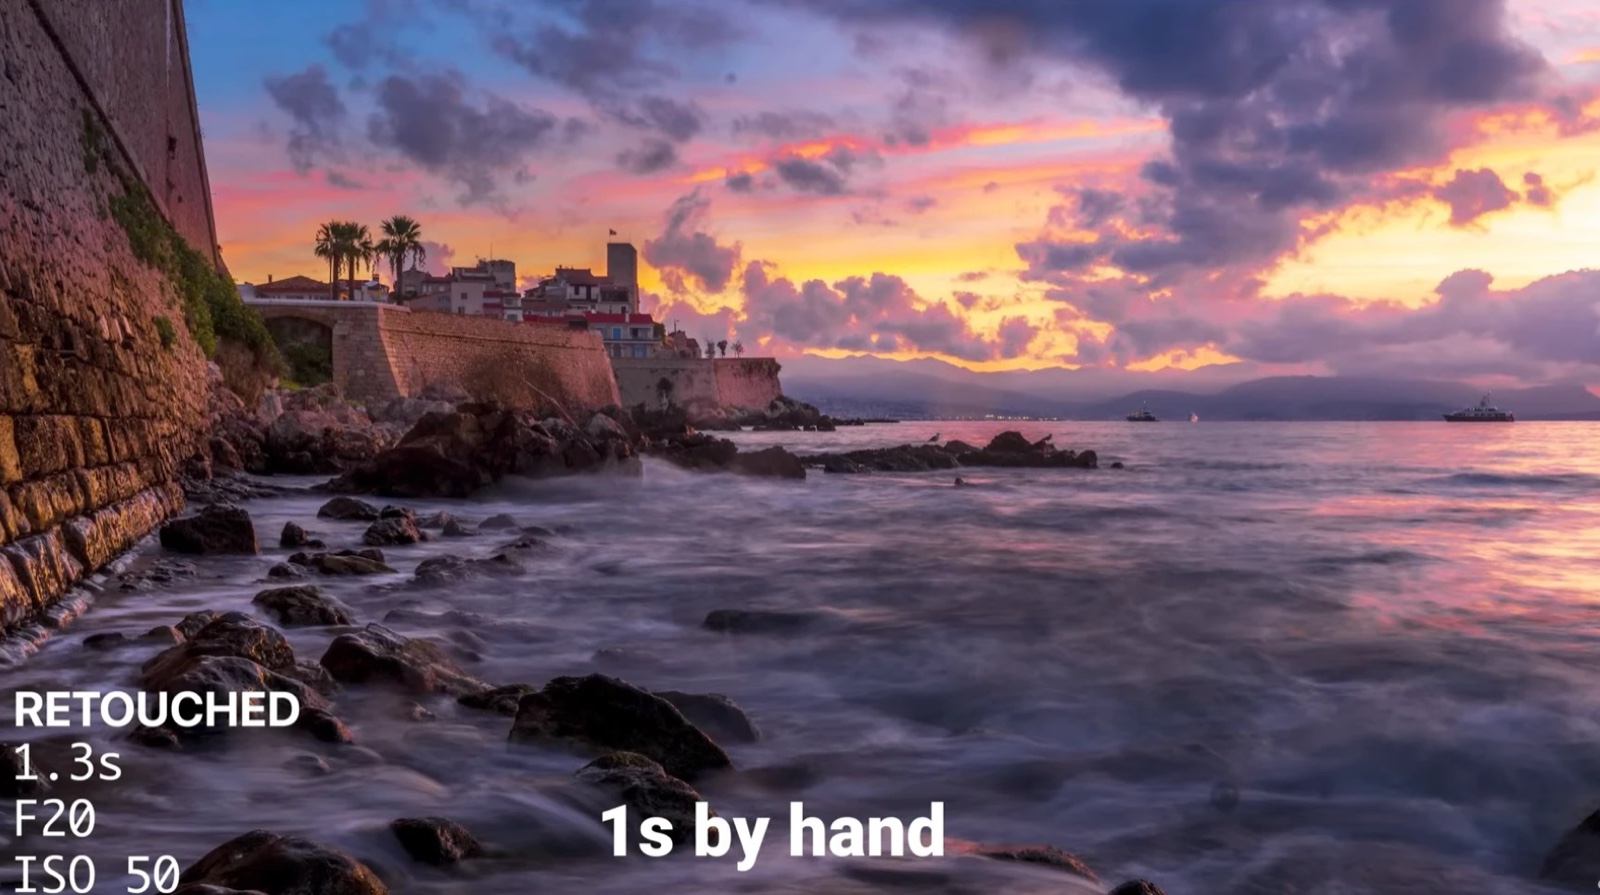
Shot back to back, the 30-second tripod exposures are still smoother, there's no getting around that. But several of the handheld frames from this trip held up at 100% crop, sharp, well-composed, and honestly indistinguishable from a tripod shot once graded. If you forgot your tripod, or just don't want to carry one, it's a real option, not a compromise you're stuck apologizing for.
Real Results From Photographers I've Coached
I mention my coaching because I mean it when I say I'd rather look at your work than just talk about mine. A few of the people I've worked with inside the Institute of Photography: one student picked up 38 international awards, another landed 12 magazine covers, another built $50,000 in print sales on Etsy, and one now does over a million dollars in sales over three years as a working photographer. You can see more of these stories, here.
Frequently Asked Questions
Can you actually do long exposure photography without a tripod?
Yes, within limits. With image stabilization on, a shutter speed around 1/2 second, a 2-second self-timer, and your body braced properly, you can get sharp, gallery-quality long exposure shots handheld. It won't replace a 30-second tripod exposure for glassy, silky water, but for moving waves and surf, it's often more than enough.
What camera settings should I use for handheld long exposure?
Start with image stabilization on, ISO 100 (or 50 for a slightly darker, moodier exposure), shutter speed around 1/2 second, and adjust your aperture to match the available light. Use a 2-second timer so pressing the shutter doesn't introduce shake.
Does image stabilization actually help with long exposure shots?
For handheld shots, yes, keep it on. The one exception is when you're on a tripod: turn stabilization off there, since the system can sometimes introduce its own micro-movement when the camera is already still.
