
Lightroom Editing for Beginners: Where to Start (The Natural Drama Formula)
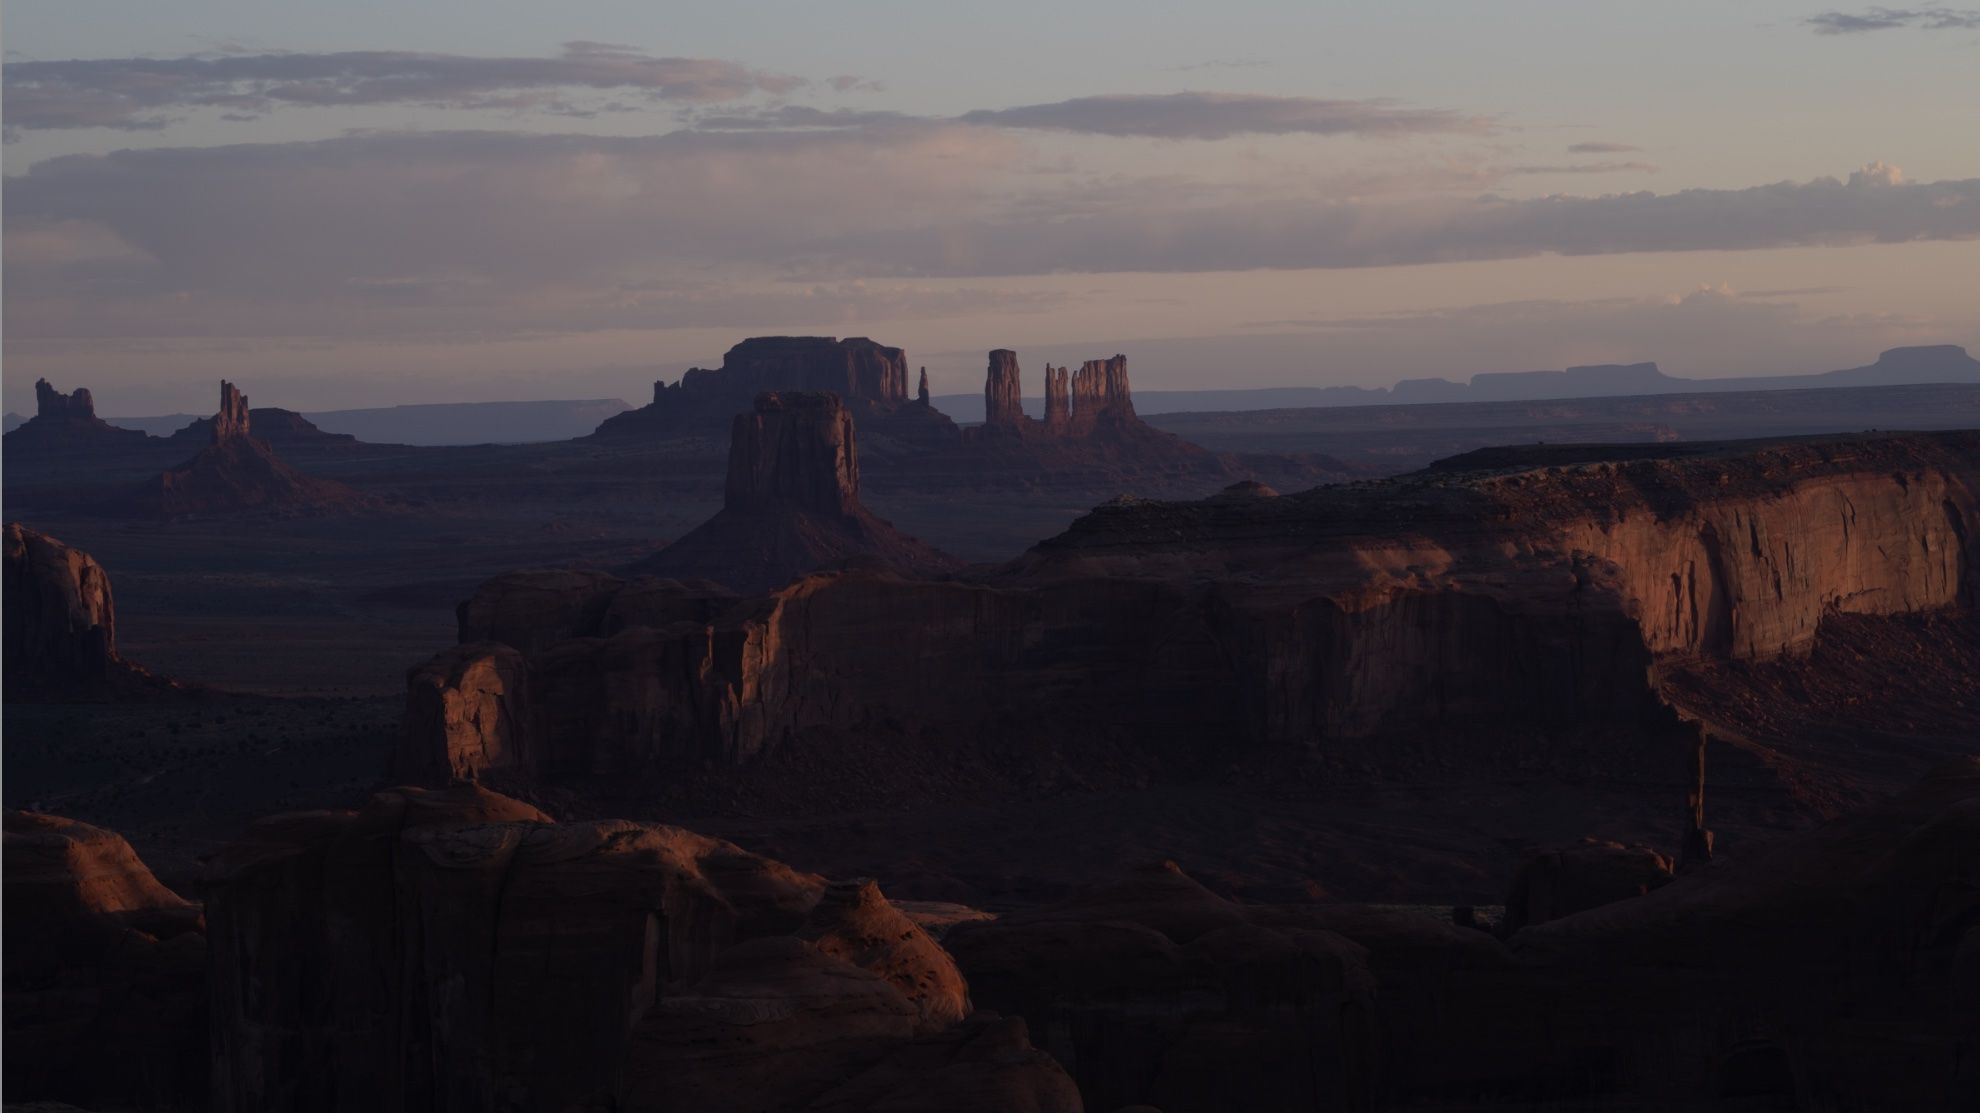
Hunts Mesa, Monument Valley · 1/50s · f/9 · ISO 100
By Serge Ramelli
New to editing? This is Lightroom editing for beginners made simple — my 5-step "Natural Drama Formula" that turns a flat RAW file into a dramatic, natural-looking photo without it ever looking over-processed.
The whole idea is to create a photo that's very dramatic but doesn't look over-retouched. You don't want people to say "Oh, you photoshopped it" — you want them to just feel an emotion when they see your photo.
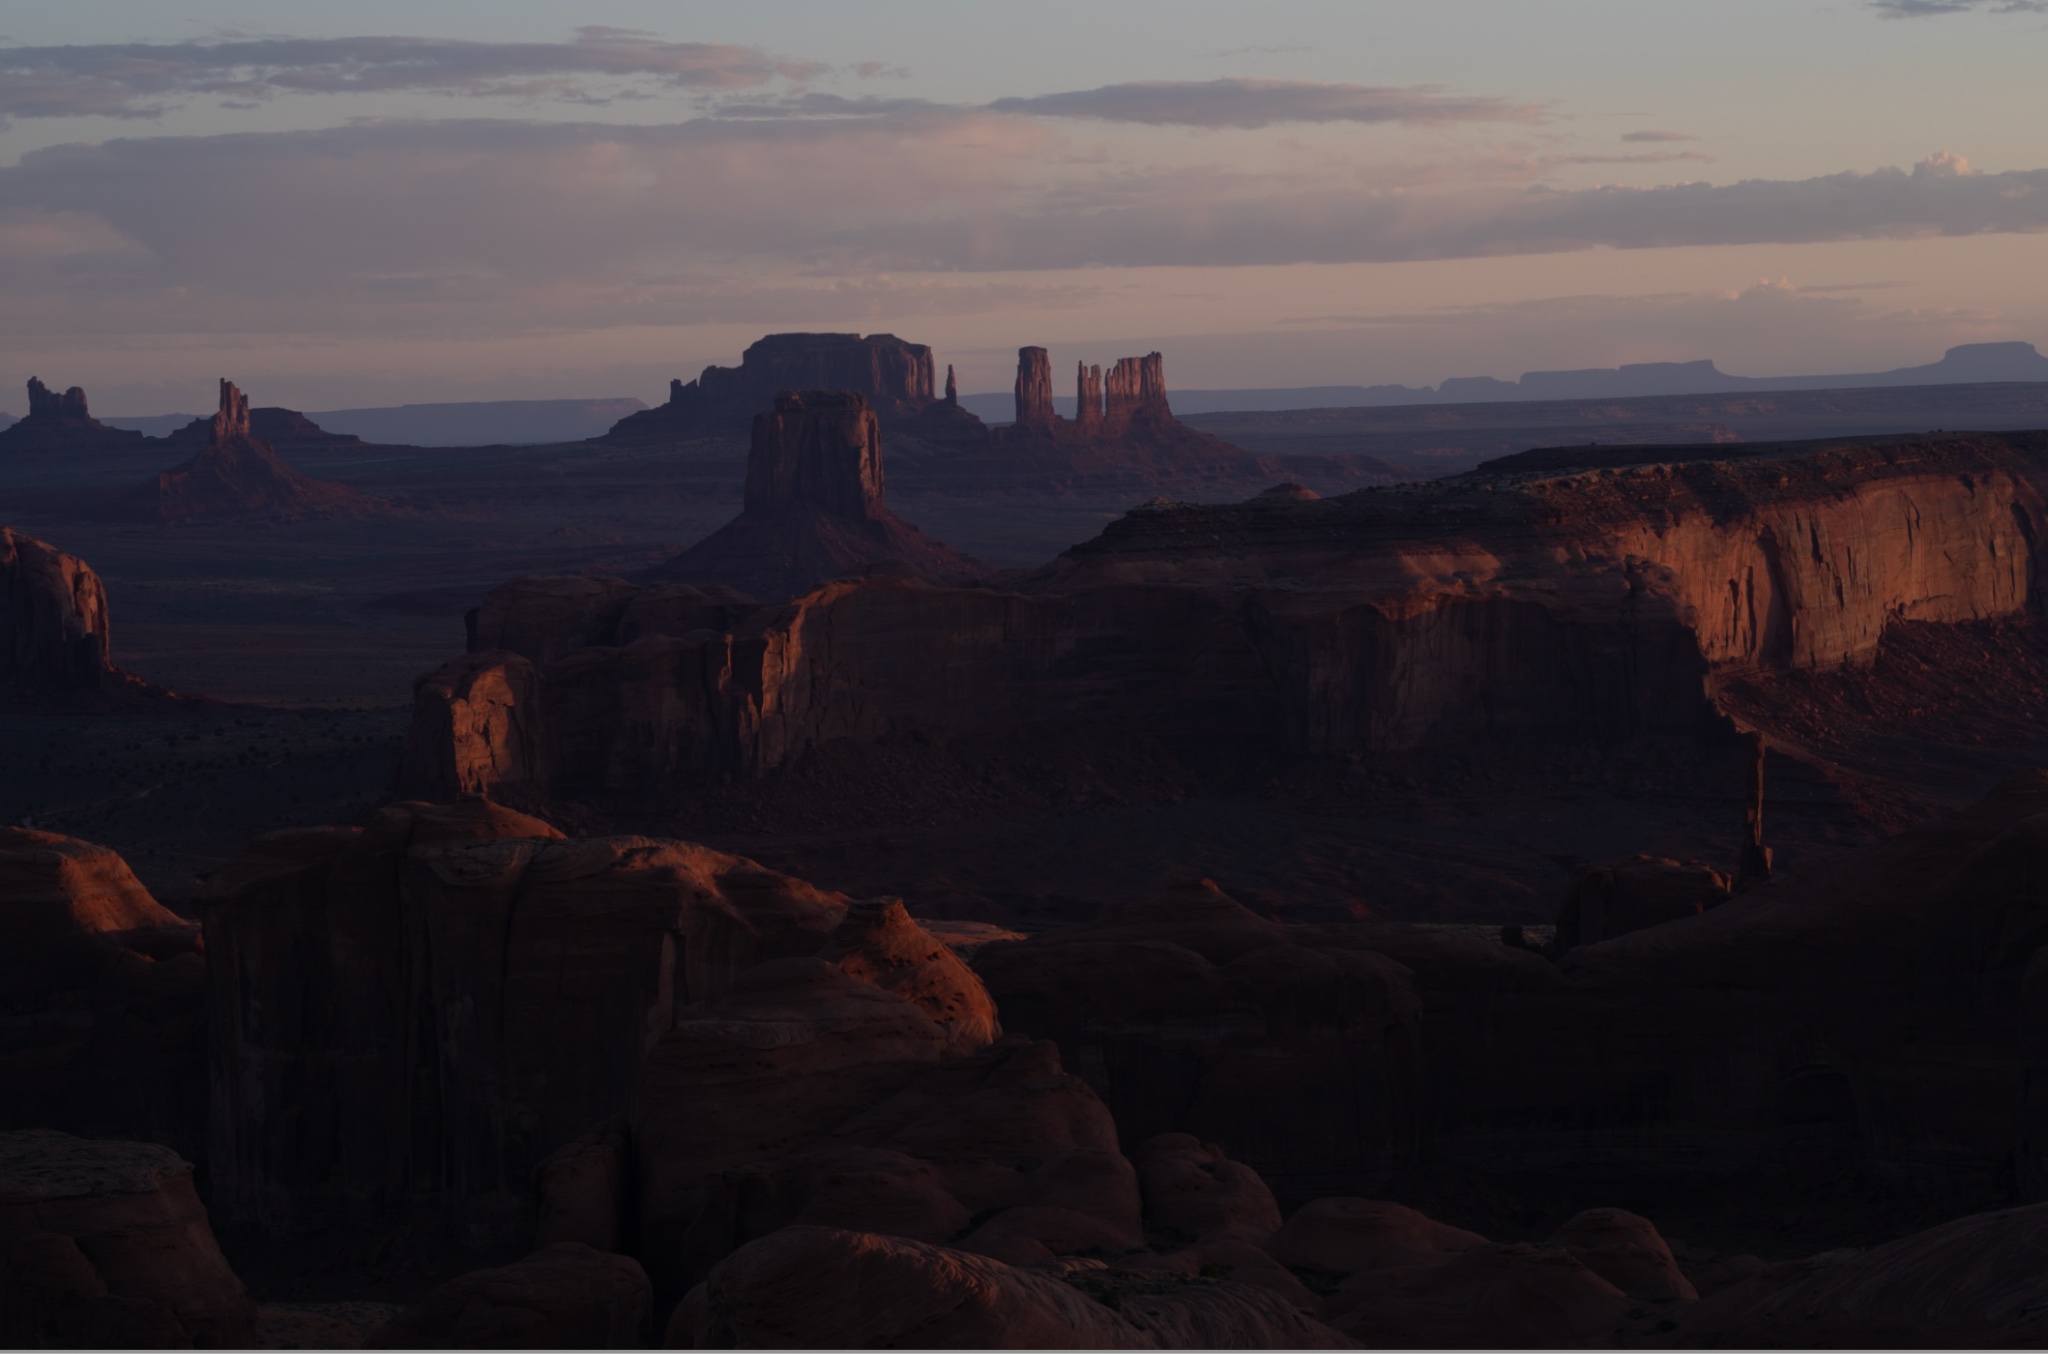
We'll start with this photo of Hunts Mesa, an overview of Monument Valley that I slightly underexposed, as I usually do, to keep all the detail in the sky.
Step 1: Open the Shadows and Highlights
In the Lightroom Basic panel, open the shadows all the way to +100 and bring the highlights down to -100. At first it's going to look a little weird — that's normal.
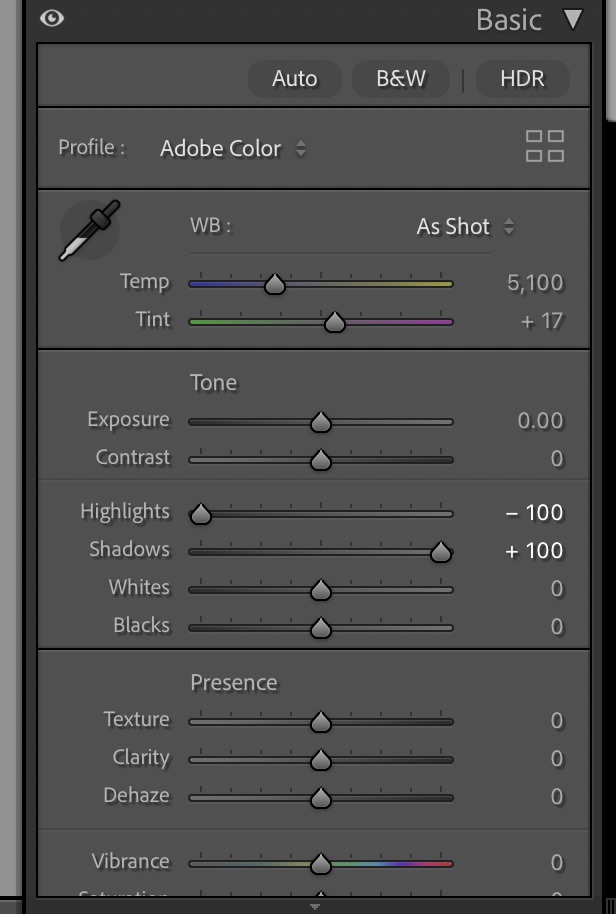
Lightroom Basic panel with shadows pushed to +100 and highlights to -100.
Setting the black point in Lightroom using the Alt/Option key to reveal pure black pixels.
Step 2: Set the Black Point
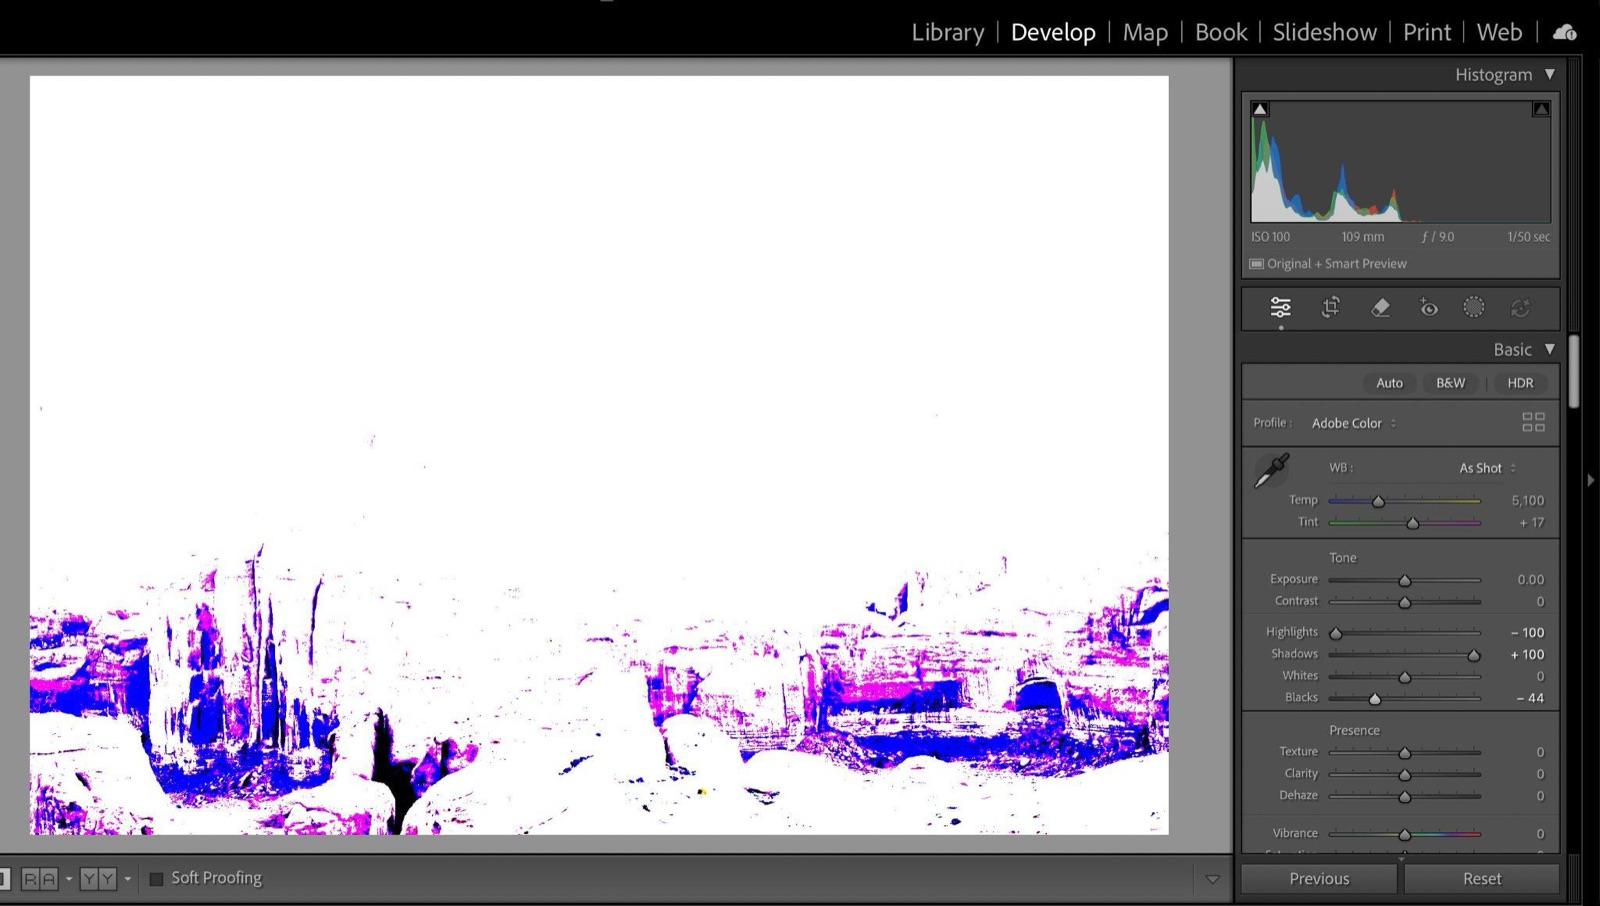
A black point is where pixels are 100% black — pure blackness, no more information — and it's a good idea to have about 1% of your photo that way. Hold the Option key (Mac) or Alt key (Windows) and drag the Blacks slider until about 1–2% of the image turns pure black. See below.
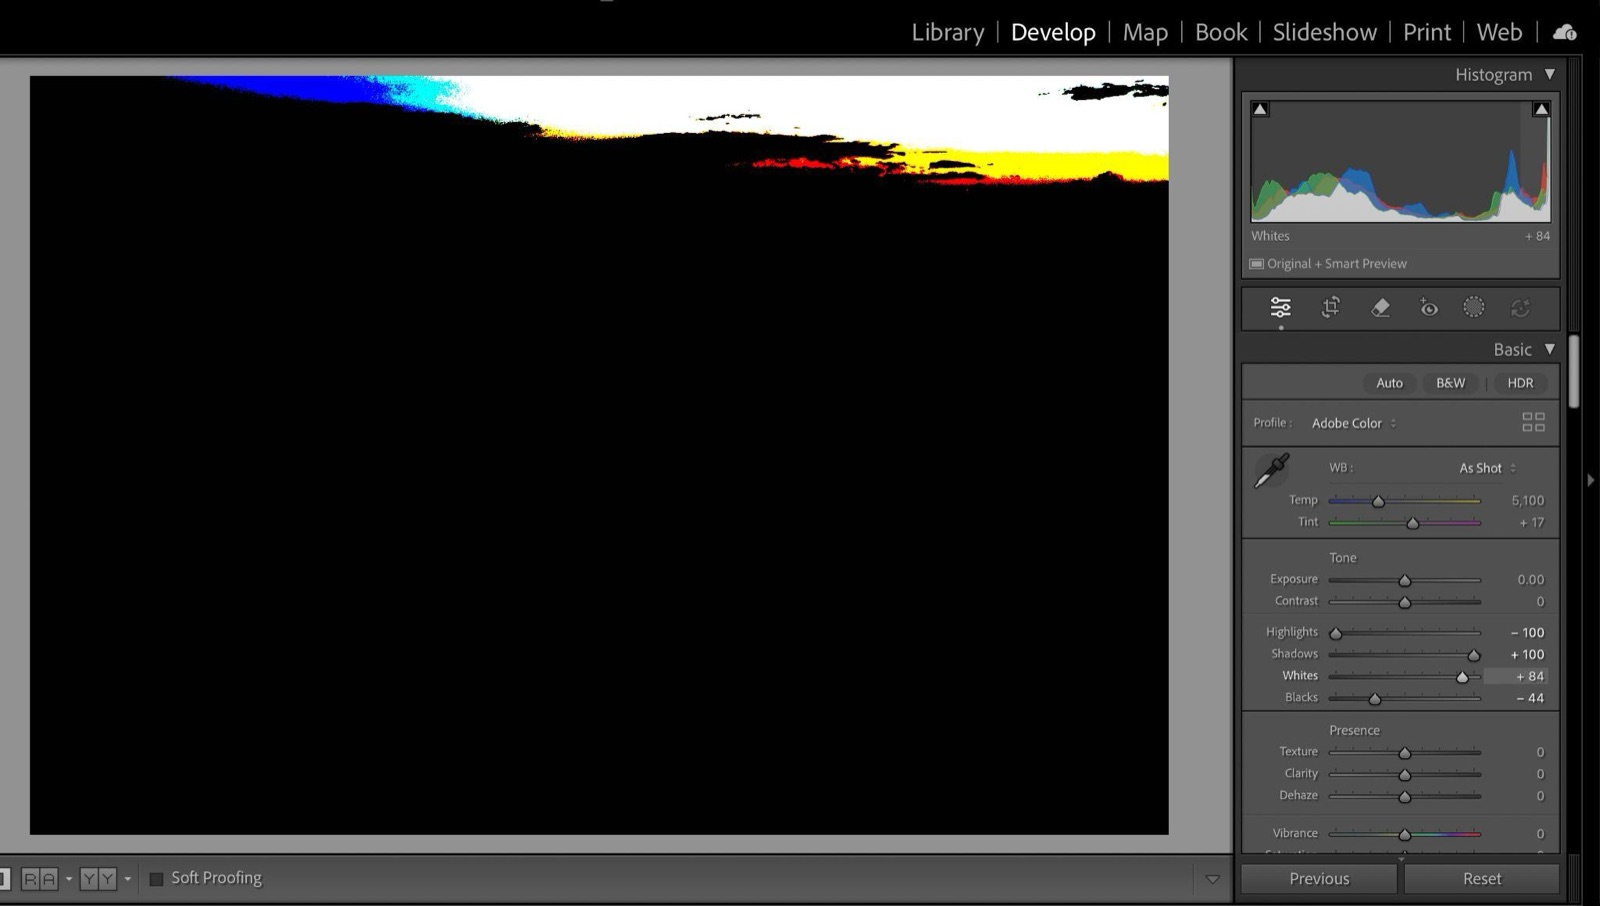
Setting the white point in Lightroom with the Alt/Option key to avoid clipping the highlights.
Step 3: Set the White Point
Same idea: keep holding Option (Mac) / Alt (Windows) and move the Whites slider until you see pixels turn 100% white — then back off until there's no pure white left. Pure white means no ink when you print, so we avoid it. I only use the Alt key as an indicator to see how far not to go.
Final Lightroom exposure settings for the Monument Valley landscape — these are the settings I ended up with.
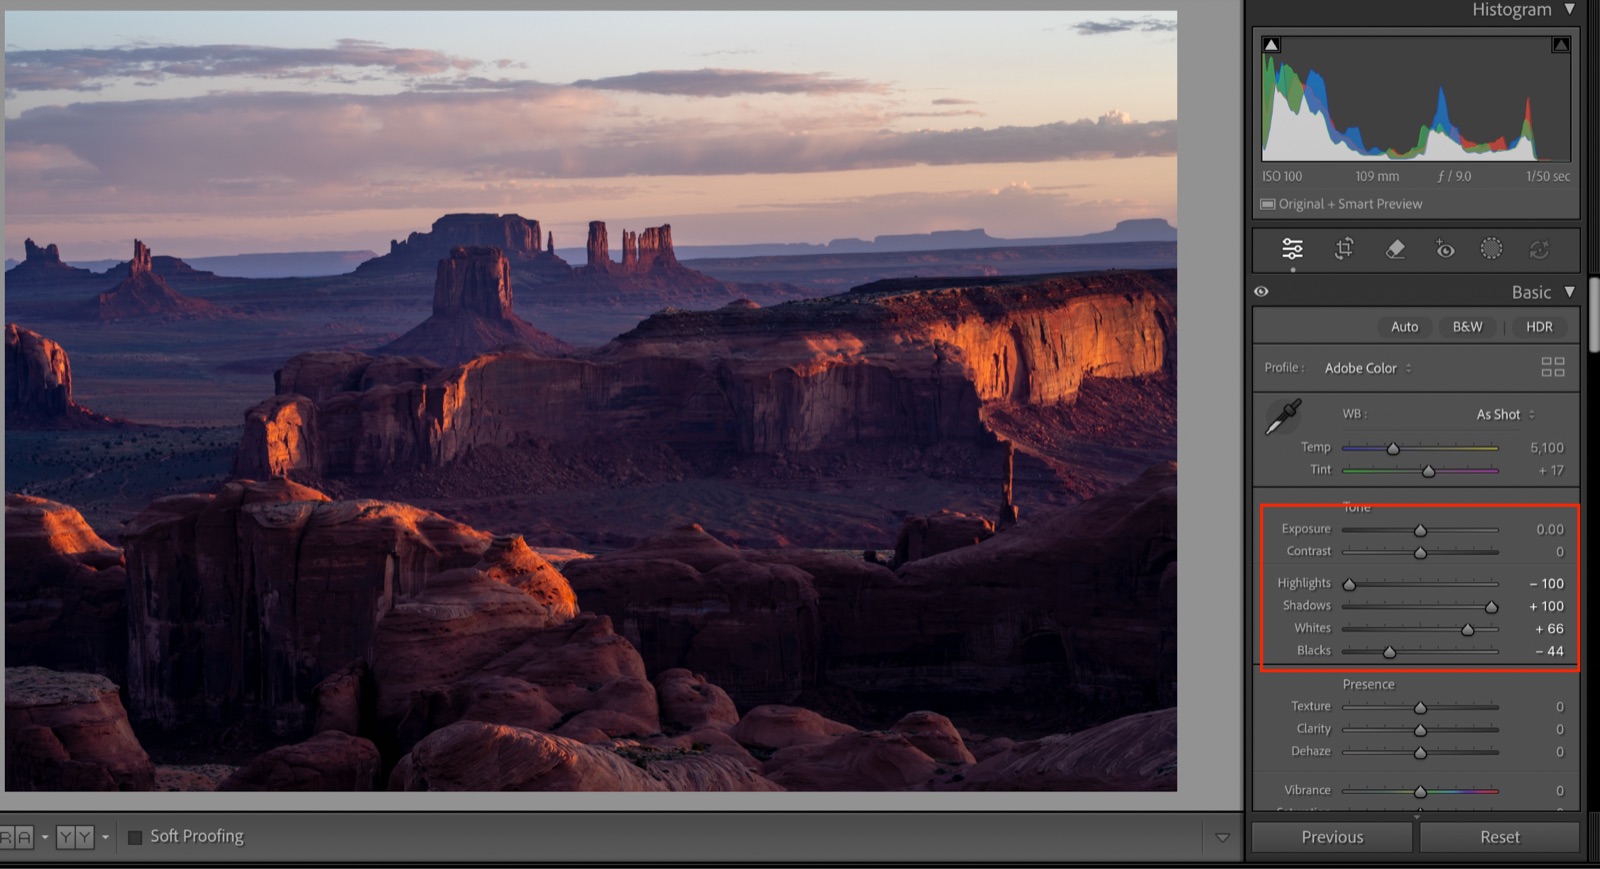
Setting the white balance to Shade in Lightroom for a warm sunrise look.
Step 4: Set the White Balance
You can only set the white balance once the exposure is right. For this sunrise I go with Shade, because I really want a warm look.

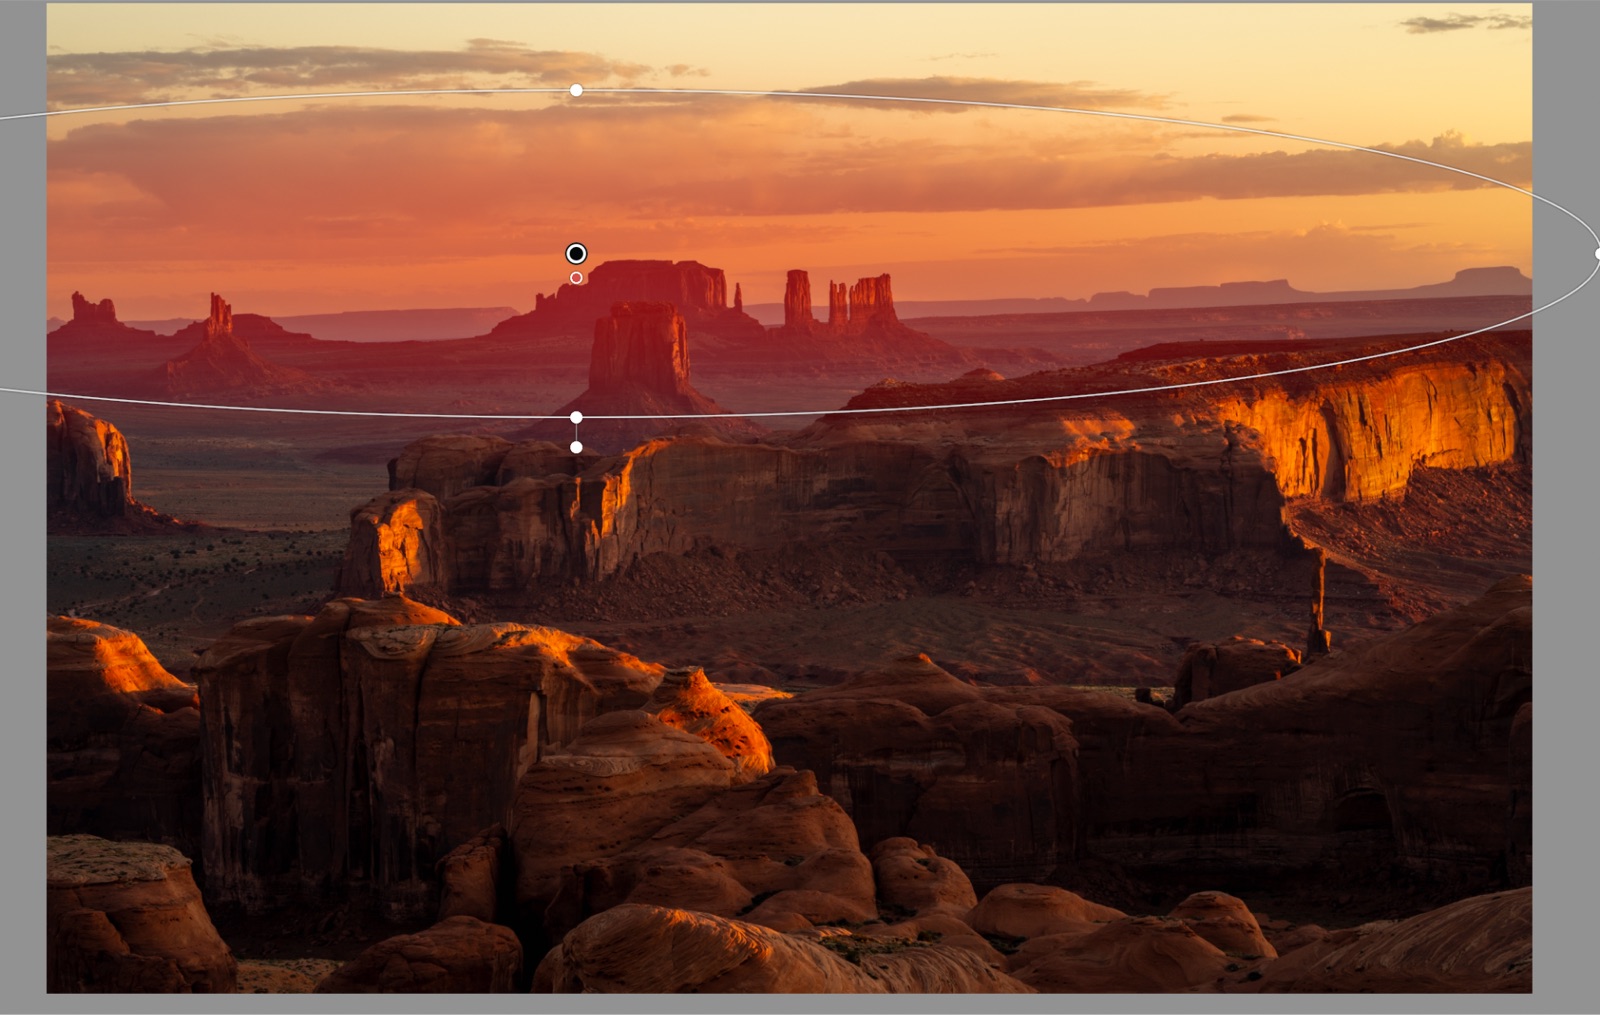
Adding a radial filter over the sky to boost the sunrise in Lightroom.
Step 5: Boost the Sunrise with a Radial Filter
Let's make the sunrise even better with a radial filter. Drag a big circle over the bottom of the sky, where the sunrise glow should be.
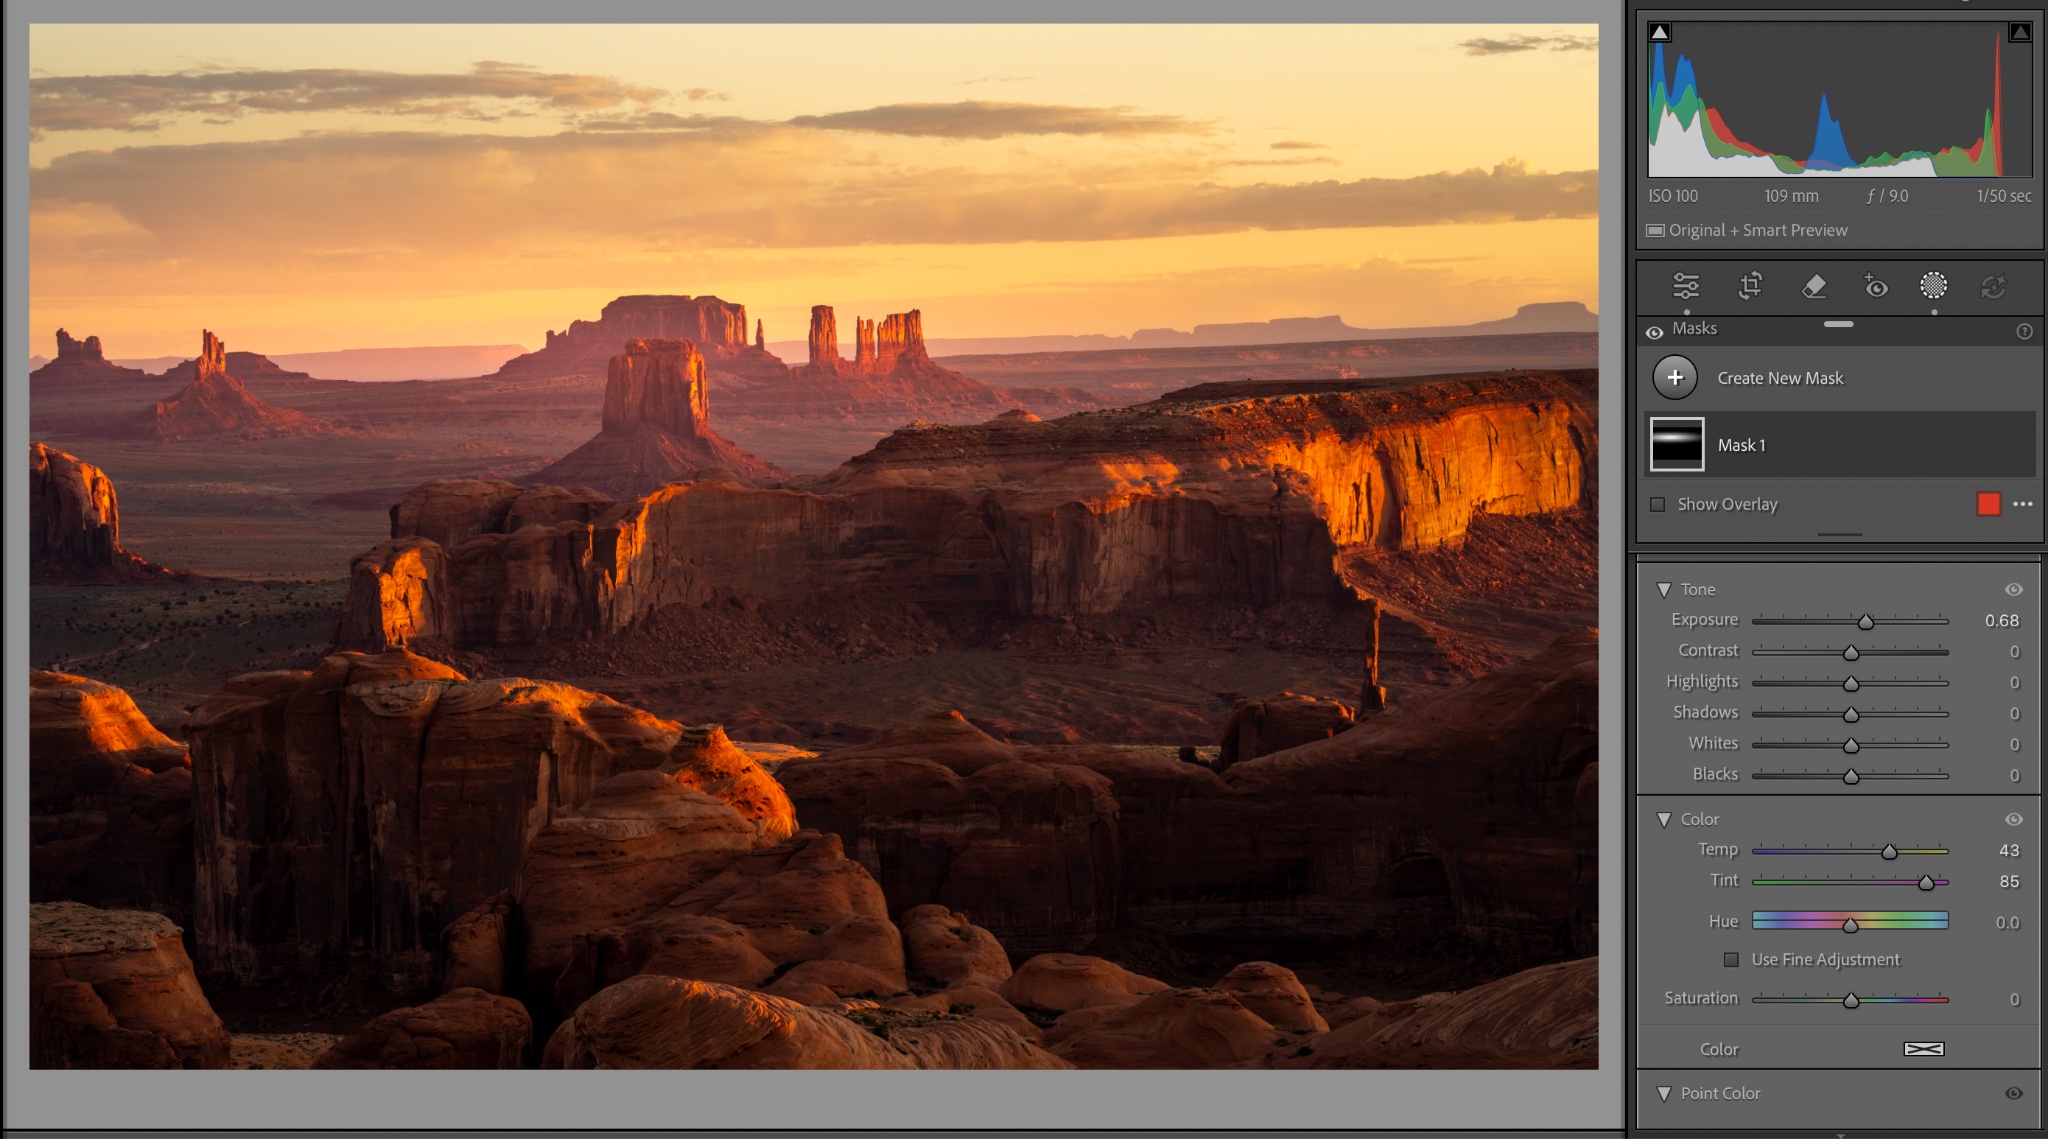
Radial filter with added exposure, yellow and magenta to make the sunrise pop.
Add a bit of exposure, a bit of yellow, and a bit of magenta just in that region to make the sky and the sunrise really pop.
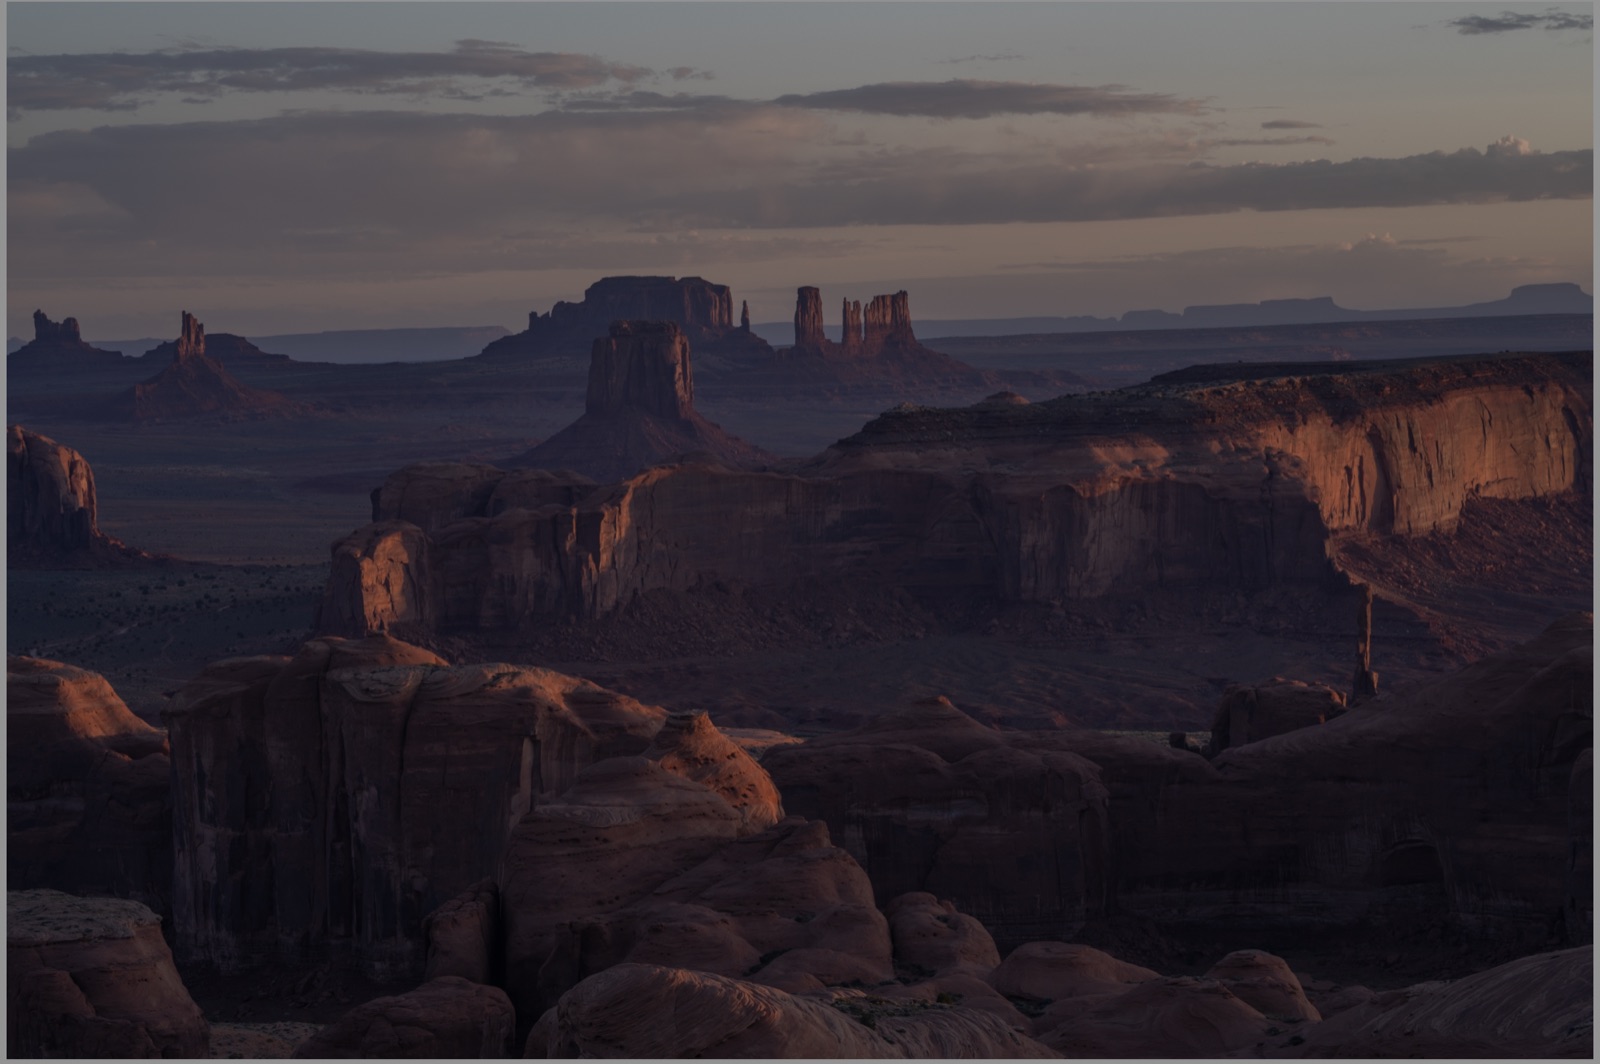
Monument Valley before editing — the flat RAW file.
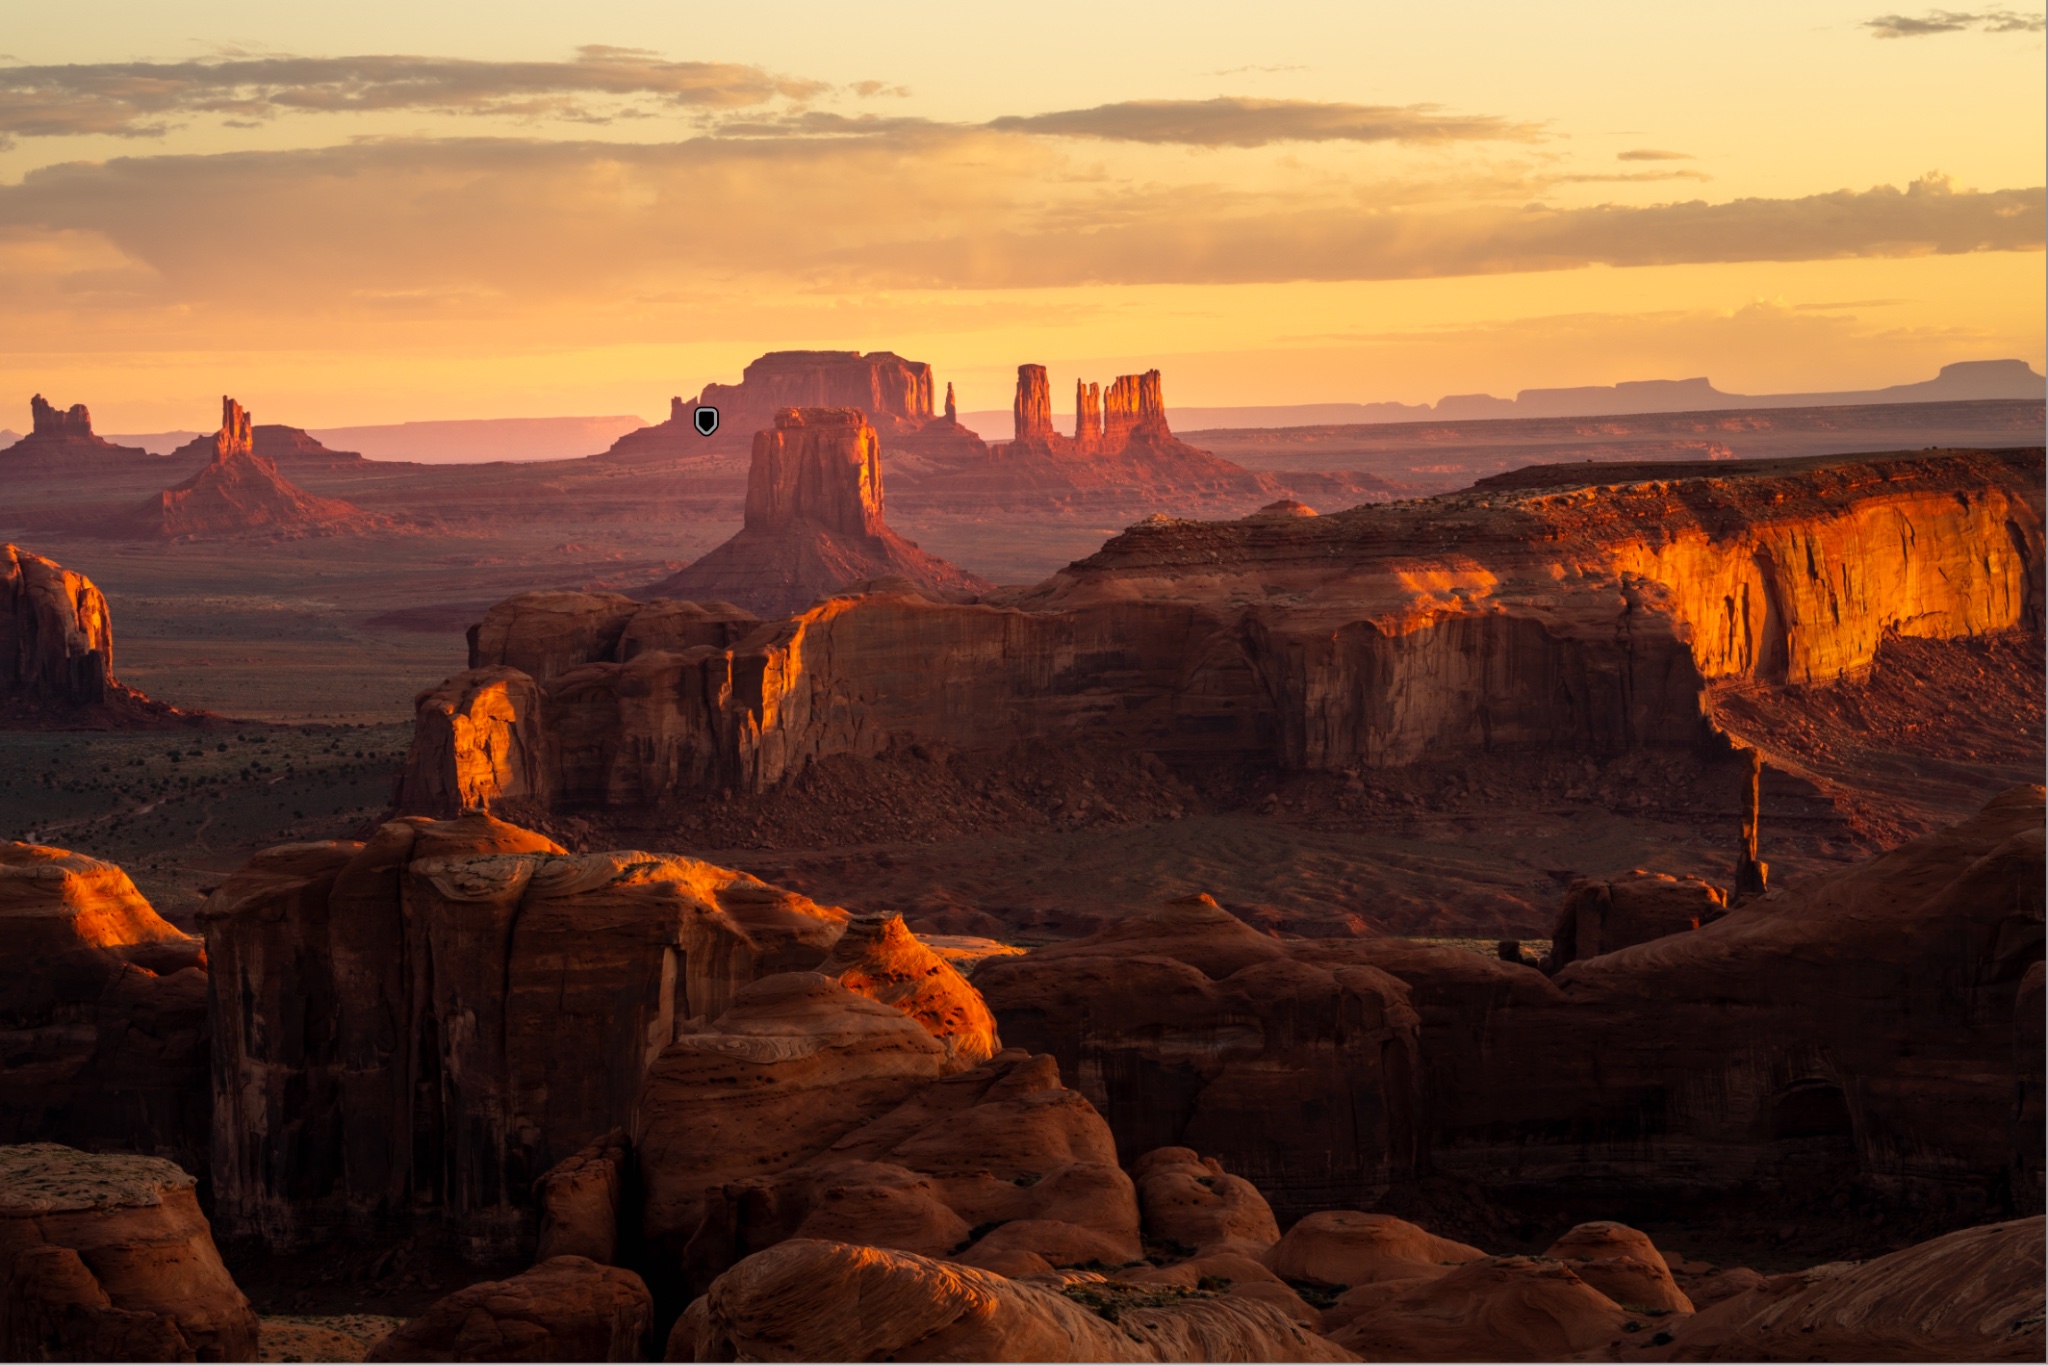
Before and After
Here is the final result.
Monument Valley after editing with the Natural Drama Formula.
Another landscape edited with the Natural Drama Formula.
Watch the Full Video
Here's a full video with another, slightly more complex example of the Natural Drama Formula in action:
Frequently Asked Questions
How do I start editing in Lightroom as a beginner?
Start in the Basic panel: open the shadows and highlights, set your black and white points with the Alt/Option key, fix the white balance, then add a local adjustment like a radial filter. That's the Natural Drama Formula.
What is the best order to edit a photo in Lightroom?
Exposure first (shadows, highlights, then black and white points), then white balance, then local adjustments such as radial or graduated filters.
What are the black point and white point in Lightroom?
The black point is where pixels become 100% black; the white point where they become 100% white. Hold Alt/Option while dragging the sliders so you set them without clipping detail.
Is Lightroom good for beginners?
Yes — the Basic panel is simple, and a repeatable recipe like this gets dramatic, natural-looking results fast.
By Serge Ramelli
Want more? Explore 10 Lightroom secrets to instantly improve your photos and the best photography locations in Paris. Love a shot? You can license my prints here.
Get my FREE Lightroom preset here: https://bit.ly/AIPresets
Serge — Photoserge | Coaching photographers who are serious about getting to the next level.
Struggling To Get Good Results With Your Photos?
Apply now to finally master your tools and capture photos that have that 'WOW' factor using the Natural Drama Formula
