
How to Fix an Overexposed RAW Photo in Luminar Neo
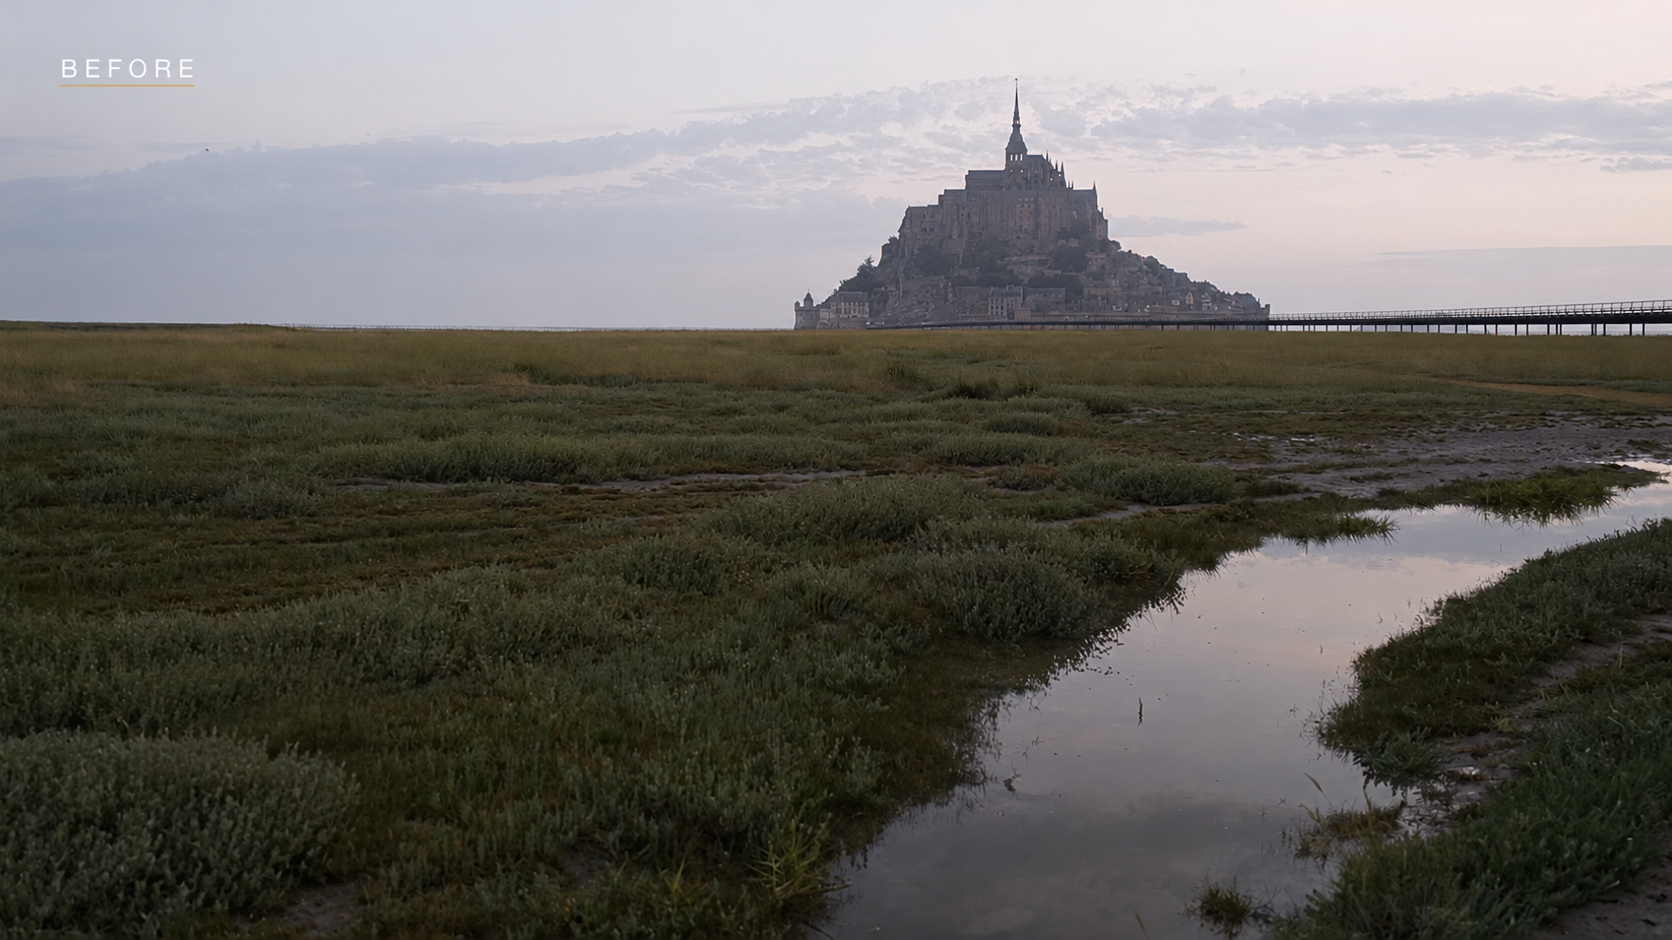
Most of the time, a "before" photo in a tutorial is already halfway decent. This one wasn't. The RAW file I'm starting with here, a sunrise over Mont Saint-Michel, is flat and overexposed, the kind of file most people would delete rather than edit. I wanted to show exactly what it takes to turn that into a dramatic final image using the latest version of Luminar Neo, including one tool in particular that I simply can't reproduce the same way in Lightroom.
Quick disclosure: I do make a commission if you buy Luminar Neo through my link below. I'm only mentioning it because it's the right thing to do, not because it changes my opinion, it's one of the only third-party editors I use regularly alongside Lightroom and Photoshop. If you want to try it, you can find my special offer through this link, and use code PHOTOSERGE at checkout for an extra 10% off.
The starting point: flat, overexposed, and not much to look at yet.
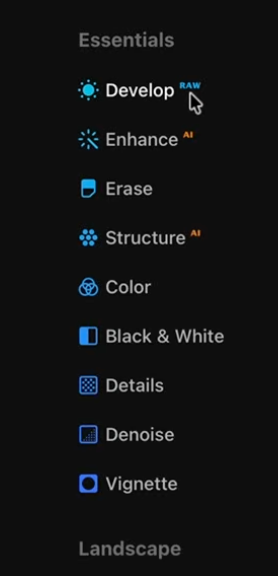
The toolset I'll be working through, from basic Develop to the Landscape and Professional panels below it.
Recovering the File with RAW Develop
With a file this overexposed, the very first step is RAW Develop, before touching anything creative, I need to know how much detail is actually recoverable in those blown-out areas.
From there it's the standard basic panel, but pushed harder than usual given how far off the exposure was:
- Exposure brought down to compensate for the overexposure
- Highlights pulled way down to recover the blown-out sky and bright areas
- Shadows lifted just enough to bring back detail without flattening the image again
- Blacks and Whites adjusted together to reset the contrast range once exposure was under control
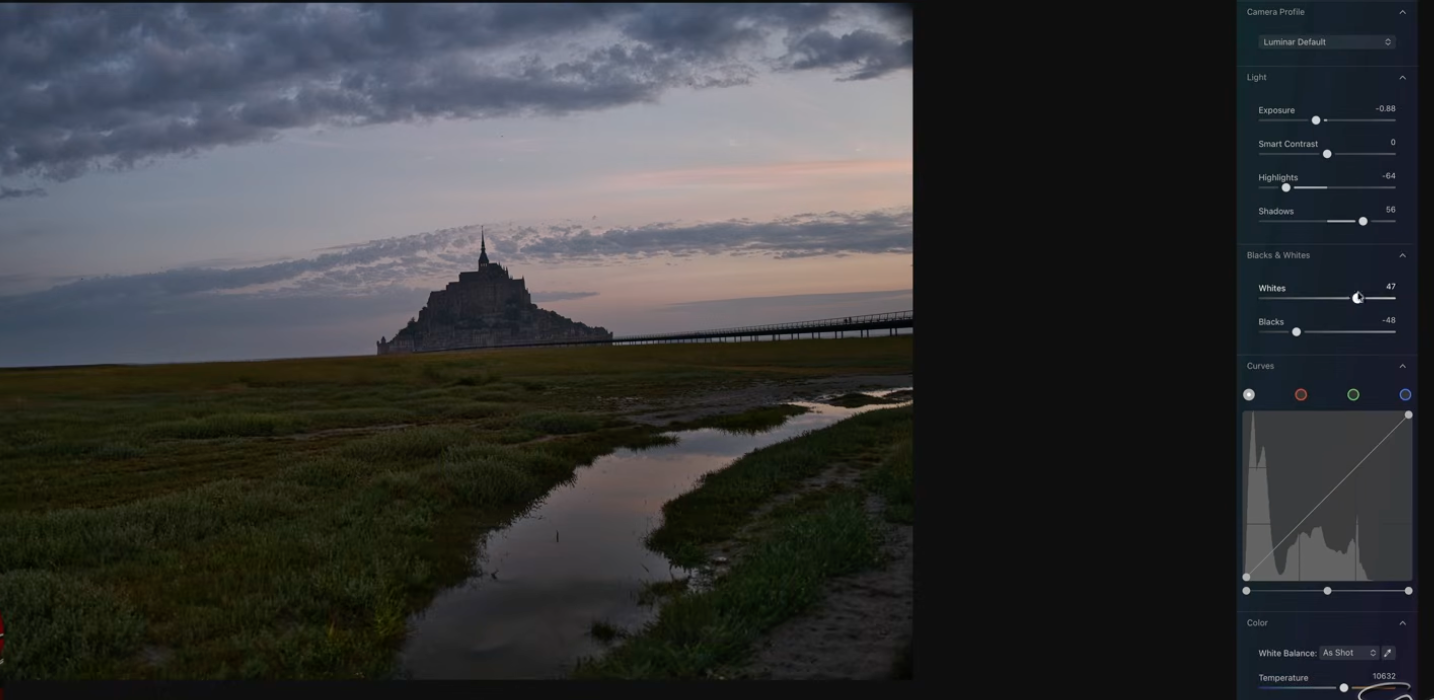
Basic recovery: getting the exposure back under control before anything else.
White Balance: Restoring Natural Color
Overexposed files almost always look color-shifted once you pull the highlights back down, so White Balance comes right after the basic recovery, not at the end. The goal here isn't a creative color grade yet, it's just getting the whites and grays in the frame to read as neutral again before I add any mood on top.
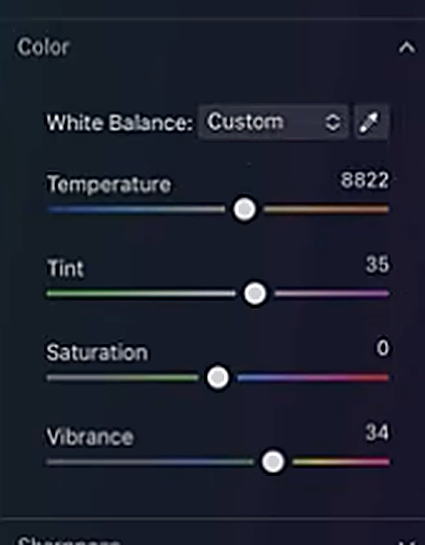
Neutral color first, creative color grading comes later.
Crop AI and Composition
Once the exposure and color were sitting right, I used Crop AI to tighten the composition to 16:9. It's a small step that's easy to skip, but a stronger crop does more for the final impact of a photo than most people expect, especially on a file that started this rough.
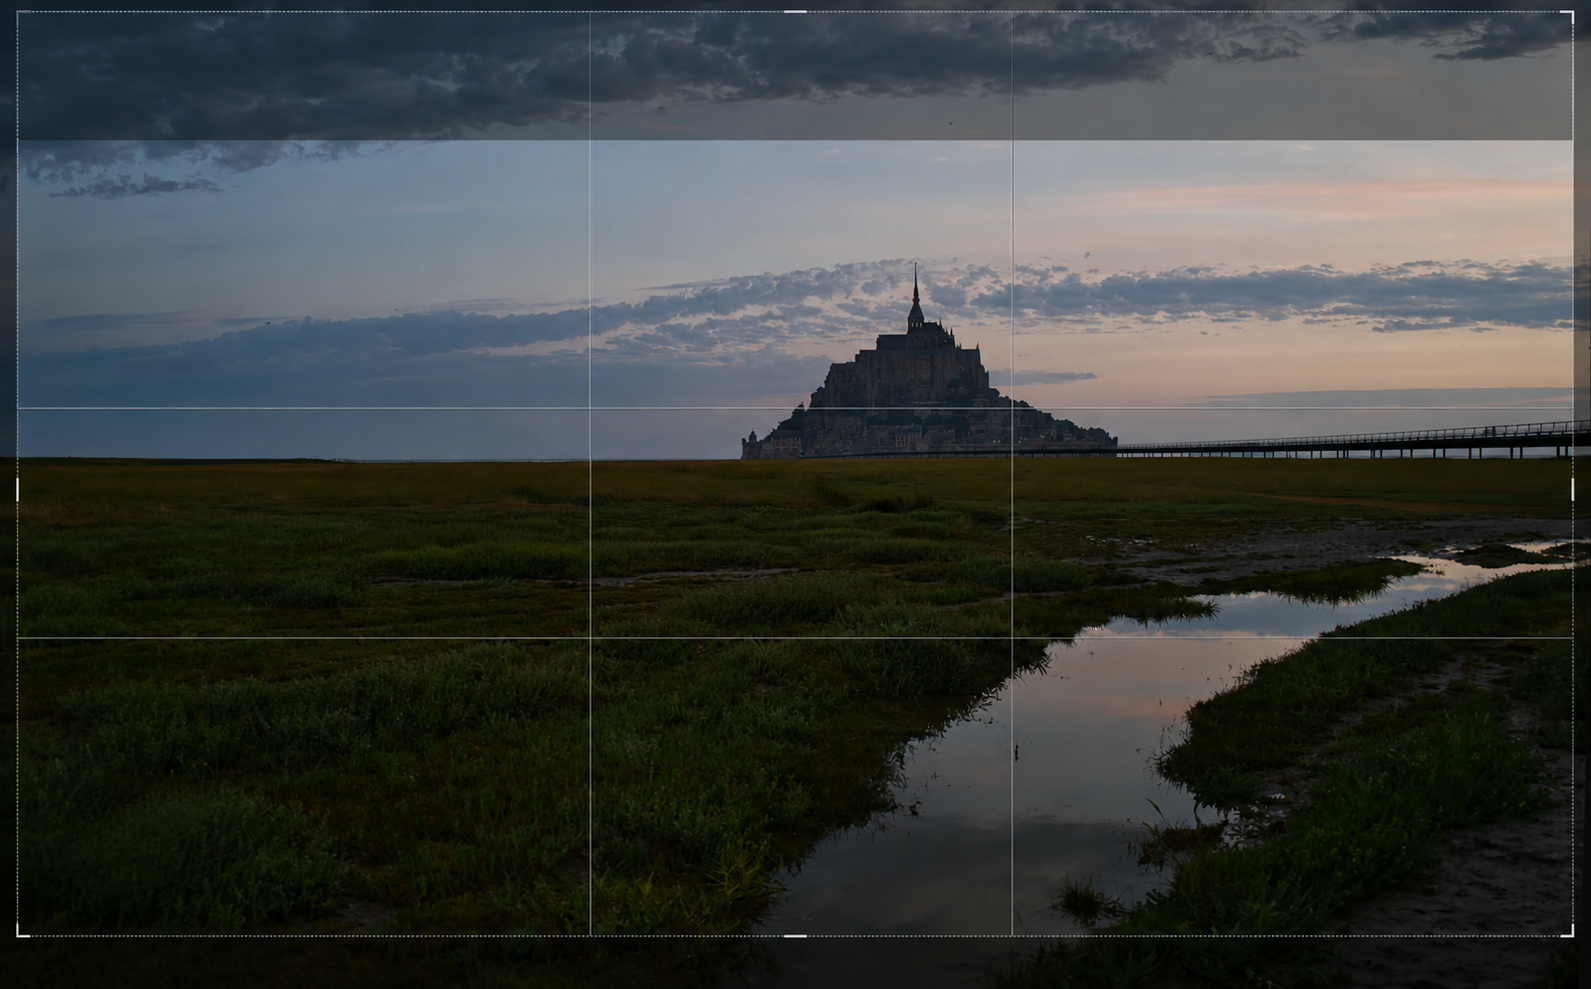
A tighter 16:9 crop, decided after the exposure was already fixed.
Golden Hour: Adding Warmth and Mood
This is where the image starts to feel intentional instead of just "corrected." Golden Hour, under the Landscape tool, pushes the photo toward warm, low-angle light. On most files I keep this well under half, but this one started so flat and gray that I pushed it all the way to 100, it's a mood slider, not an exposure slider, so it tolerates being pushed harder without looking broken the way maxing out Exposure or Contrast would.
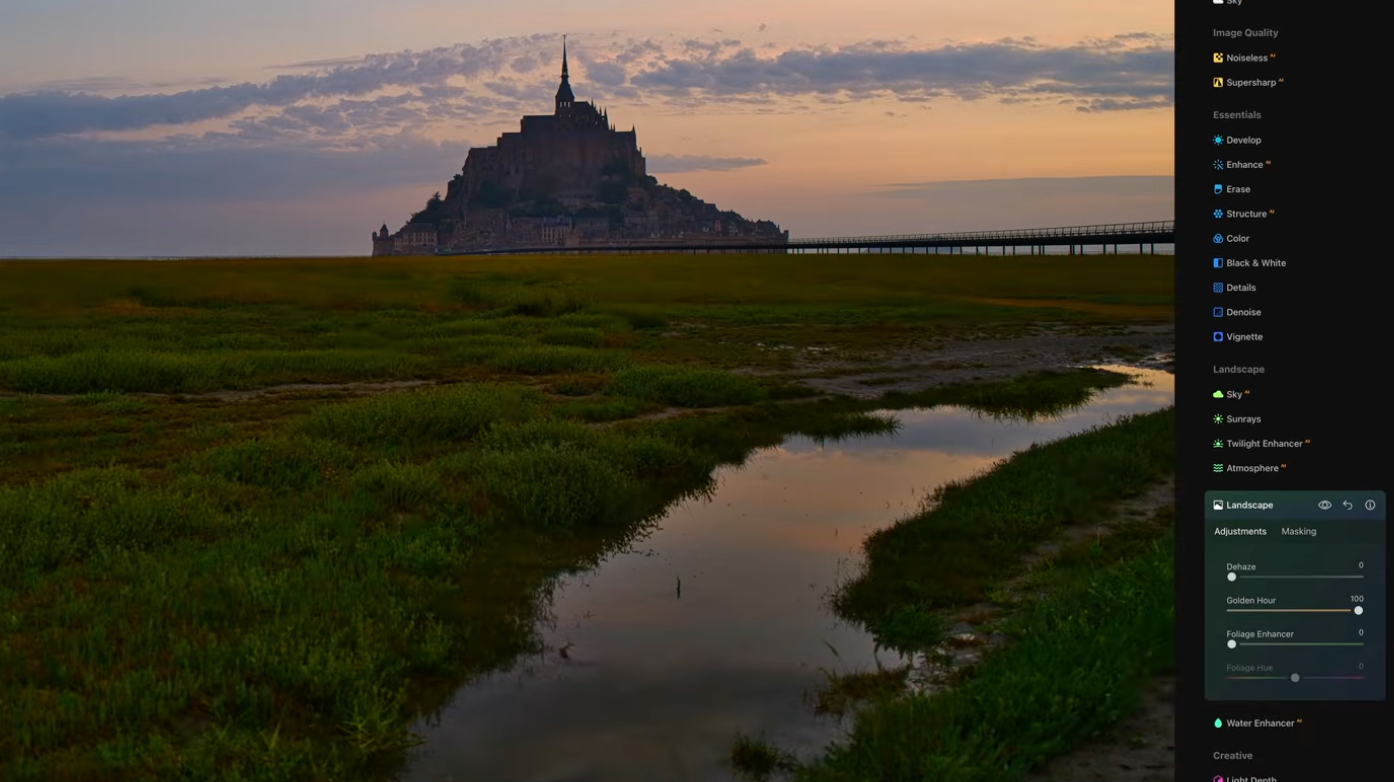
Golden Hour pushed to 100, an exception given how flat this file started.
AI Enhance and Accent AI
AI Enhance and Accent AI do a lot of the heavy lifting for overall balance, sharpness, and structure, but I treat them as a starting point rather than a finish line. Run them, look at the result critically, then dial back whatever feels overdone.
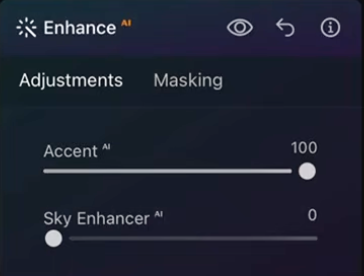
Accent AI pushed up first, then judged critically rather than left on autopilot.
Local Masking: Applying Effects Only Where You Need Them
Almost nothing in this edit gets applied globally. Local masking lets me confine an adjustment, more warmth here, more contrast there, to just the part of the frame that needs it, instead of affecting the whole photo and having to compromise everywhere else.
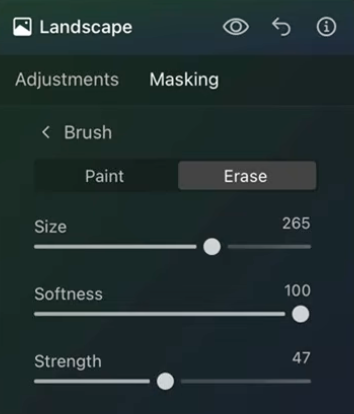
The brush controls behind every local mask: Size, Softness and Strength.
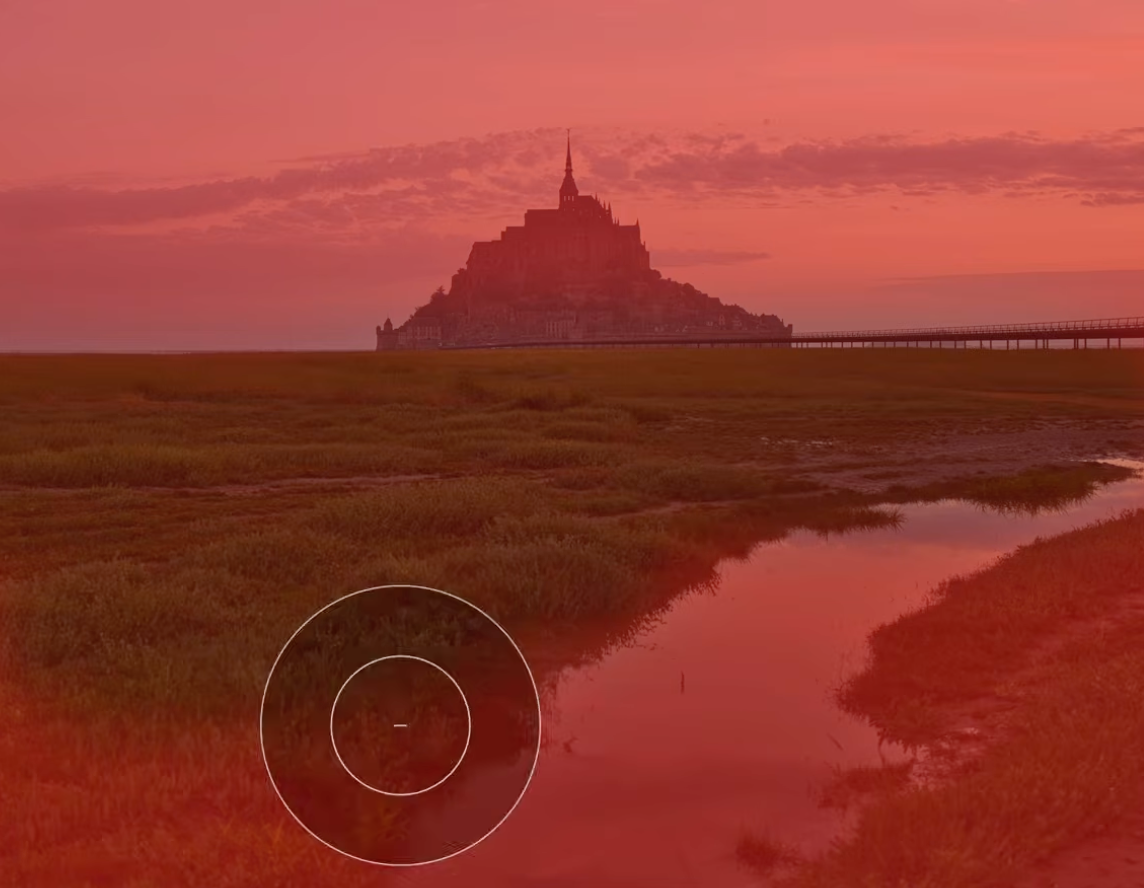
Excluding an area from an adjustment with a radial mask.
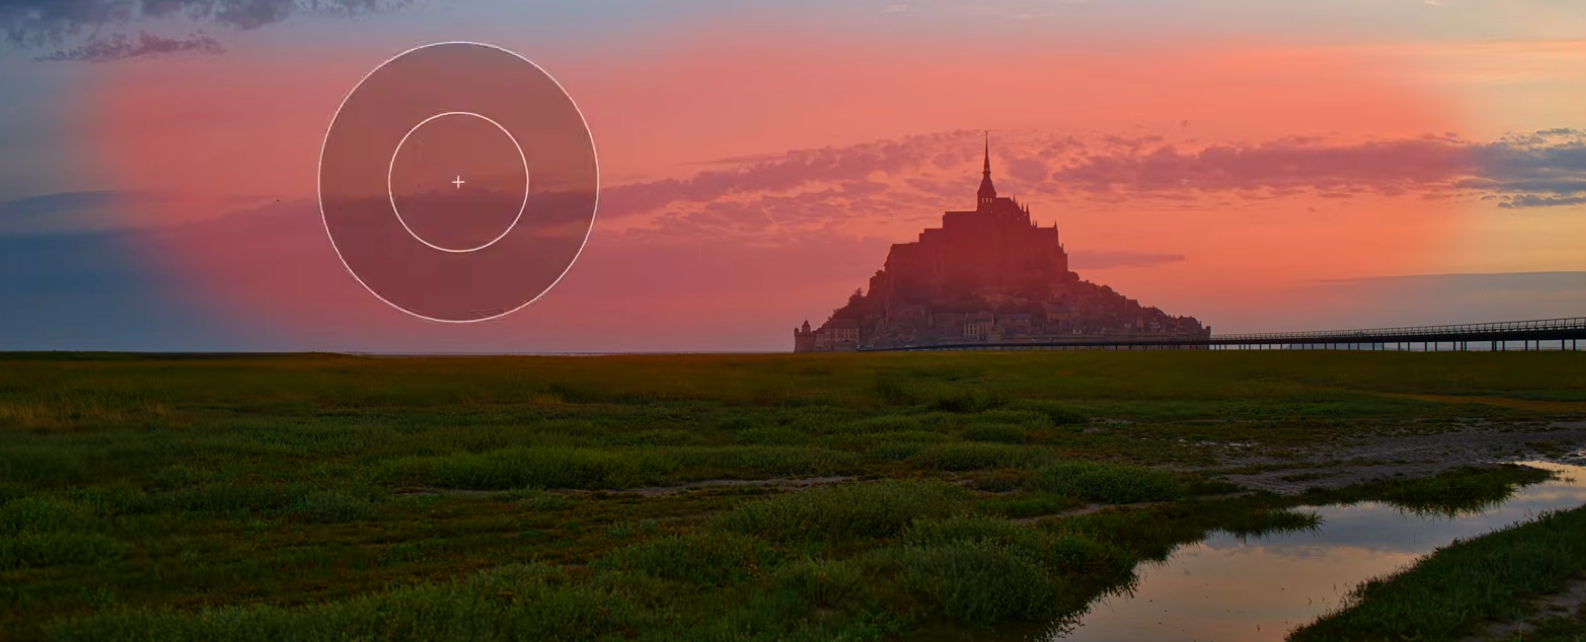
The mask overlay, shown in red, so you know exactly where the adjustment lands.
Light Depth: The Feature Lightroom Still Can't Match
This is the biggest surprise for me in the latest version of Luminar Neo, and the reason I keep coming back to it. Every photo has a depth map, Luminar Neo can tell what's near the camera and what's far away, and Light Depth lets you place a virtual light source anywhere in that map and control how it falls off between what's close and what's far.
In practice, that means I can brighten something in the foreground or darken the background, based purely on distance, without masking anything by hand. I don't know of another editor, Lightroom included, that does this the same way.
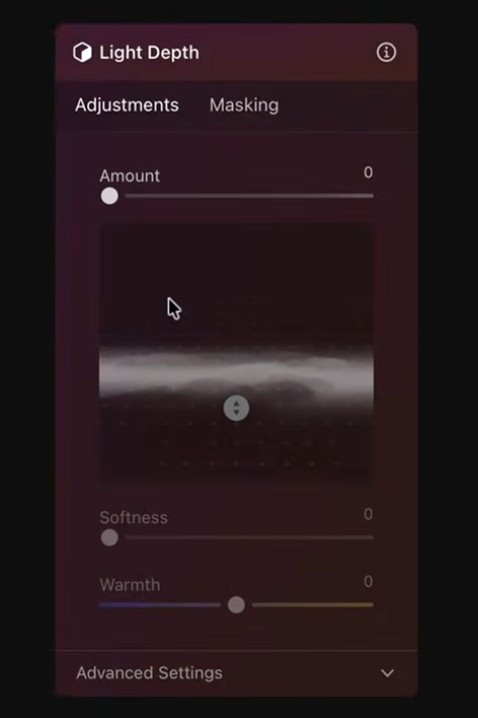
Light Depth's depth map: everything the tool needs to know what's near and what's far.
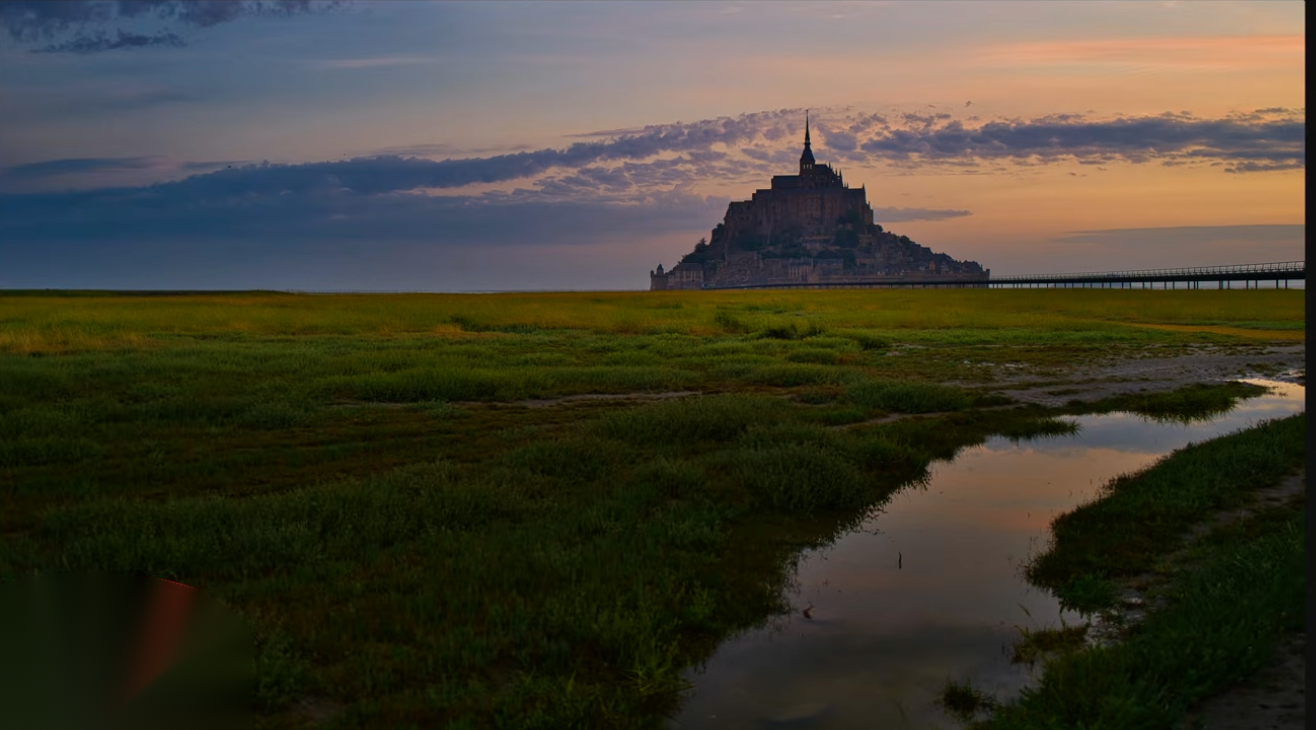
Light Depth, after: light and shadow now follow the depth of the scene.
Super Contrast for Highlights, Midtones and Shadows
Super Contrast adds targeted contrast to highlights, midtones, and shadows separately, instead of one blunt global slider. It's a small distinction that makes a big difference, you can add punch to the shadows without also crushing the highlights you just spent time recovering.
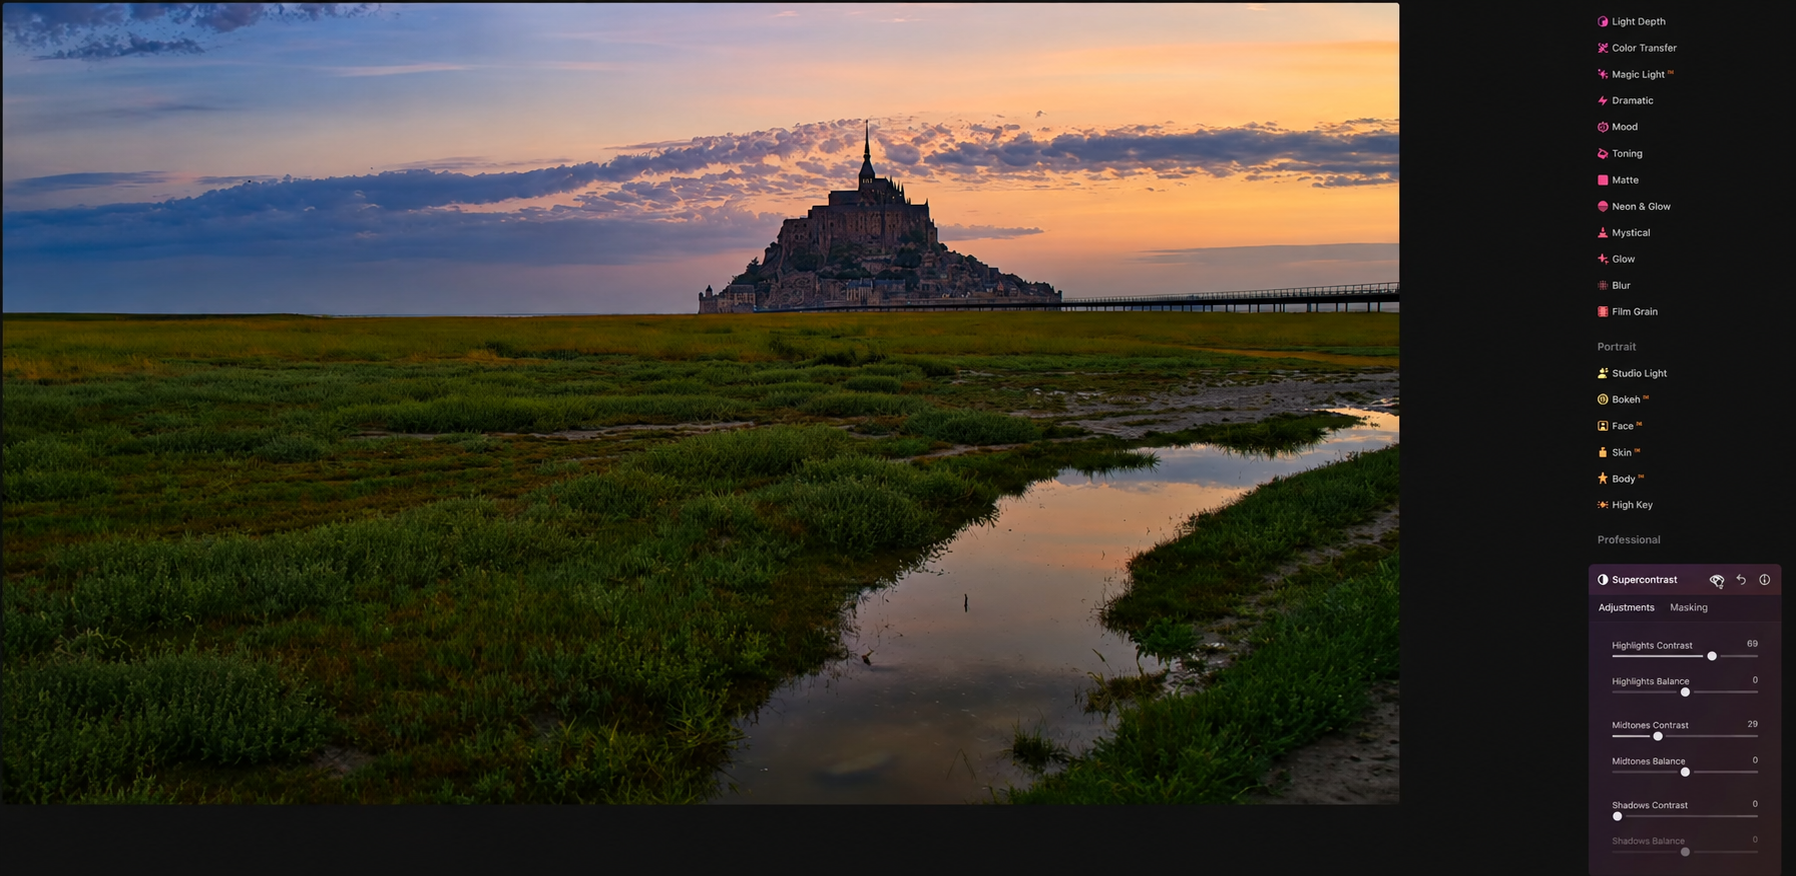
Contrast added separately to highlights, midtones and shadows, not as one global push.
Dodge and Burn for Precise Local Adjustments
With the depth-based lighting and contrast in place, Dodge and Burn handles the fine-tuning, brightening small areas that need a little more attention and darkening others that are pulling focus away from the subject. This is the most manual, "hands-on" part of the whole edit.
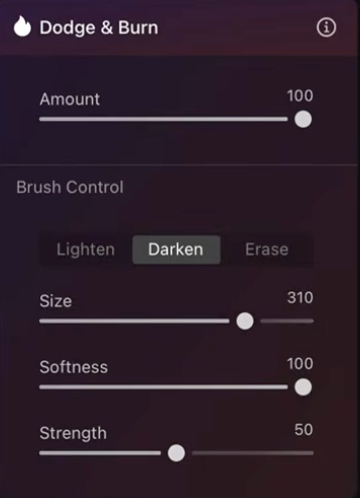
Dodge and Burn's brush controls, set to Darken for this pass.
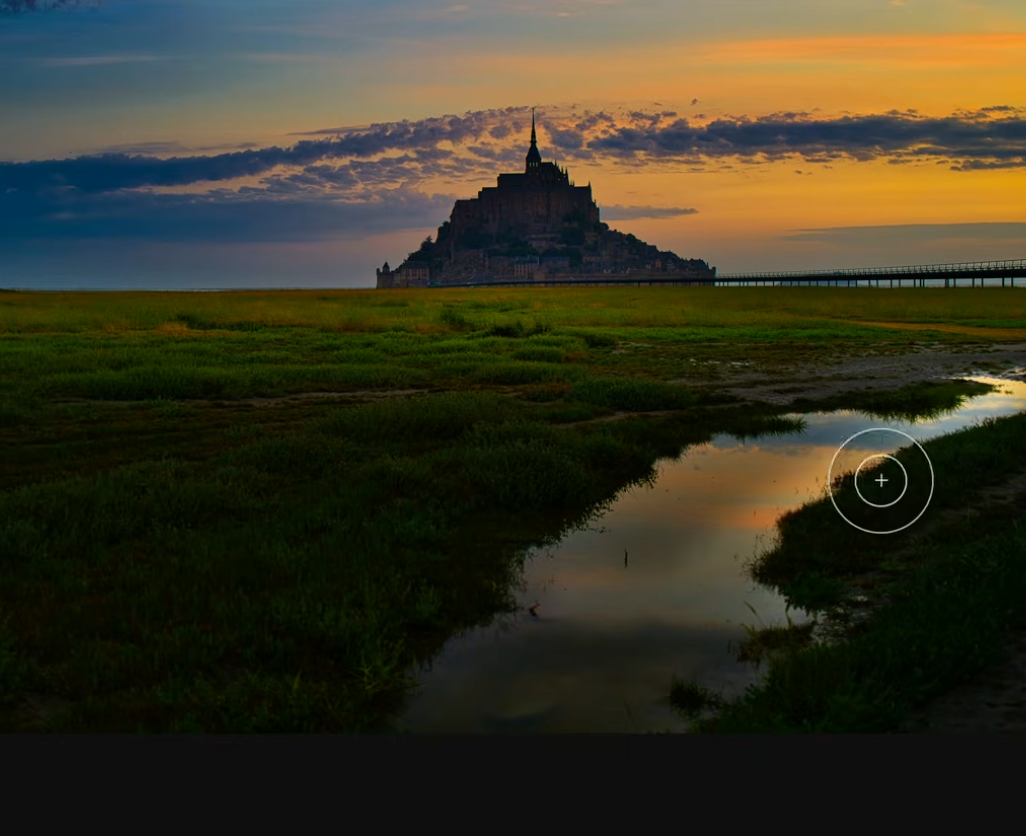
Dodge and Burn in action: the last layer of fine control before color.
Color Harmony: Fine-Tuning Saturation and Warmth
The last step is Color Harmony, which lets me fine-tune saturation and warmth across the image so every part of the frame feels like it belongs to the same photo, rather than looking like separate adjustments stacked on top of each other.
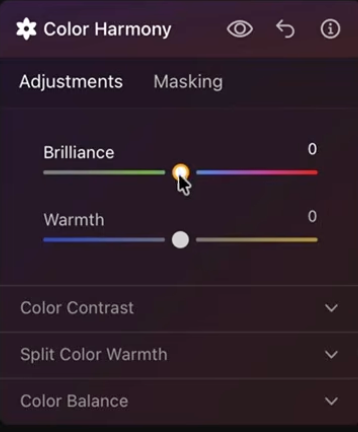
Color Harmony ties every previous adjustment together.
Why I Don't Just Push Every Slider to 100%
It's tempting, especially on a file that started this flat, to max out every tool that promises impact. I don't, because it stops looking like a photo and starts looking like an effect. Masking, subtle color adjustments, and selective lighting through tools like Light Depth do more for a natural final result than any single slider pushed to its limit.
The Complete Before and After
Going from a flat, overexposed RAW file to this took every tool above working together, not any single one of them. That's the real takeaway: Luminar Neo's individual tools are strong, but it's the combination, especially Light Depth doing what masking alone can't, that makes the biggest difference.
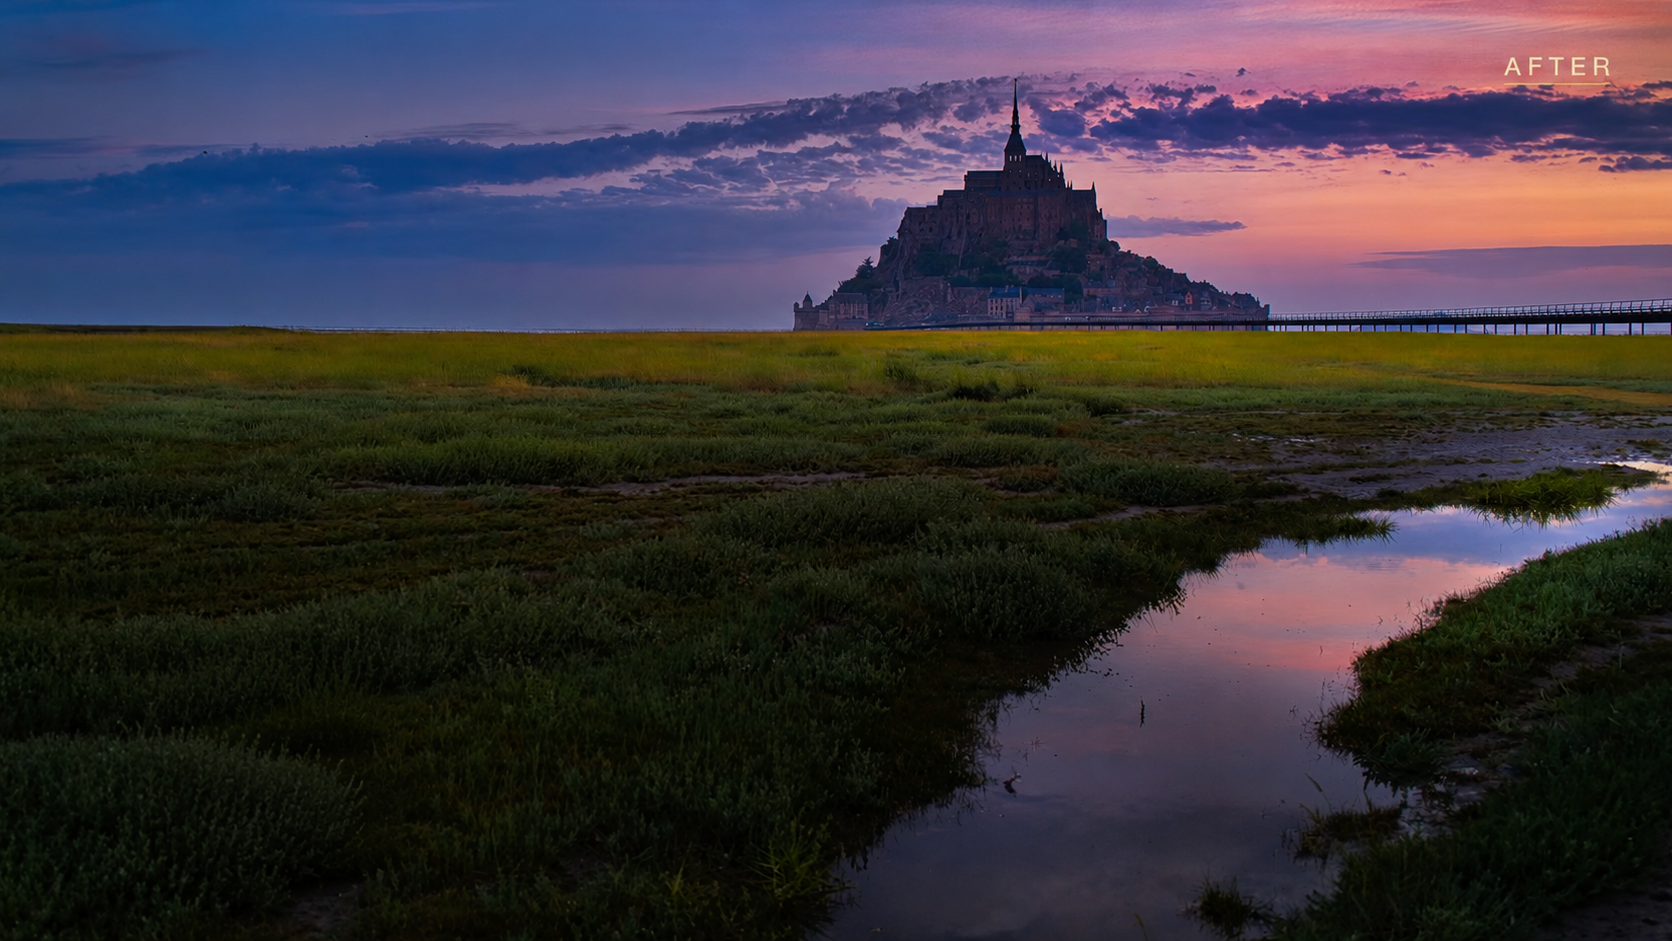
From flat and overexposed to this, start to finish.
Frequently Asked Questions
What is Light Depth in Luminar Neo?
Light Depth uses a photo's depth map to let you place a virtual light source anywhere in the scene and control how it fades between what's close to the camera and what's far away, brightening or darkening based on distance rather than a hand-drawn mask.
Can Lightroom do the same thing as Light Depth?
Not in the same way. Lightroom's masking tools can target specific areas of a photo, but they don't use a depth map to automatically separate near and far elements the way Luminar Neo's Light Depth does.
How do you fix an overexposed RAW photo?
Start in RAW Develop to see how much highlight detail is recoverable, then bring down Exposure and Highlights, lift Shadows to restore detail, and reset Blacks and Whites for contrast, before moving on to White Balance and any creative color grading.
Why not just push every Luminar Neo slider to maximum?
Pushing every tool to 100% tends to make a photo look like an effect rather than a photograph. Using masking, subtle color adjustments, and tools like Light Depth selectively produces a result that still feels natural.
Explore More From Photo Serge
Want to go further with Luminar Neo and Lightroom? Here are more guides:
- Luminar Neo Review: How I Use Relight and Light Depth on My Monument Valley and Antelope Canyon Photos
- How to Get Rich, Natural Colors in Lightroom (Without Overediting)
- The Best Masking Tool in Lightroom: A Step-by-Step AI Masking Guide
