
Luminar Neo Review: How I Use Relight and Light Depth on My Monument Valley and Antelope Canyon Photos
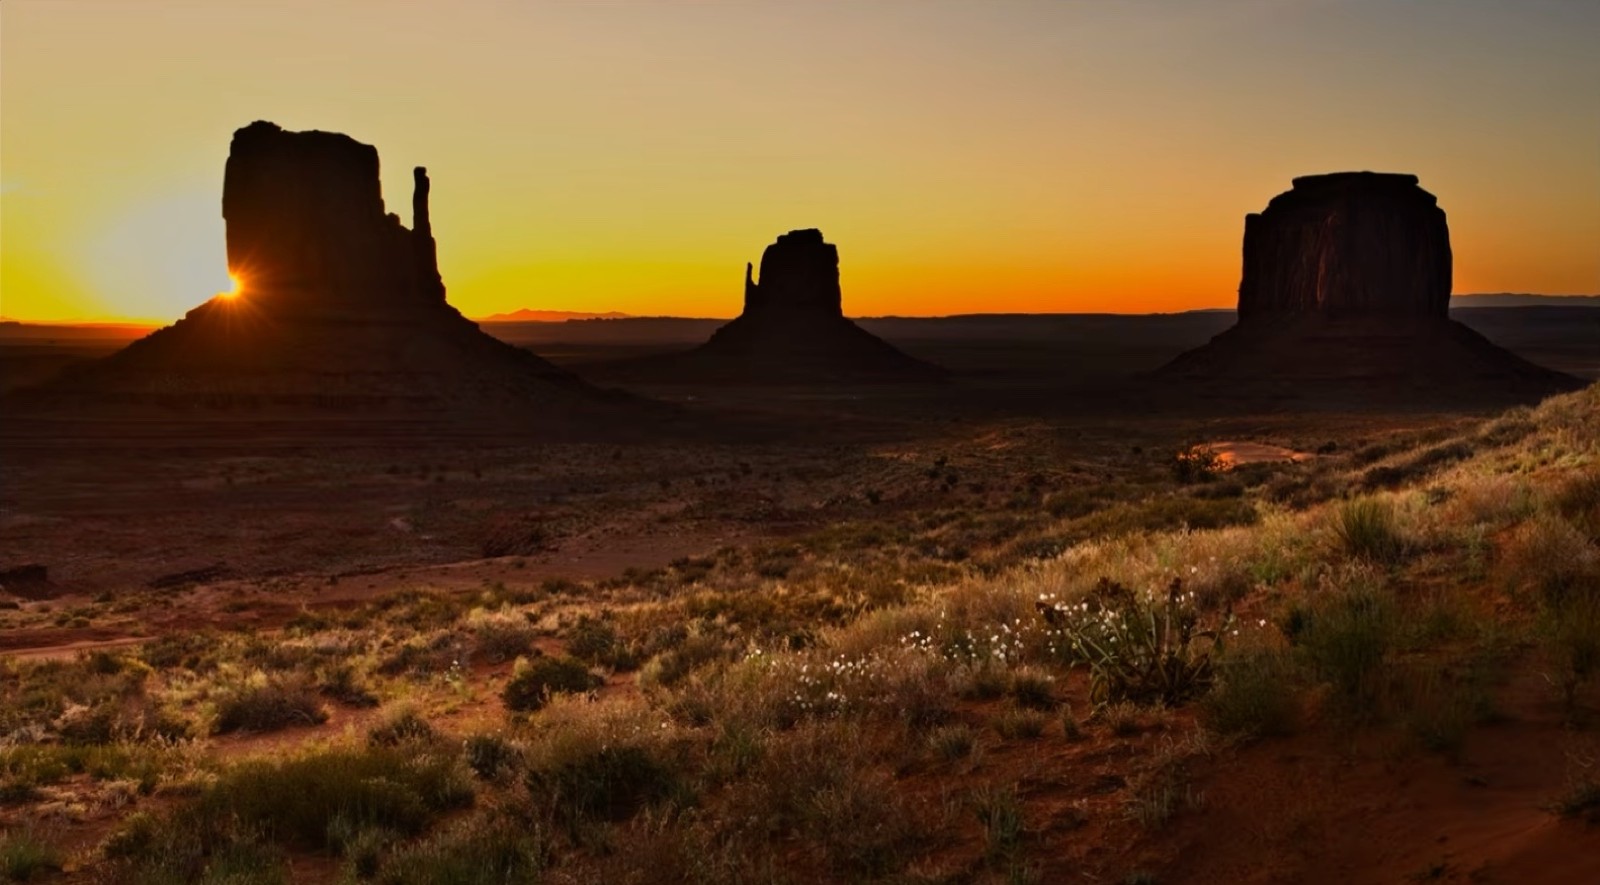
I rarely get excited about editing software. I've been shooting for over twenty years, and most "revolutionary" new tools turn out to be a re-skinned slider I already had in Lightroom. Luminar Neo's Relight and Light Depth tools are the first thing in years that genuinely surprised me.
In this article I'm editing three of my favorite recent photos, an epic sunrise over Monument Valley, an overview shot from Hunts Mesa, and "The Buffalo" formation in Lower Antelope Canyon, entirely inside Luminar Neo, start to finish. I'll show you exactly what I do to each file, including where Luminar does something Lightroom simply cannot.
What Makes Luminar Neo's Light Depth Tool Different
Before I get into the three edits, it's worth explaining why I keep coming back to this software for one specific reason: Light Depth.
Every photo you take has a depth map, Luminar Neo can tell what's near the camera and what's far away. Light Depth lets you place a virtual light source anywhere in that depth map and control how it falls off between what's close and what's far. In practice, that means you can relight a flower in the foreground, or darken a sky in the background, without masking anything by hand. I don't know of another editor, Lightroom included, that does this.
I also lean heavily on two other panels in every edit below: Golden Hour (under the Landscape tool), which pushes a photo's mood toward warm, low-angle light, and Super Contrast, which adds targeted contrast to highlights, midtones, and shadows separately instead of one blunt slider.
Editing the Monument Valley Sunrise
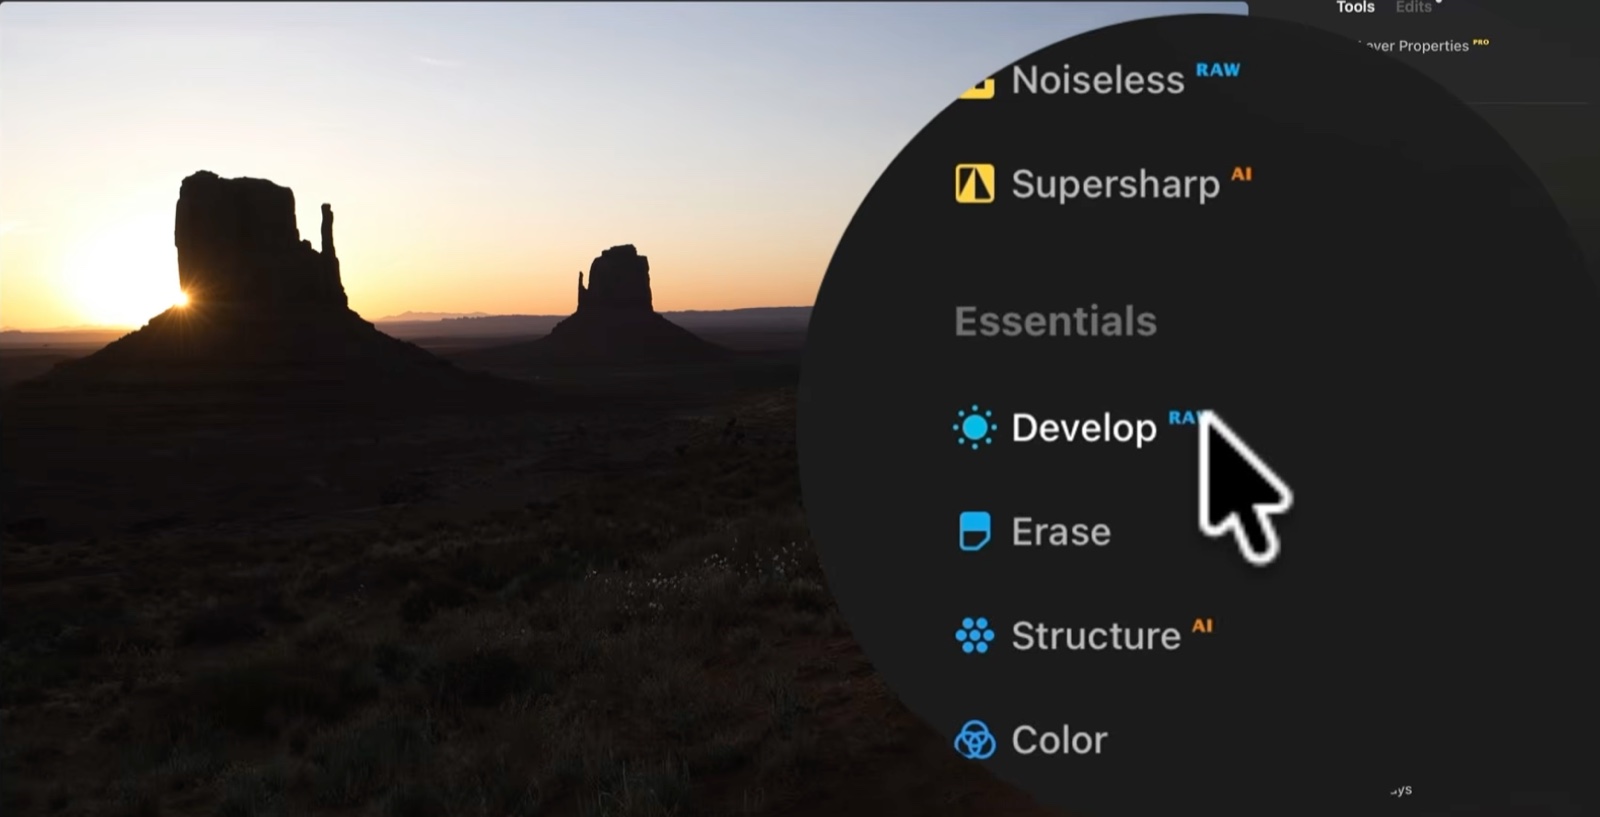
This is the epic shot I mentioned, the sunrise over the Mittens at Monument Valley. It opens as a RAW file, so the first step is always the same: click into Develop.
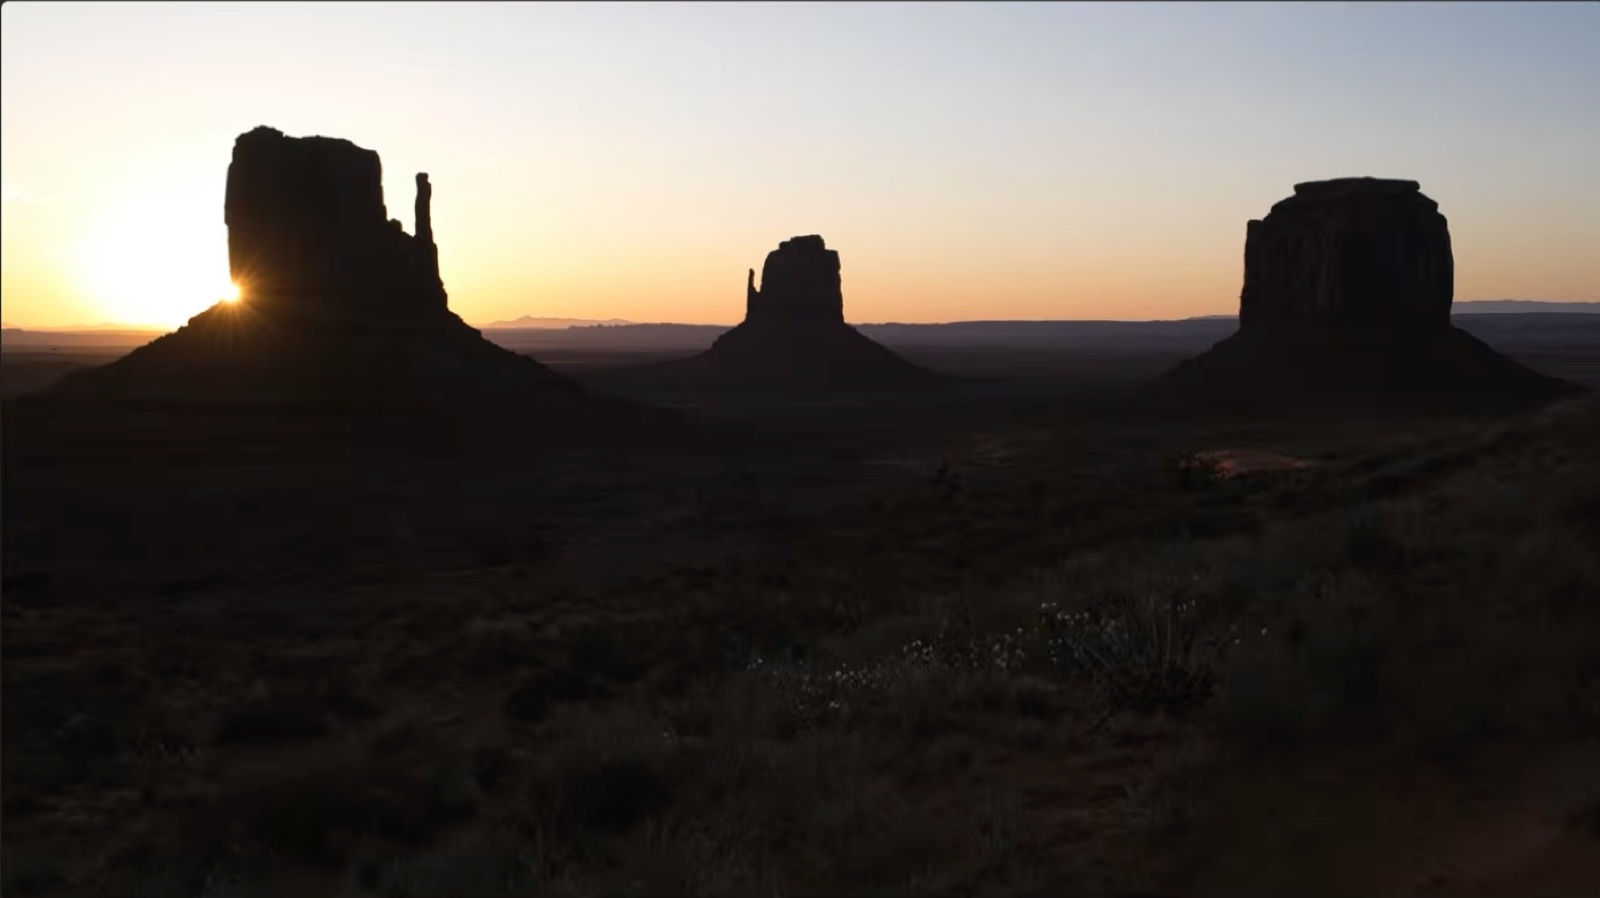
Basic develop:
- Open the shadows slightly (I tend to underexpose sunrise shots on purpose)
- Bring down the highlights, since the sky was far too bright straight out of camera
- Add a touch of contrast
- Crush the black point and white point, both hidden by default in the Basic panel, for extra punch
Once the base exposure looked right, I moved to color. For sunrise, I almost always set white balance to Shade, it reads very warm and suits low sun beautifully, then I add a small amount of magenta, around 14, just enough to lift it without going full pink.
From there I cropped to 16:9 (that's my screen size) with the horizon dead straight, keeping to the old rule of a third of sky to two-thirds of land. Then came the fun part:
- Golden Hour, dialed to about 30%, just enough to add mood without overdoing it
- Light Depth, set to 100% amount with Advanced Settings turned on, so I could push a little simulated light onto a flower in the foreground and let "brightness near" and "brightness far" darken the sky around it
- Super Contrast on highlights, midtones, and shadows to finish
The difference between the flat RAW file and the final image is enormous, and almost none of it came from masking by hand.
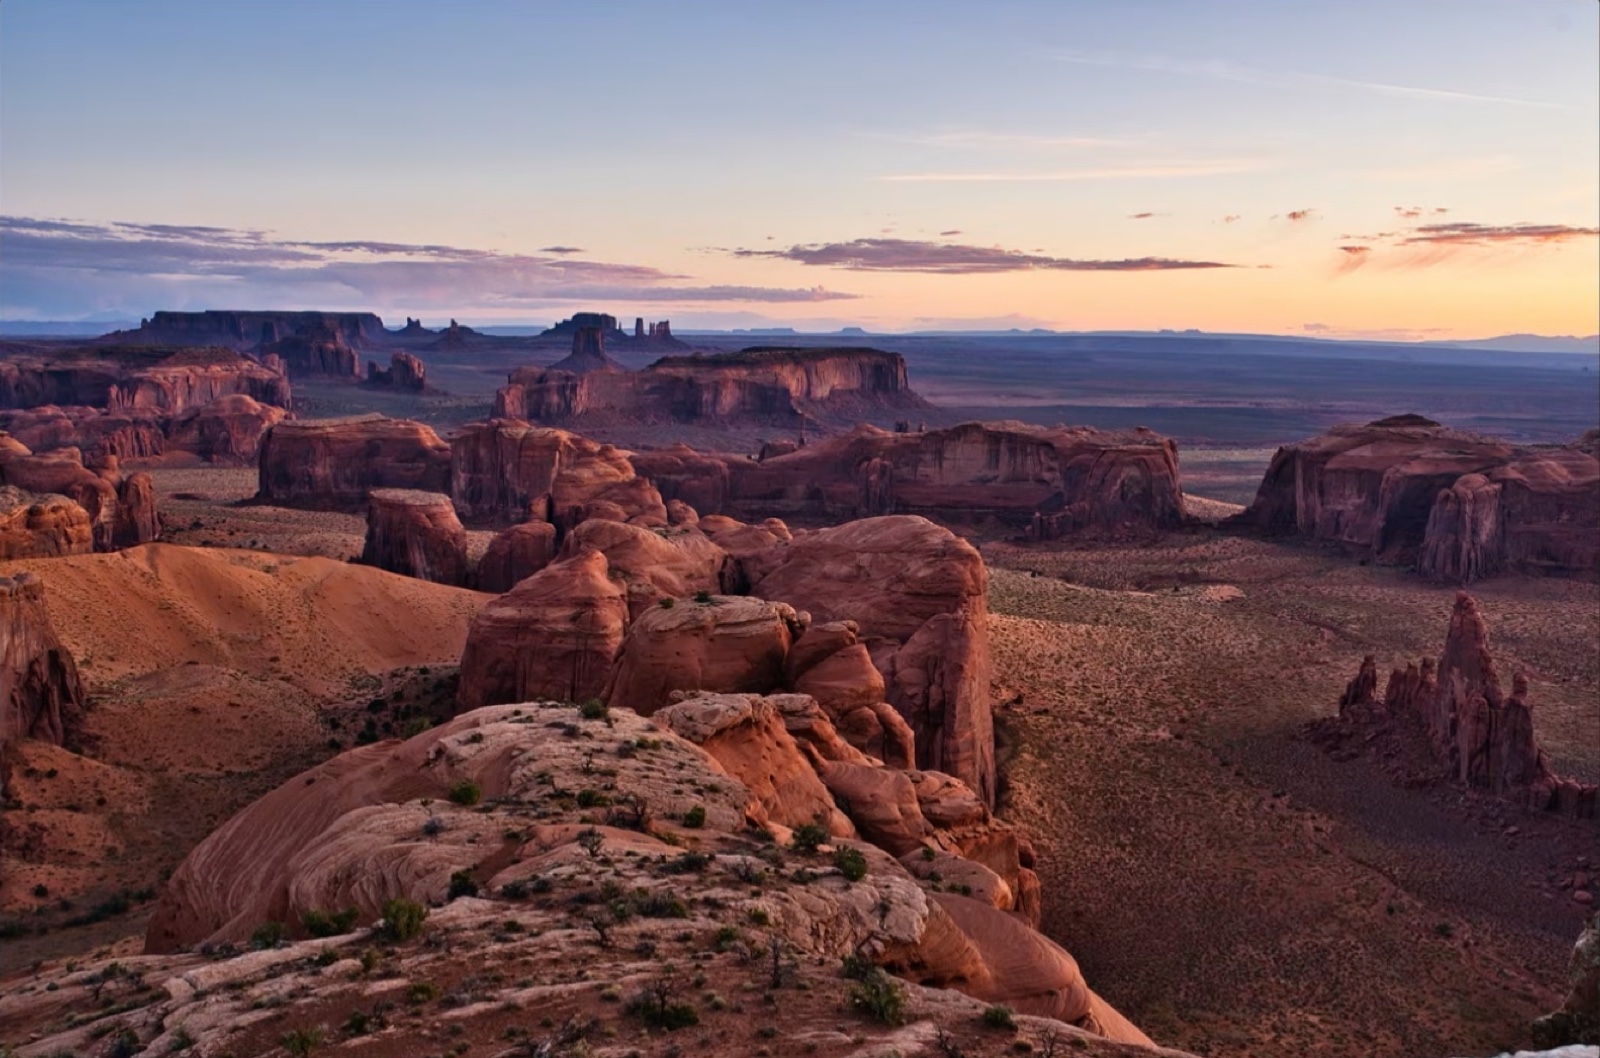
Editing Hunts Mesa: One of My Favorite Photos of the Year
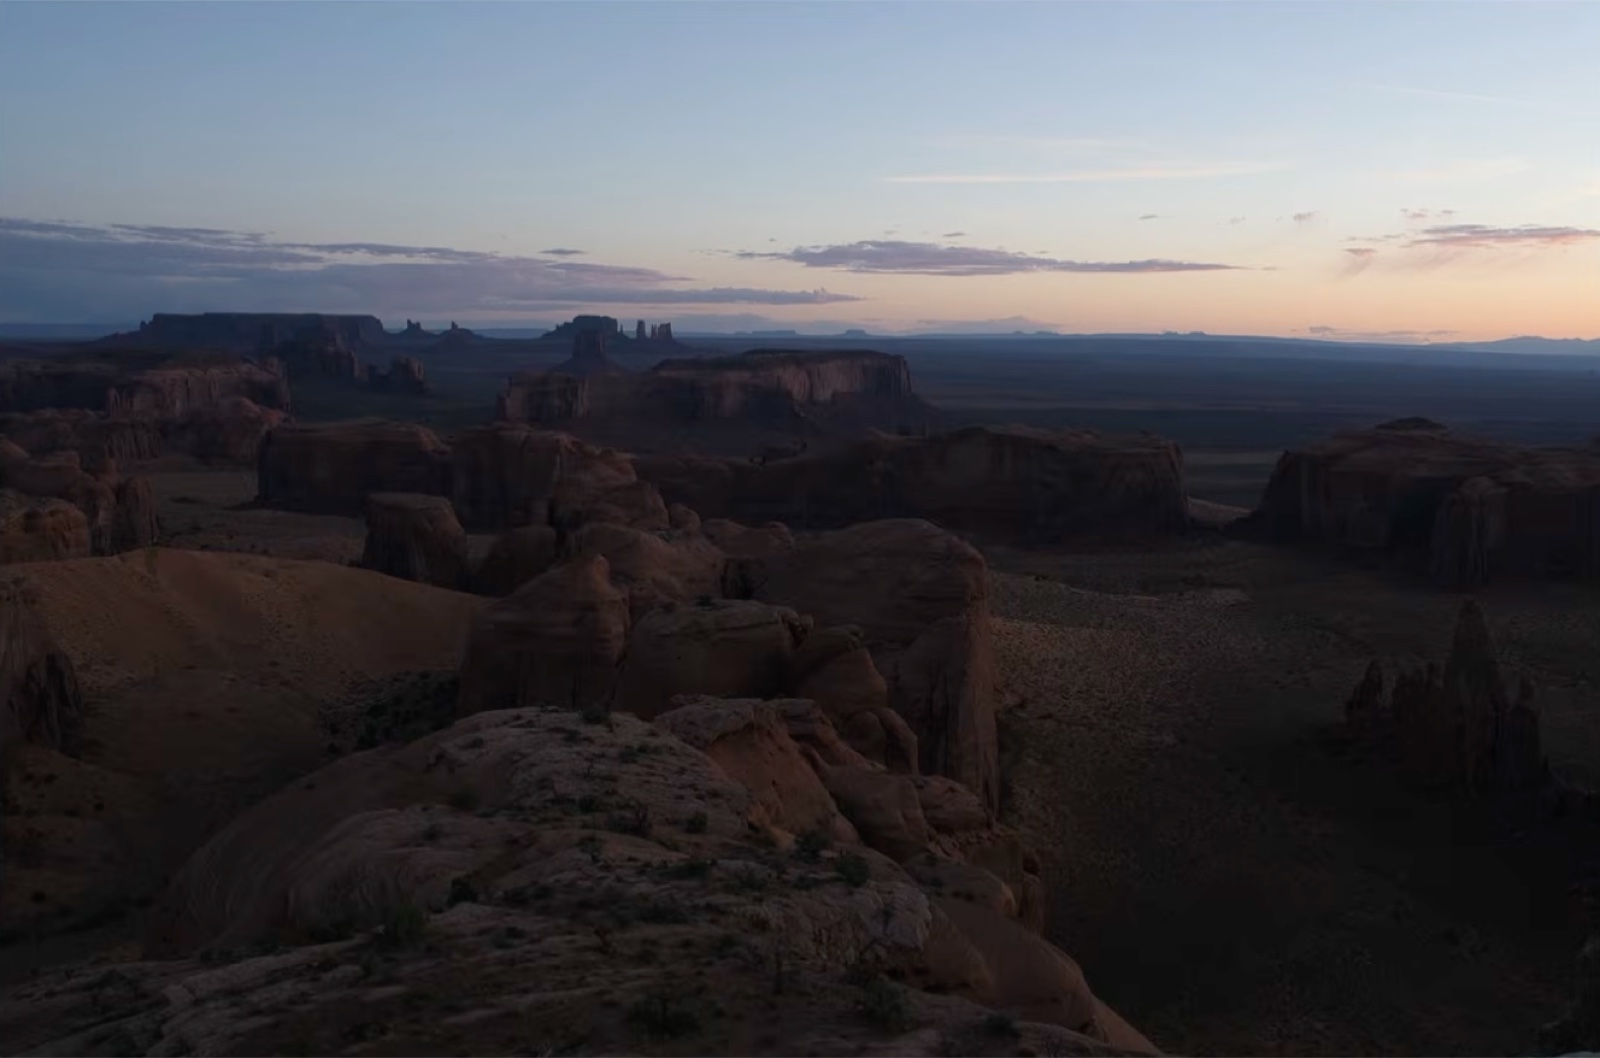
Hunts Mesa (mesa means table mountain) gives you an overview of the entire Monument Valley, but getting there is its own story: we got up at 4:00 in the morning and drove for two hours just to reach the top. If you want to plan a similar trip, I've written a full breakdown of the best photography locations in Antelope Canyon and Monument Valley, and a separate story about the sunrise shot I waited 15 years to get at the classic Mittens viewpoint.
Same develop routine to start: shadows up about 50-60%, highlights all the way down, contrast added, black and white points crushed. For color, straight to Shade white balance again with a little magenta.
With that many rocks in frame, sharpening matters here. I used about 20% sharpening with masking around 60%. Masking controls which parts of the photo actually get sharpened, at 0 masking, everything sharpens (and starts looking noisy and strange); at 50-60, only edges do, which keeps the rock texture crisp without wrecking the smooth areas. This is the same underlying idea behind Lightroom's AI masking tools, if you're used to Lightroom's version, Luminar's sharpening mask will feel familiar.
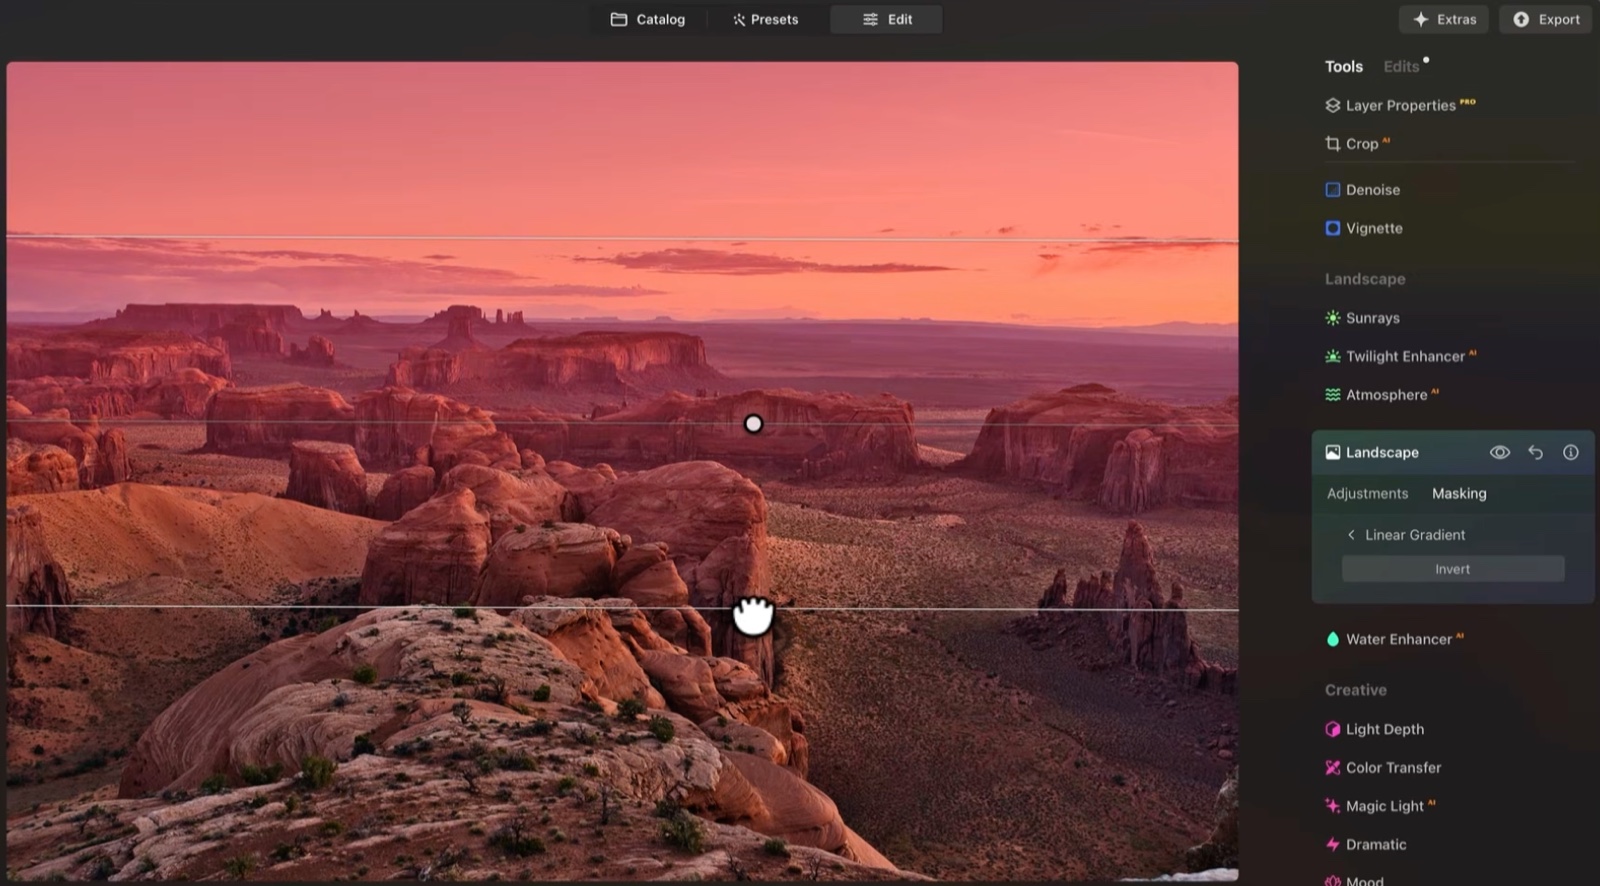
Golden Hour on this image looked too strong everywhere, so I masked it with a linear gradient dragged across just the top of the frame, keeping the warmth on the sky only. Then Light Depth again, this time placing light on one specific rock rather than the whole scene. One thing I've learned over the years: an object that's partially lit is almost always more interesting than one that's fully lit, and that's exactly what this tool lets you control. Super Contrast closed it out.
Editing "The Buffalo" in Lower Antelope Canyon
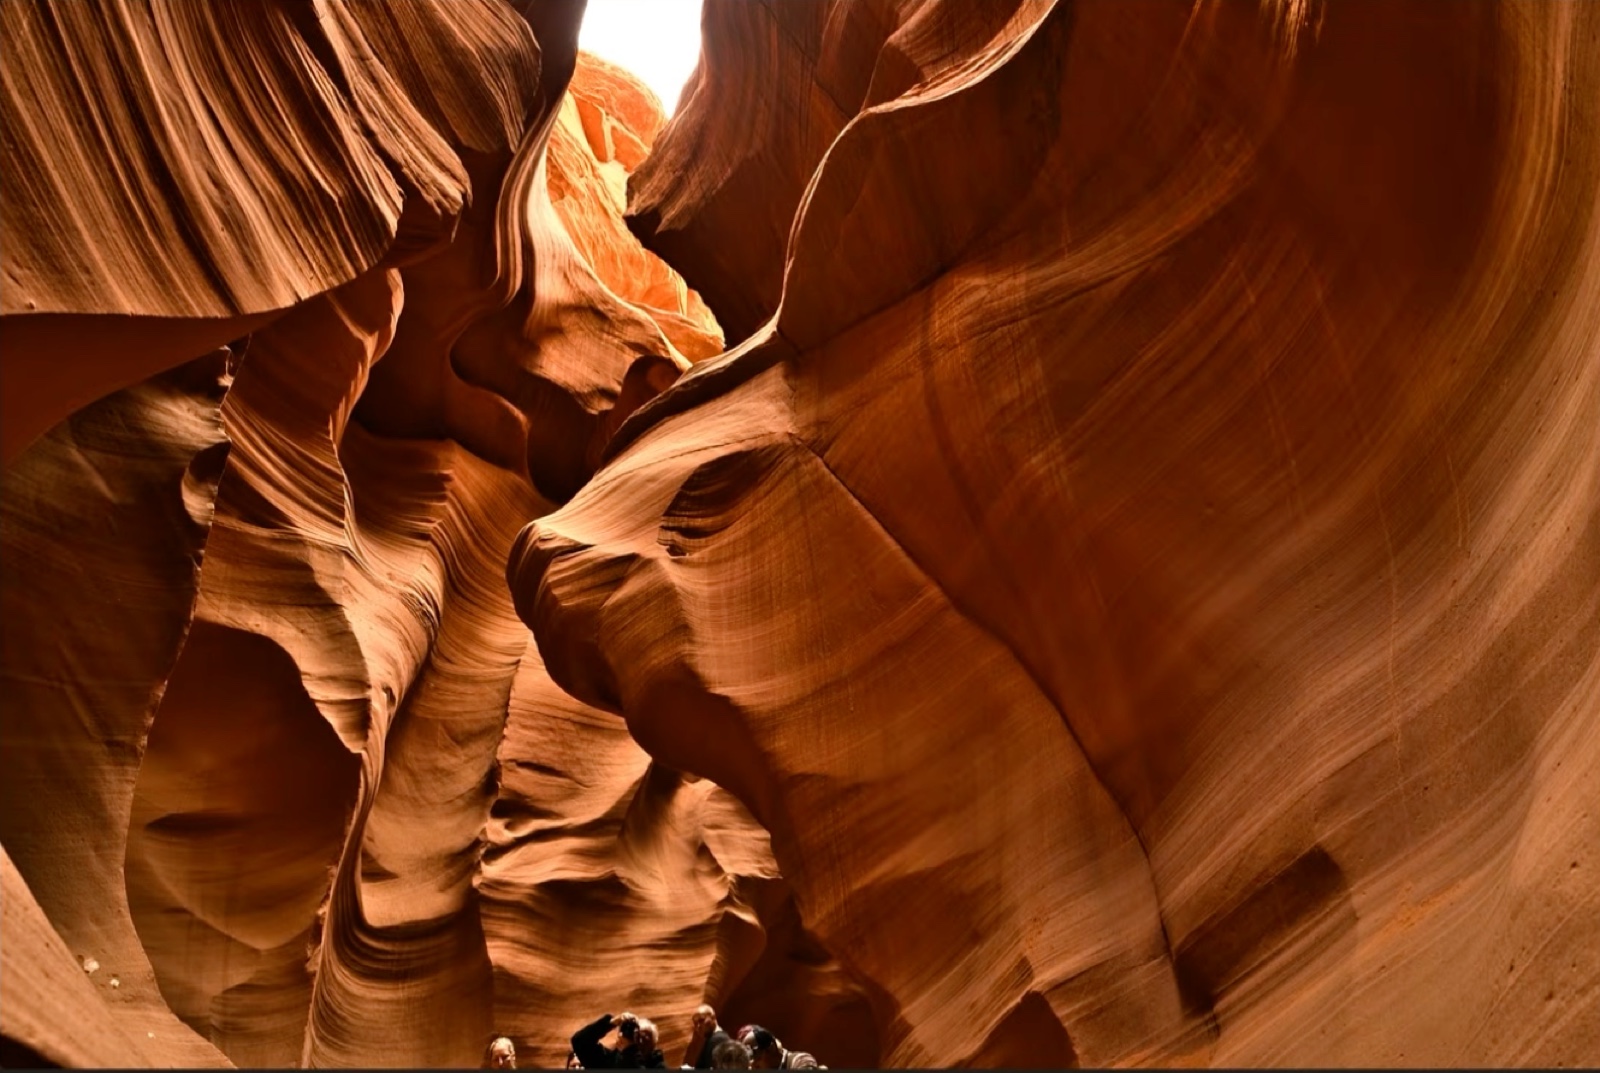
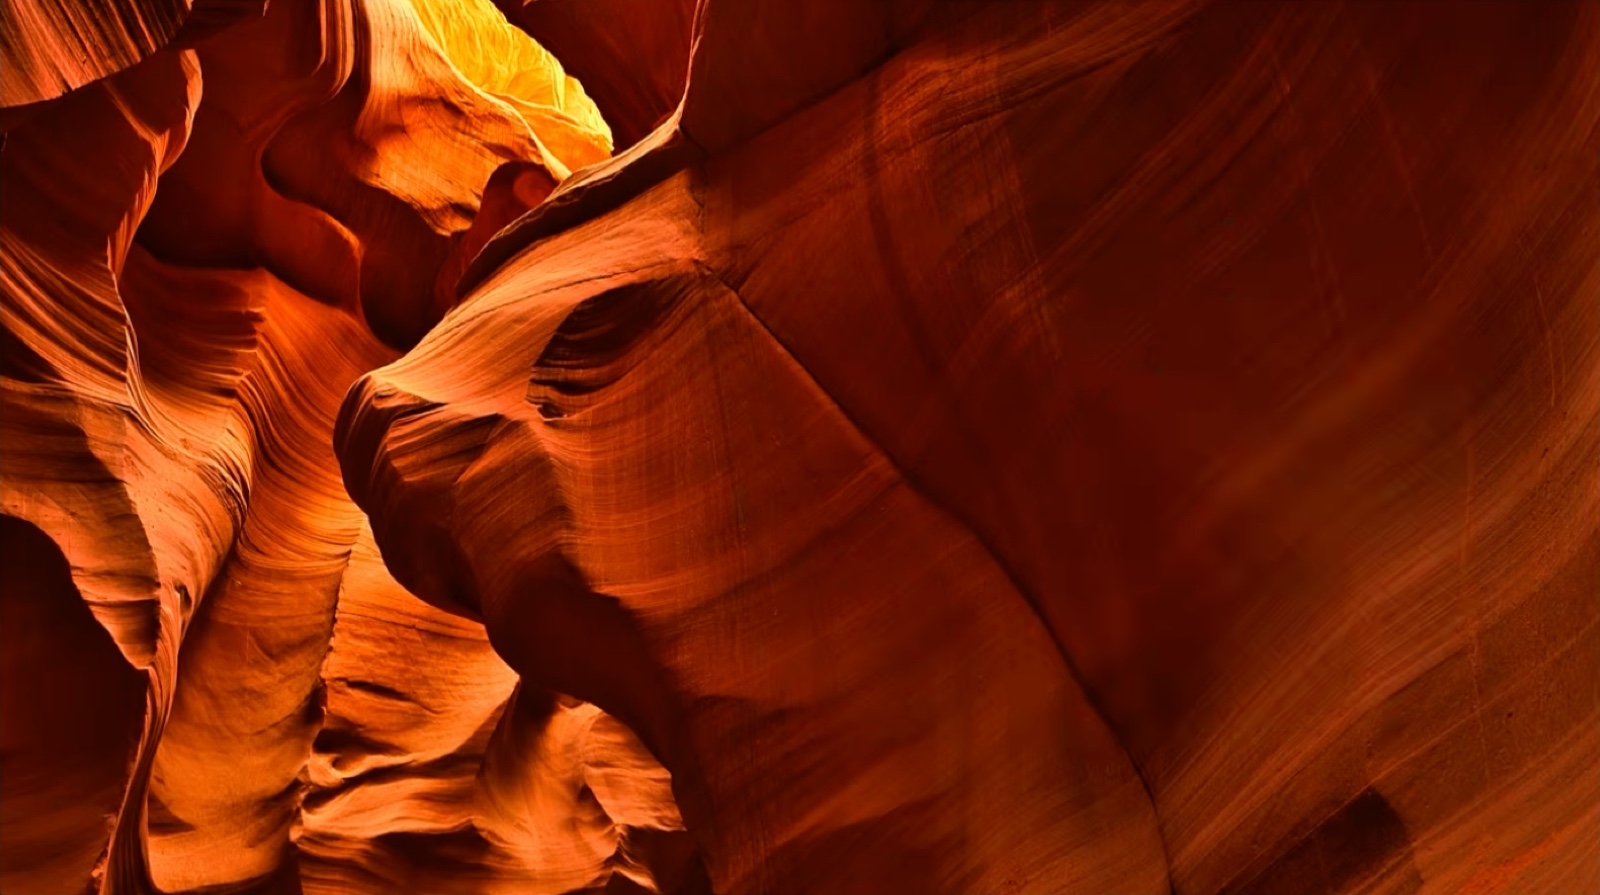
Lower Antelope Canyon in Page, Arizona is home to one of my favorite formations, we call it the Buffalo, and you can actually make out the nose and the eye in the rock. This one was trickier to edit.
Develop was the same base routine (shadows up, highlights down, black and white points crushed), then color: I warmed it up and pushed magenta harder than usual, closer to red, because that's genuinely how saturated the canyon light gets in person. A little extra sharpening brought out the texture in the rock.
For composition, I cropped to 16:9 and deliberately placed the "eye" of the formation on a rule-of-thirds point rather than centering it, nudging it until the framing felt right.
The standout moment on this photo was Light Depth again, but used differently: instead of a soft, wide glow, I wanted something closer to a photography studio snoot, a tight, directional beam of light falling from above.
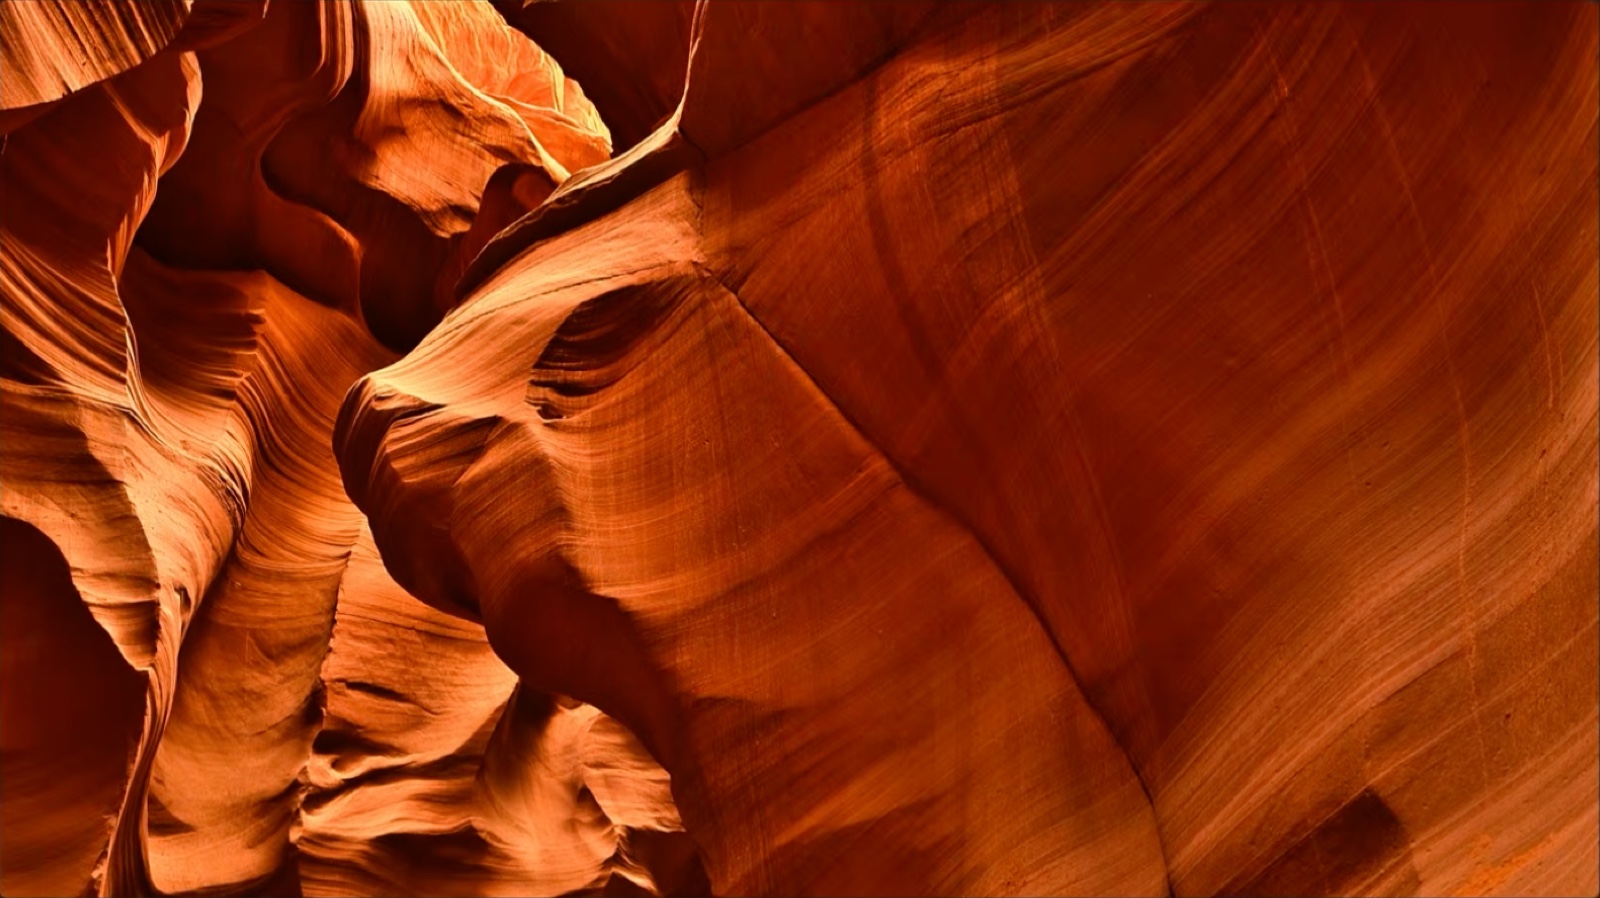
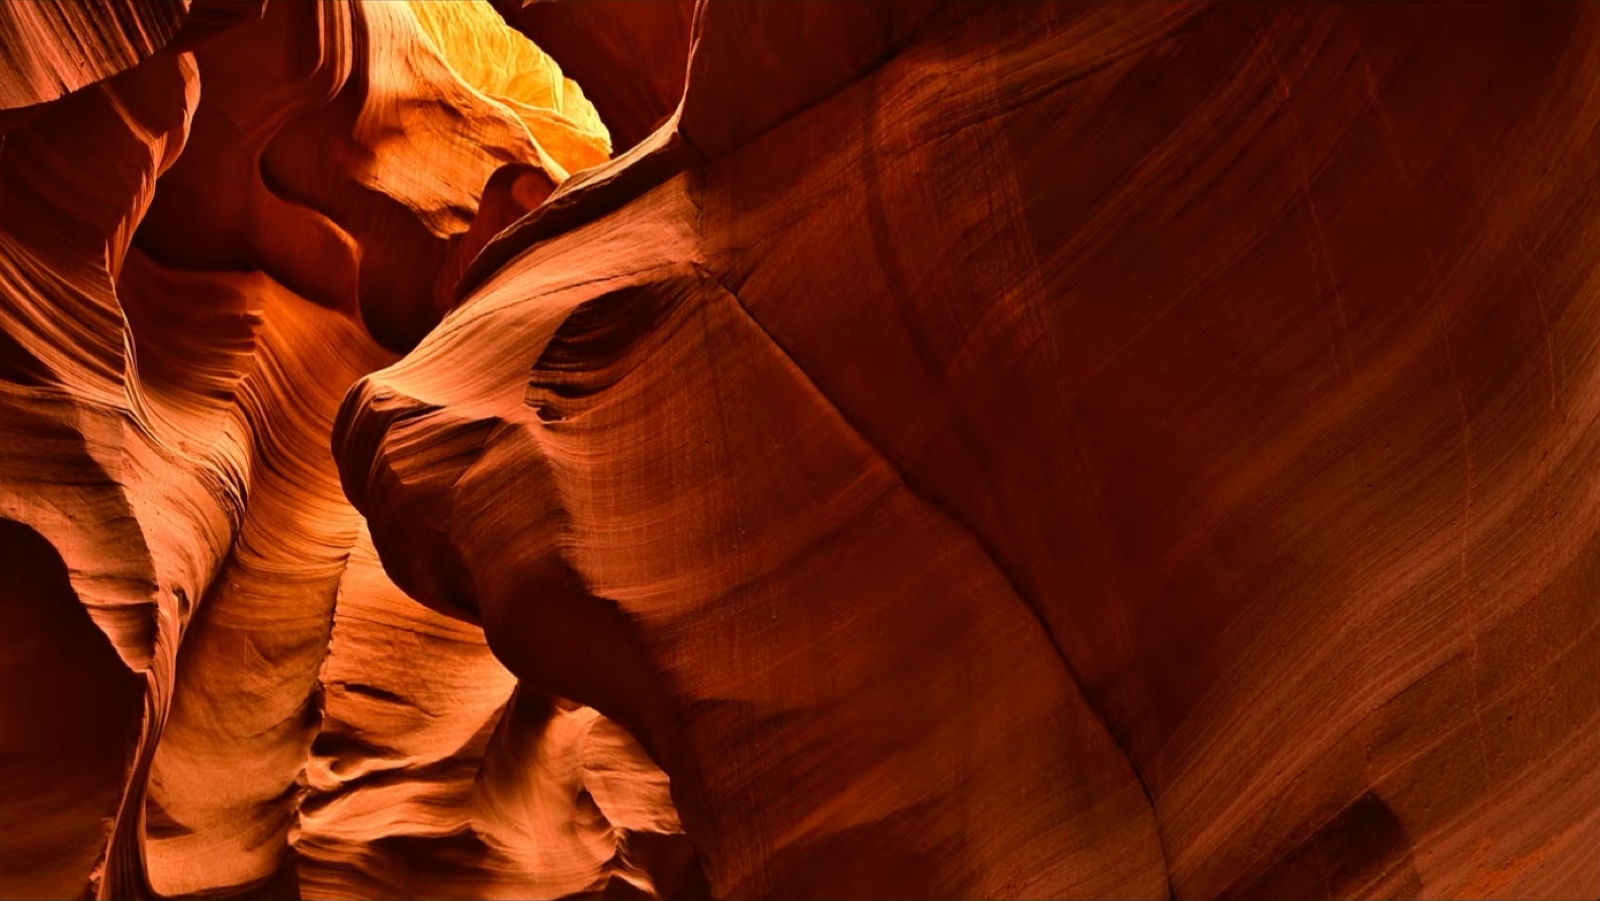
Reducing the softness/density setting narrows that light gradient down, and brightness-near darkened the closer rock while brightness-far barely changed anything, because the light was coming from directly above rather than from the front. Super Contrast, same as always, tied it together.
Is Luminar Neo Worth It? My Honest Take
I get about one request a day to review third-party software, and in a year I've only said yes twice, both times for Luminar Neo, because it's genuinely the only third-party tool I use in my own workflow. I don't put my name on software I don't actually use.
What sold me isn't the RAW develop panel (Lightroom still does that job perfectly well) or even Golden Hour, which is closer to a stylized preset. It's Light Depth. Being able to relight a photo based on its depth map, after the fact, without brushing in a single mask by hand, is something I haven't found anywhere else, and it changed how I approach several of my landscape edits, including all three photos above.
If you're curious, you can try Luminar Neo yourself and get an extra 10% off with code PHOTOSERGE at checkout through my link here.
Common Questions About Luminar Neo
Does Luminar Neo replace Lightroom?
Not for me. I still develop and organize my RAW files the same way I always have (I cover my full approach in my camera settings guide for landscape photography). I reach for Luminar Neo specifically for Golden Hour, Light Depth, and Super Contrast, on top of an already-developed file.
What does Luminar Neo's Light Depth tool actually do?
It reads the depth map of your photo (what's near the camera versus what's far) and lets you place a simulated light source anywhere in that depth, brightening or darkening the near and far parts of the image independently. It's the closest thing I've found to relighting a scene after you've already taken the photo.
Is there a Luminar Neo discount code?
Yes, use PHOTOSERGE at checkout through this link for an extra 10% off on top of the current discount.
Want Feedback on Your Own Photos?
If you're working on landscape shots like these and want a second pair of eyes, I offer a free portfolio review. Send me your 4 best photos and I'll tell you honestly what's holding you back. Apply for your review here. And if you want to go deeper into composition, editing, and building a body of work worth selling, that's exactly what I teach inside the Institute of Photography.
This post contains an affiliate link. I may earn a commission if you purchase through it.
