
The Real Secrets to Sunset Photography (Not Just Golden Hour)
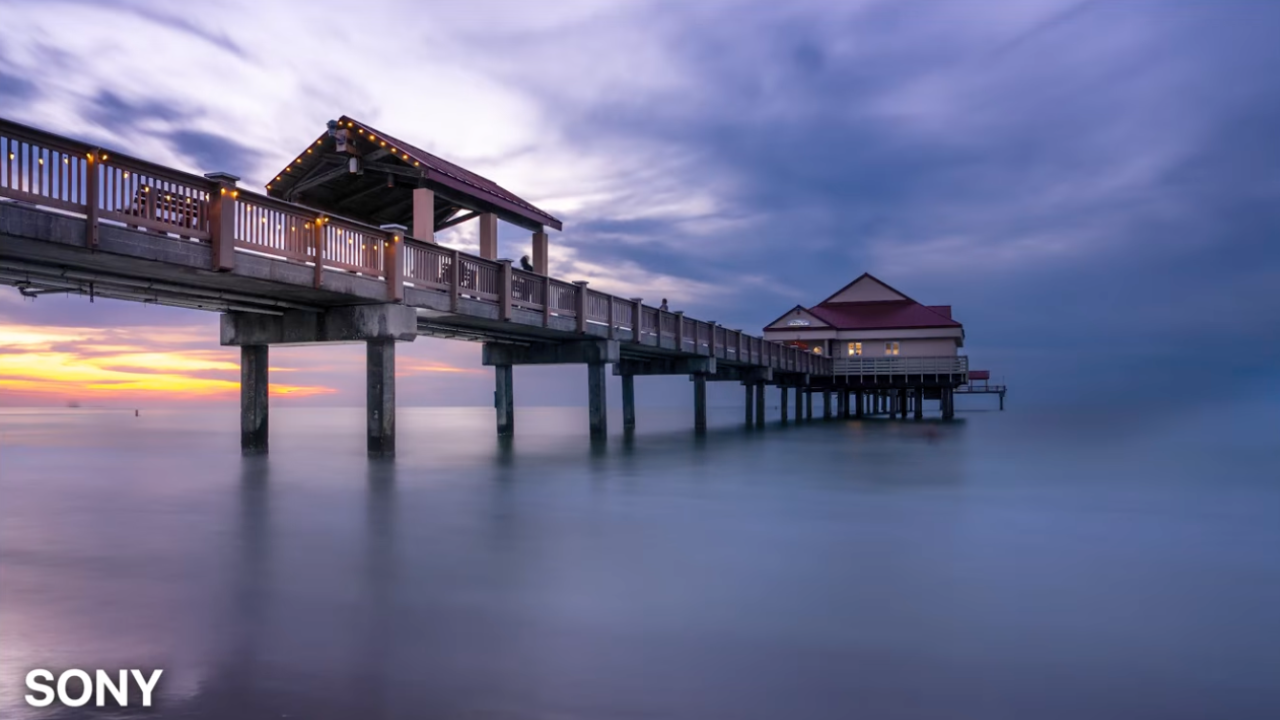
Most photographers think sunset photography is easy, and that's exactly why so many sunset photos look boring. Point the camera at the horizon, wait for the colors, press the shutter. I've sold over $2,000,000 worth of sunset photos in galleries worldwide, and none of that came from doing it the easy way. Here's the exact process, on one real evening at a pier, start to finish.
Some evenings the sky just doesn't cooperate. Flat grey clouds, no color, nothing to work with. Recognizing that early, before you've wasted the whole session waiting, is part of the skill.
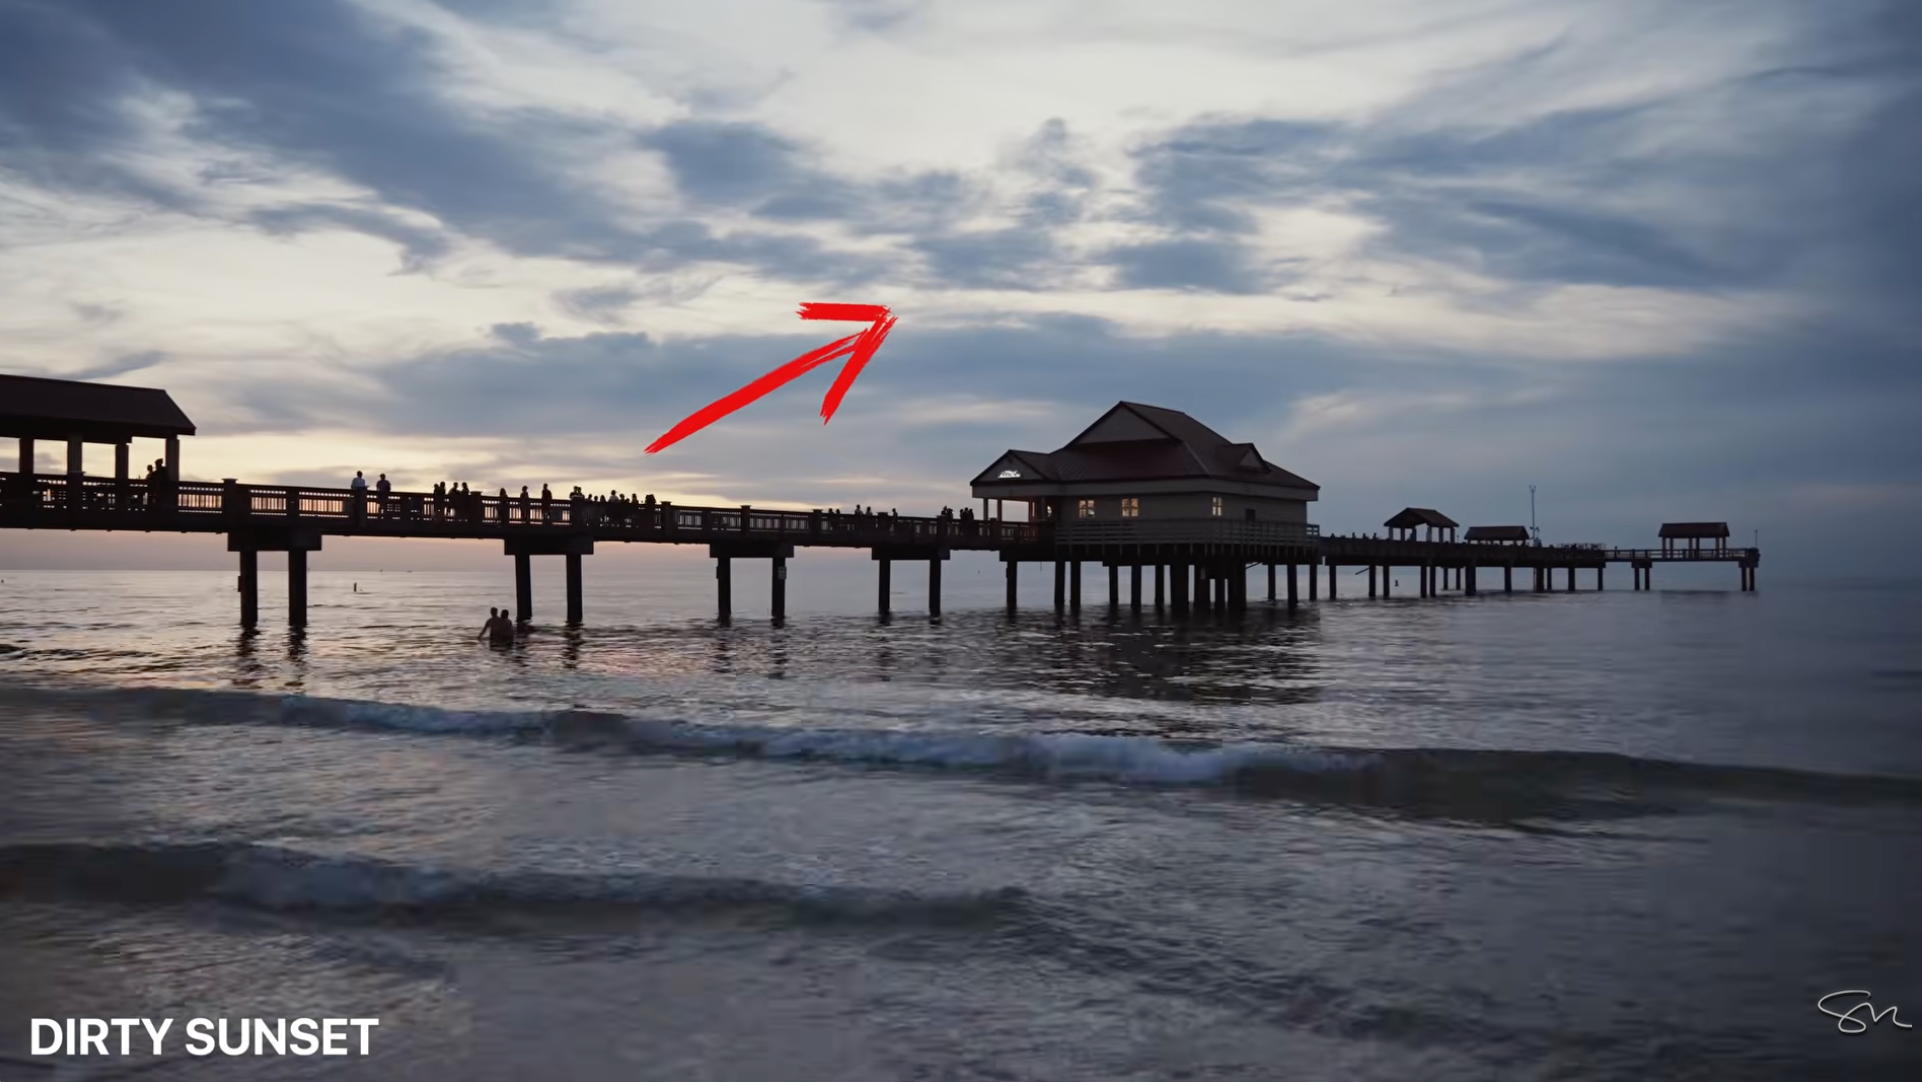
A "dirty" sky: flat grey clouds with no real color building. Worth recognizing early.
Scout the Composition Before You Commit
Before locking the tripod down, it's worth walking the location and testing angles. From the left side of the pier, the structure leads the eye one way. From the right, it leads the other way. From directly underneath, the pilings become a tunnel leading straight to the horizon.
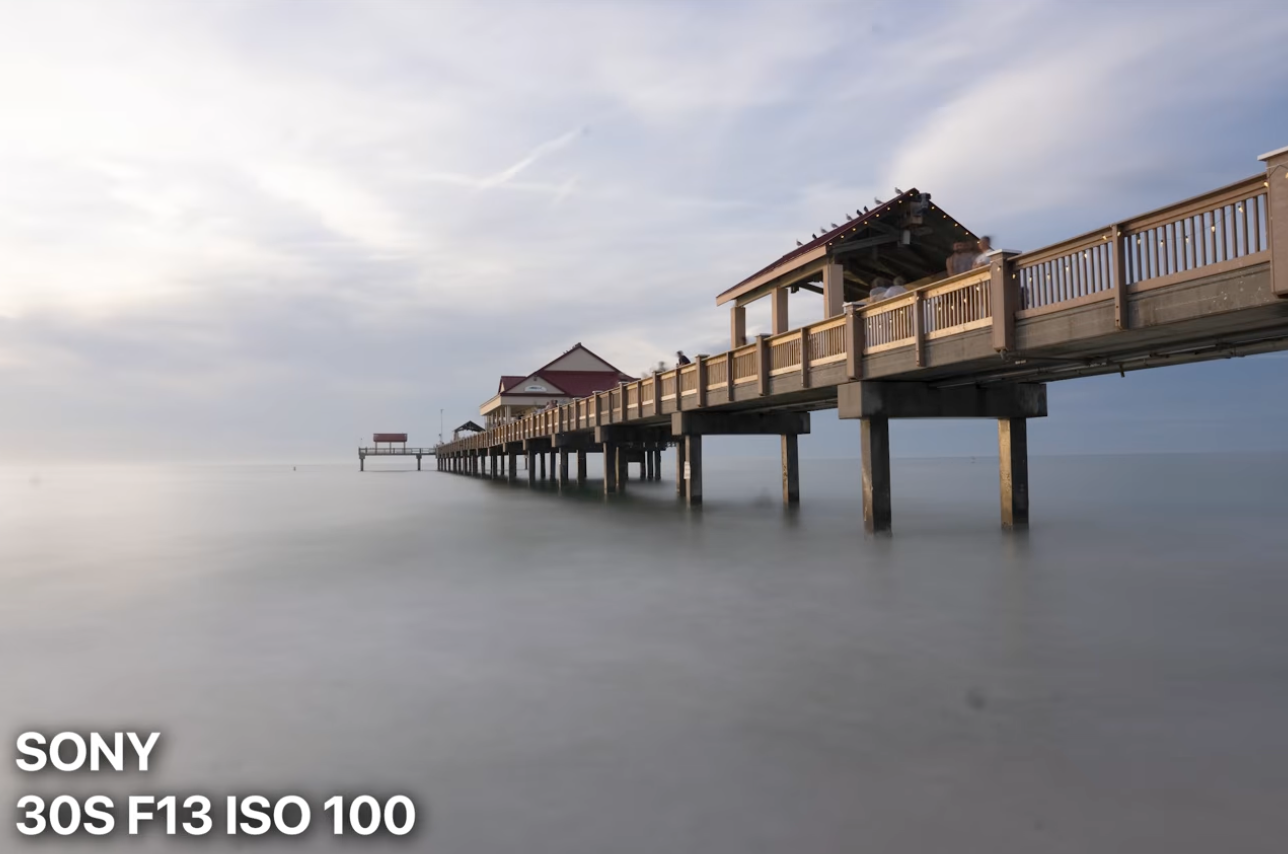
Left side: the pier leading off to the right of frame.
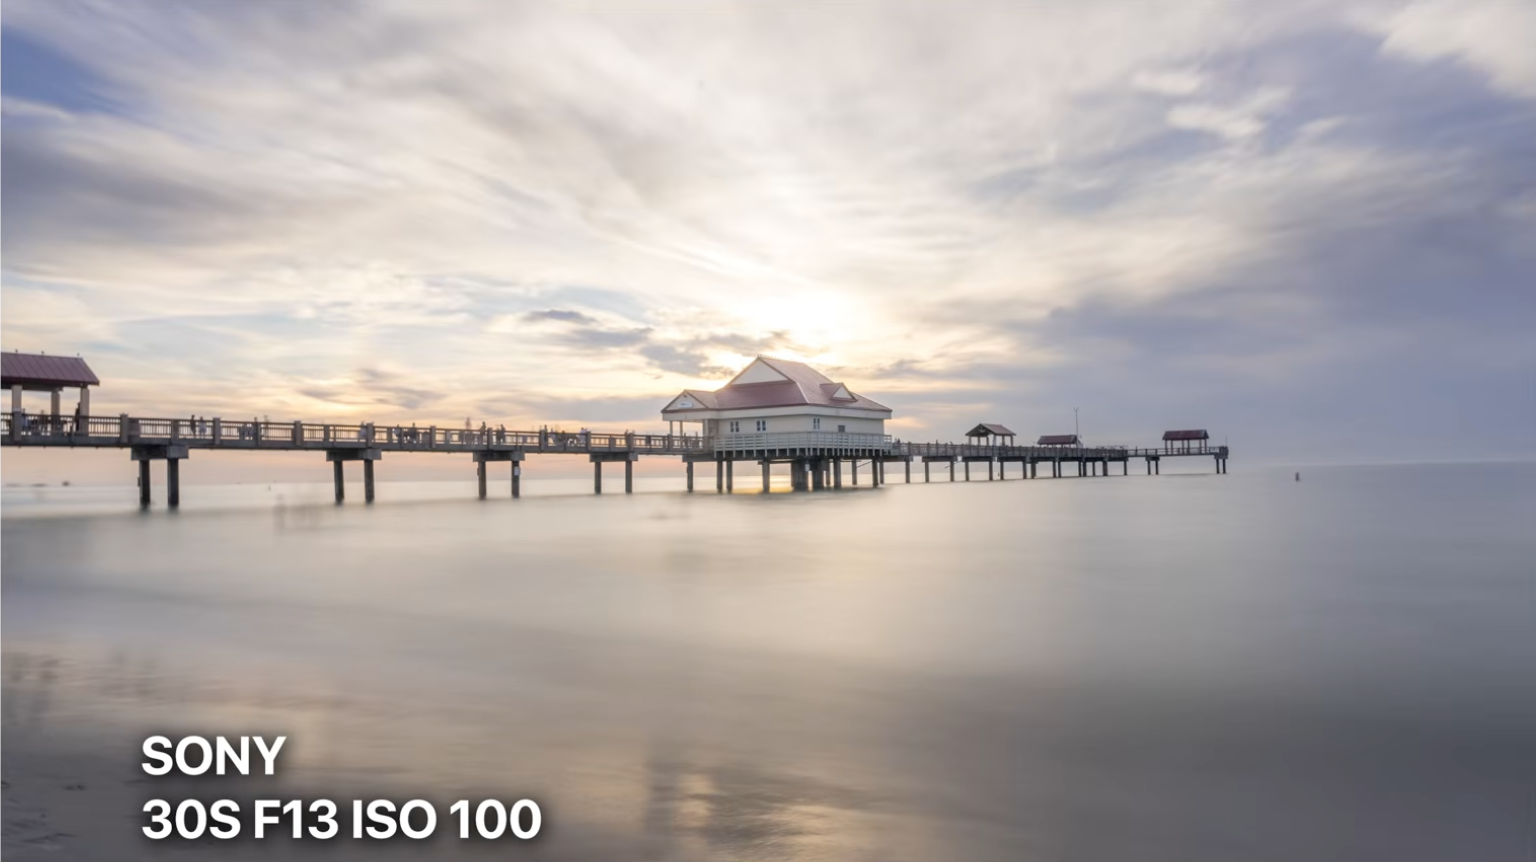
Right side: the same structure, a completely different lead-in.
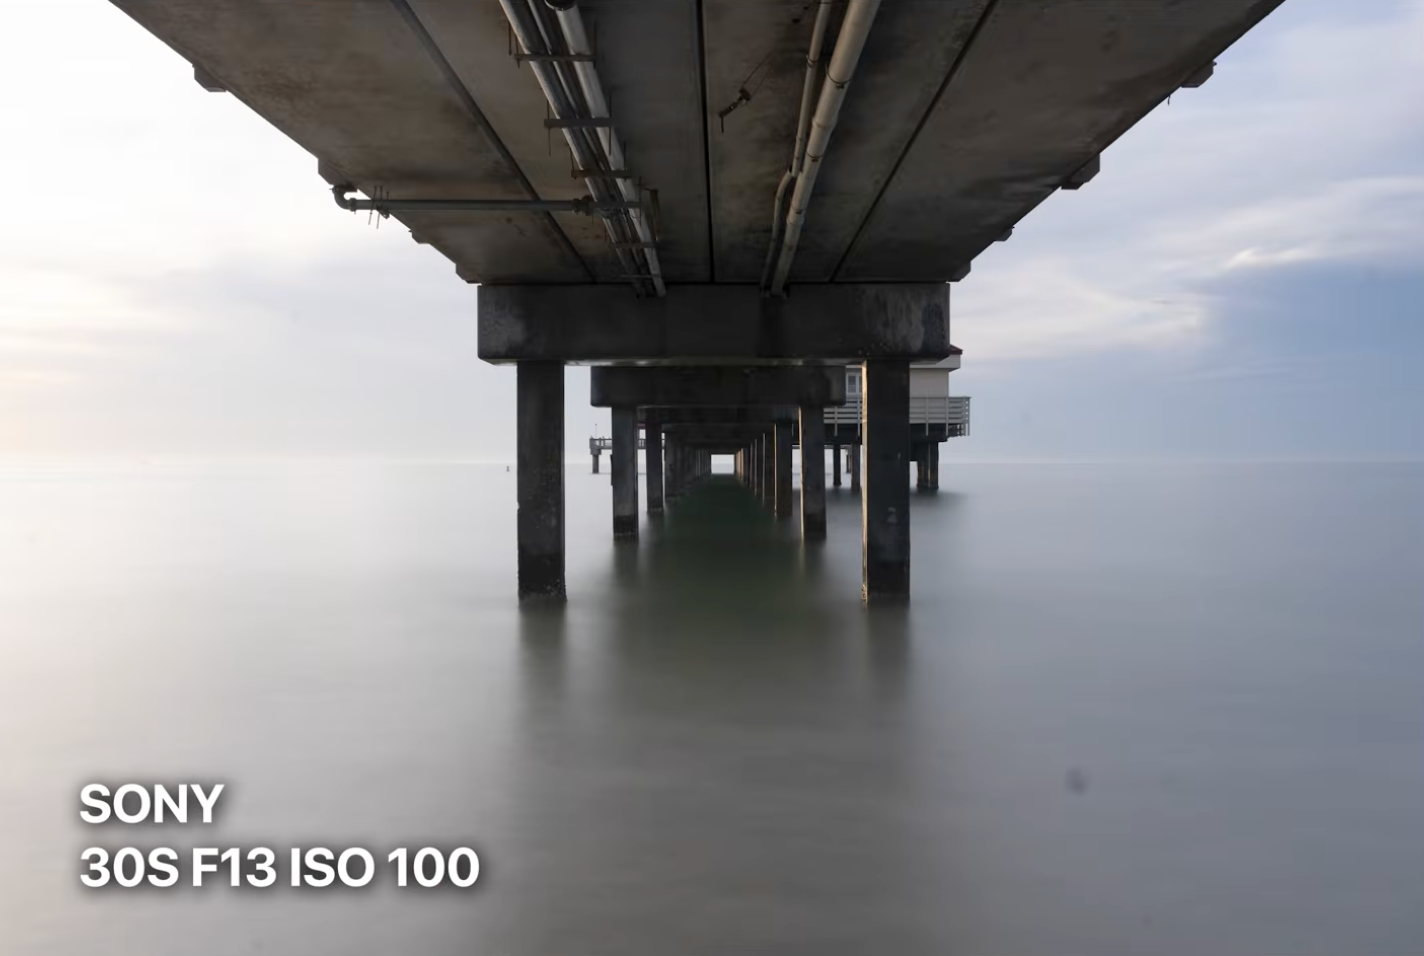
Underneath: the pilings become their own leading line straight to the horizon.
Foreground matters just as much as the angle. Wet sand catching the color of the sky is one option.
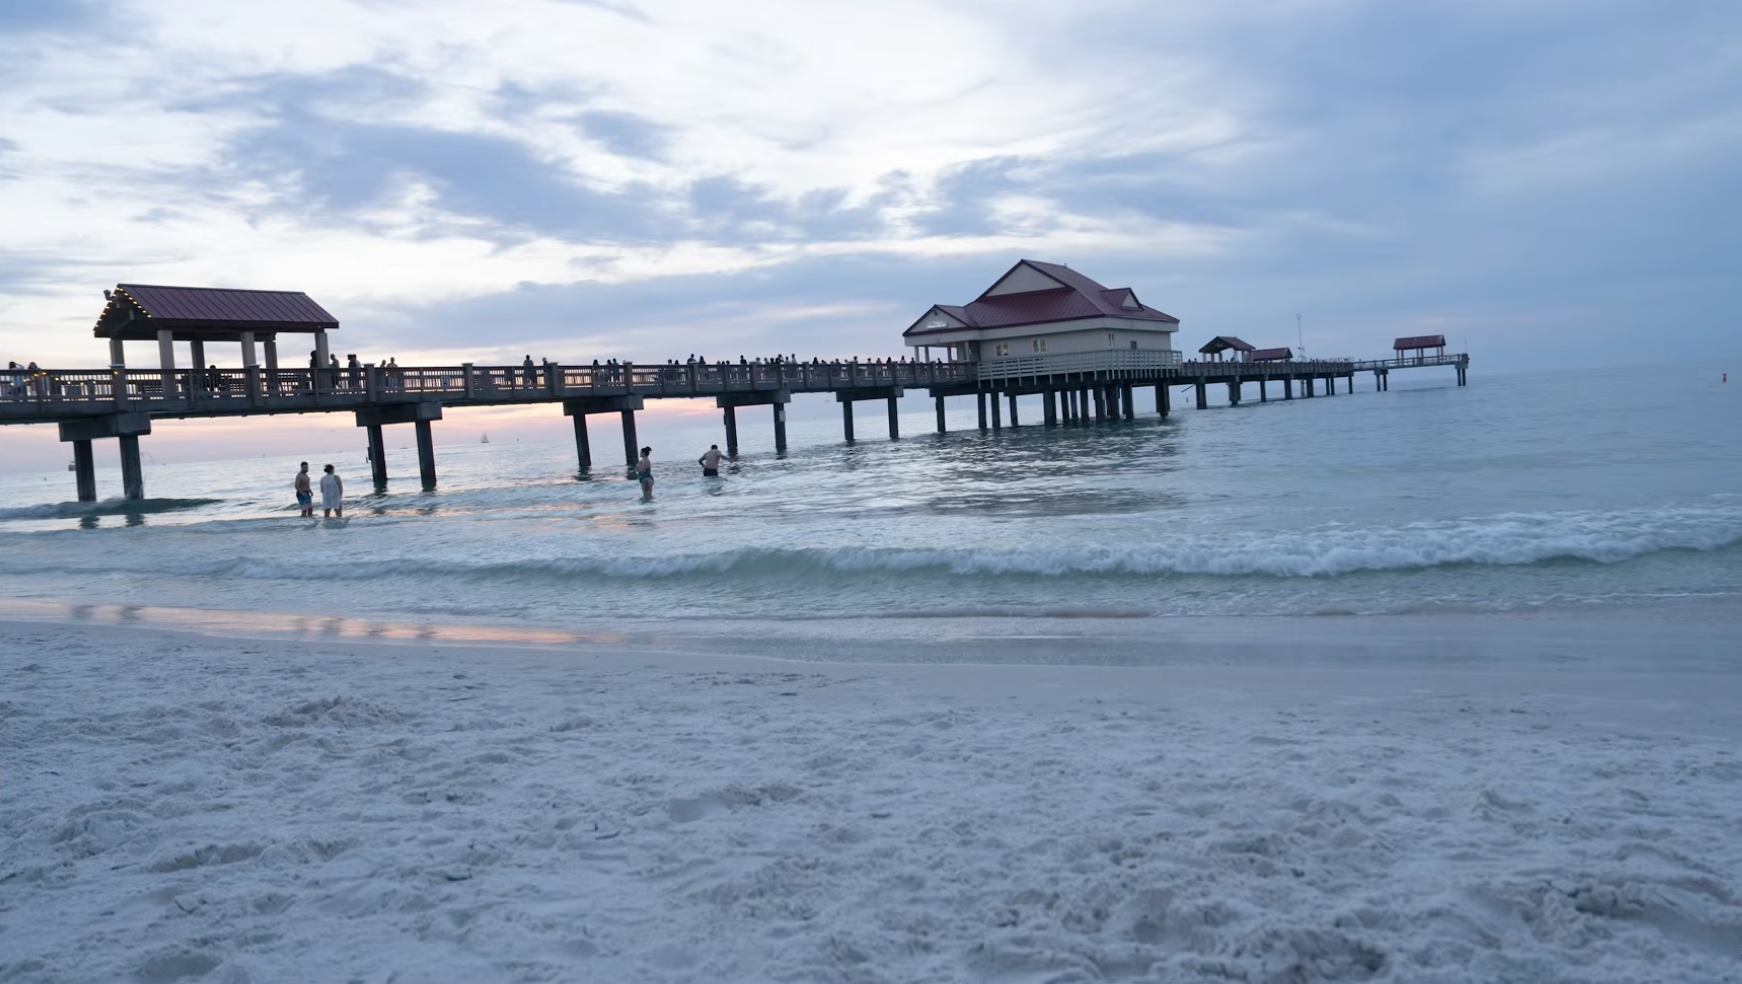
Sand as foreground: texture and reflected color close to the lens.
Stepping back into the water for a smooth reflection instead of sand is another, and it changes the entire mood of the frame.
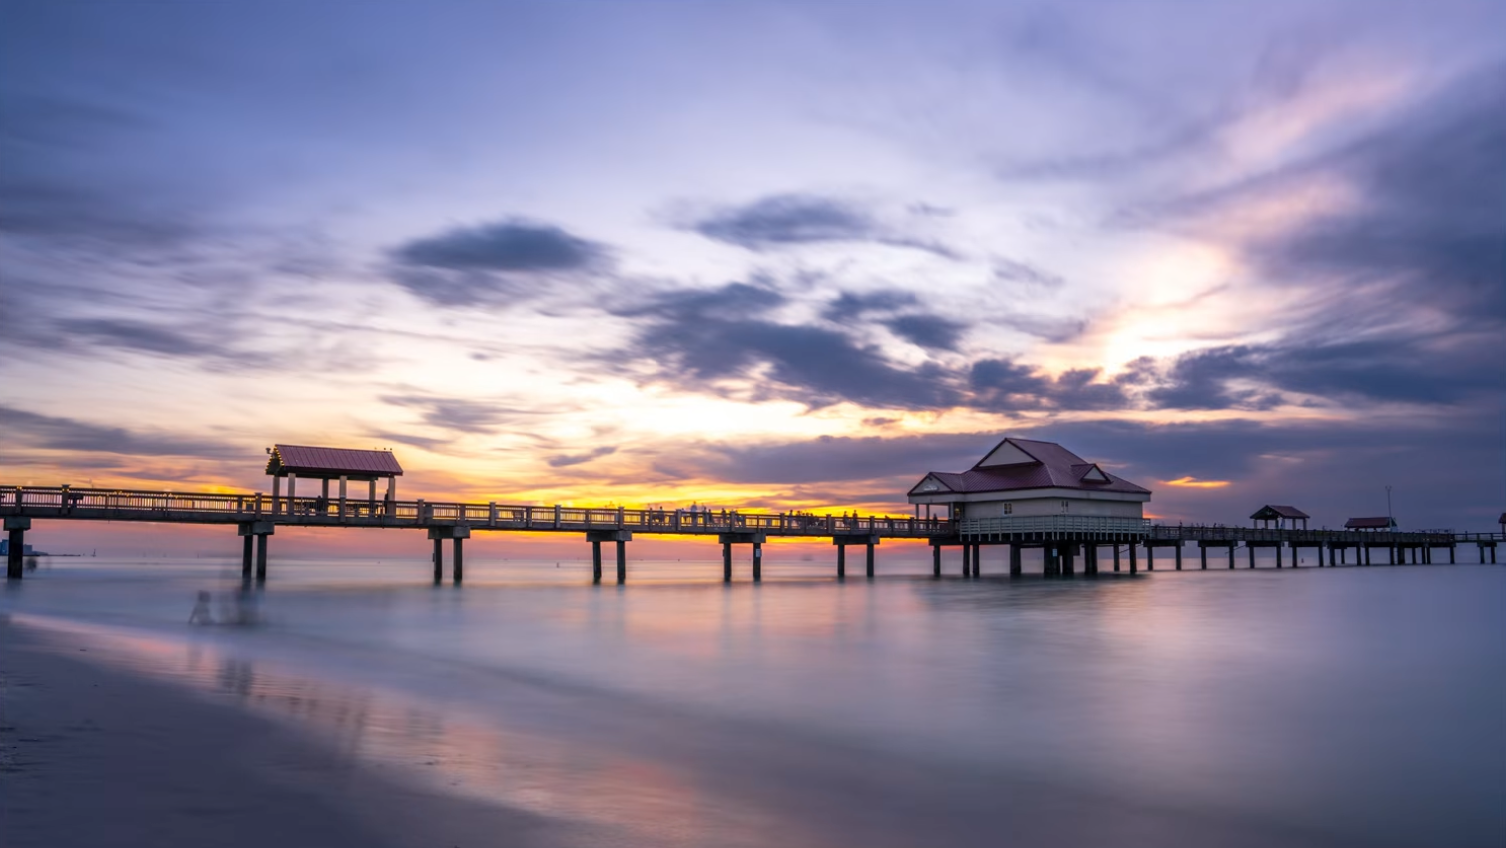
Water instead of sand: a calmer, more minimal foreground.
Running a rule-of-thirds grid over any of these options is a fast way to check whether the horizon and the main structure are actually sitting where they should.
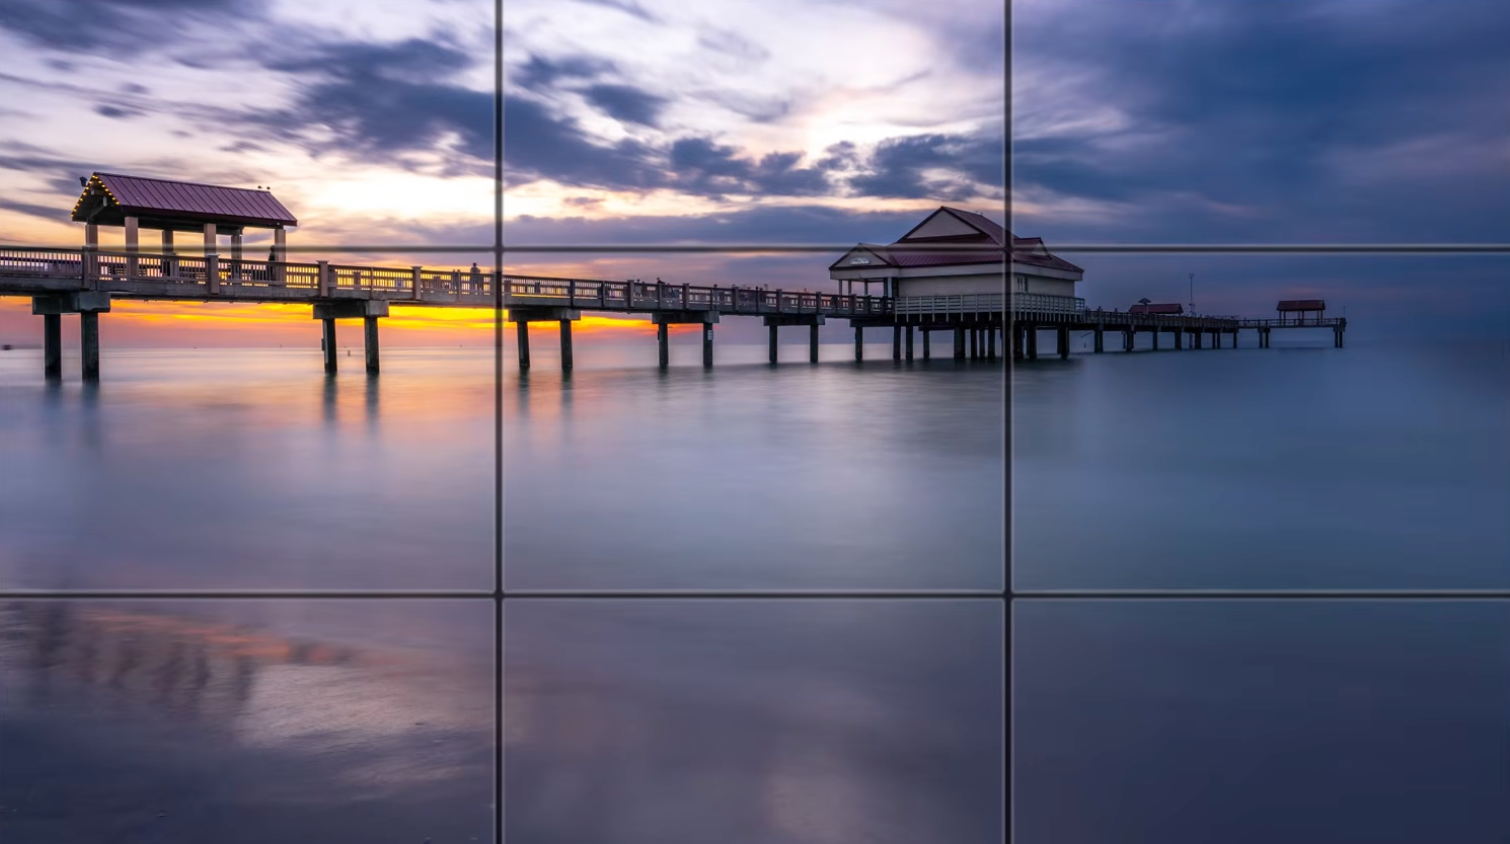
Checking the composition against a rule-of-thirds grid before committing.
After testing every angle, this was the one that won, the pier square to the camera, walkway and pilings both leading the eye straight down the frame.
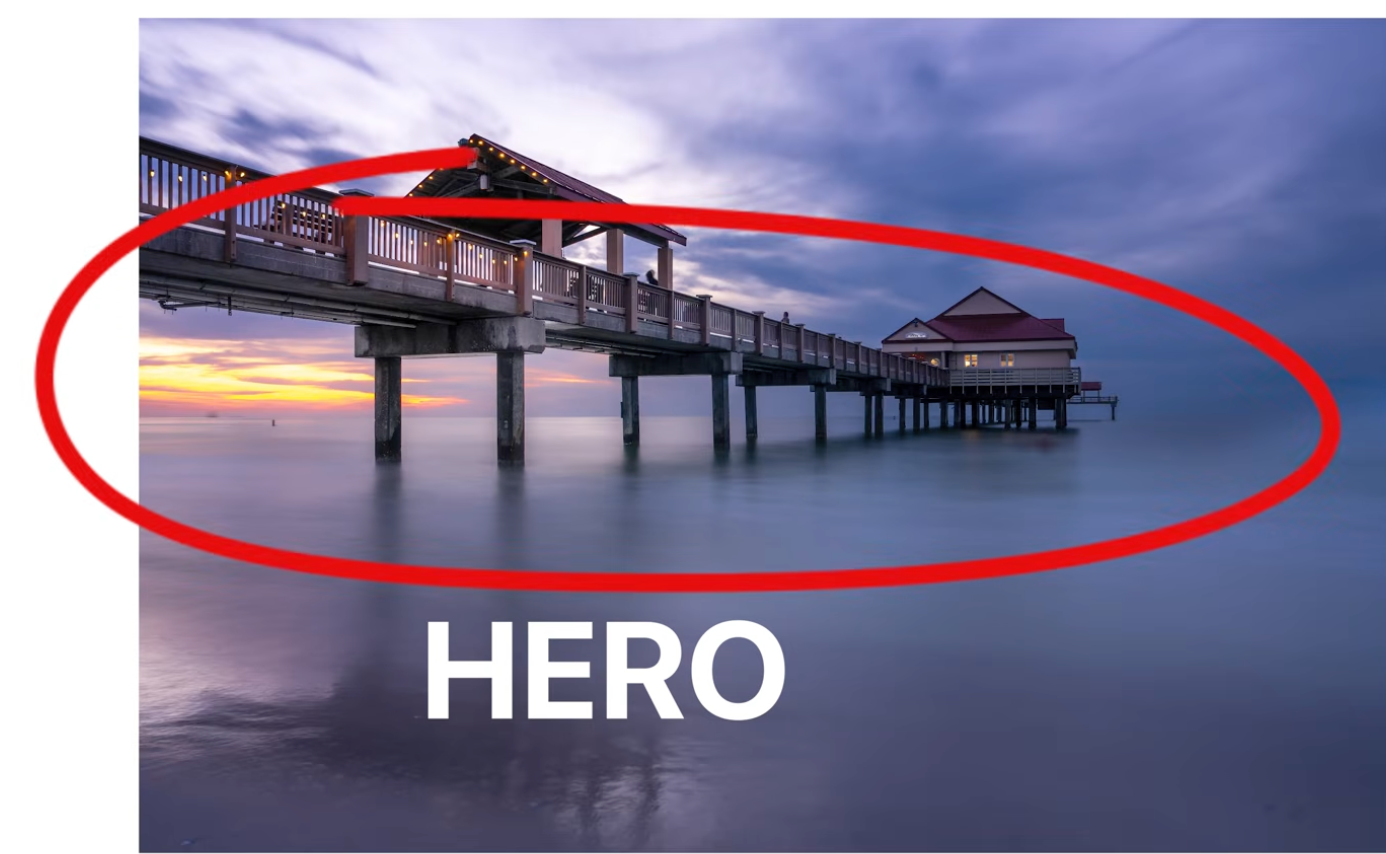
The winning composition, after trying every other angle first.
Time It With Your Hand
No app required for a rough estimate: hold your hand out at arm's length, fingers together, and count how many finger-widths fit between the sun and the horizon. Each finger is roughly 15 minutes of daylight left. It's not exact, but it's fast, and it's usually close enough to know whether there's time to still change position.
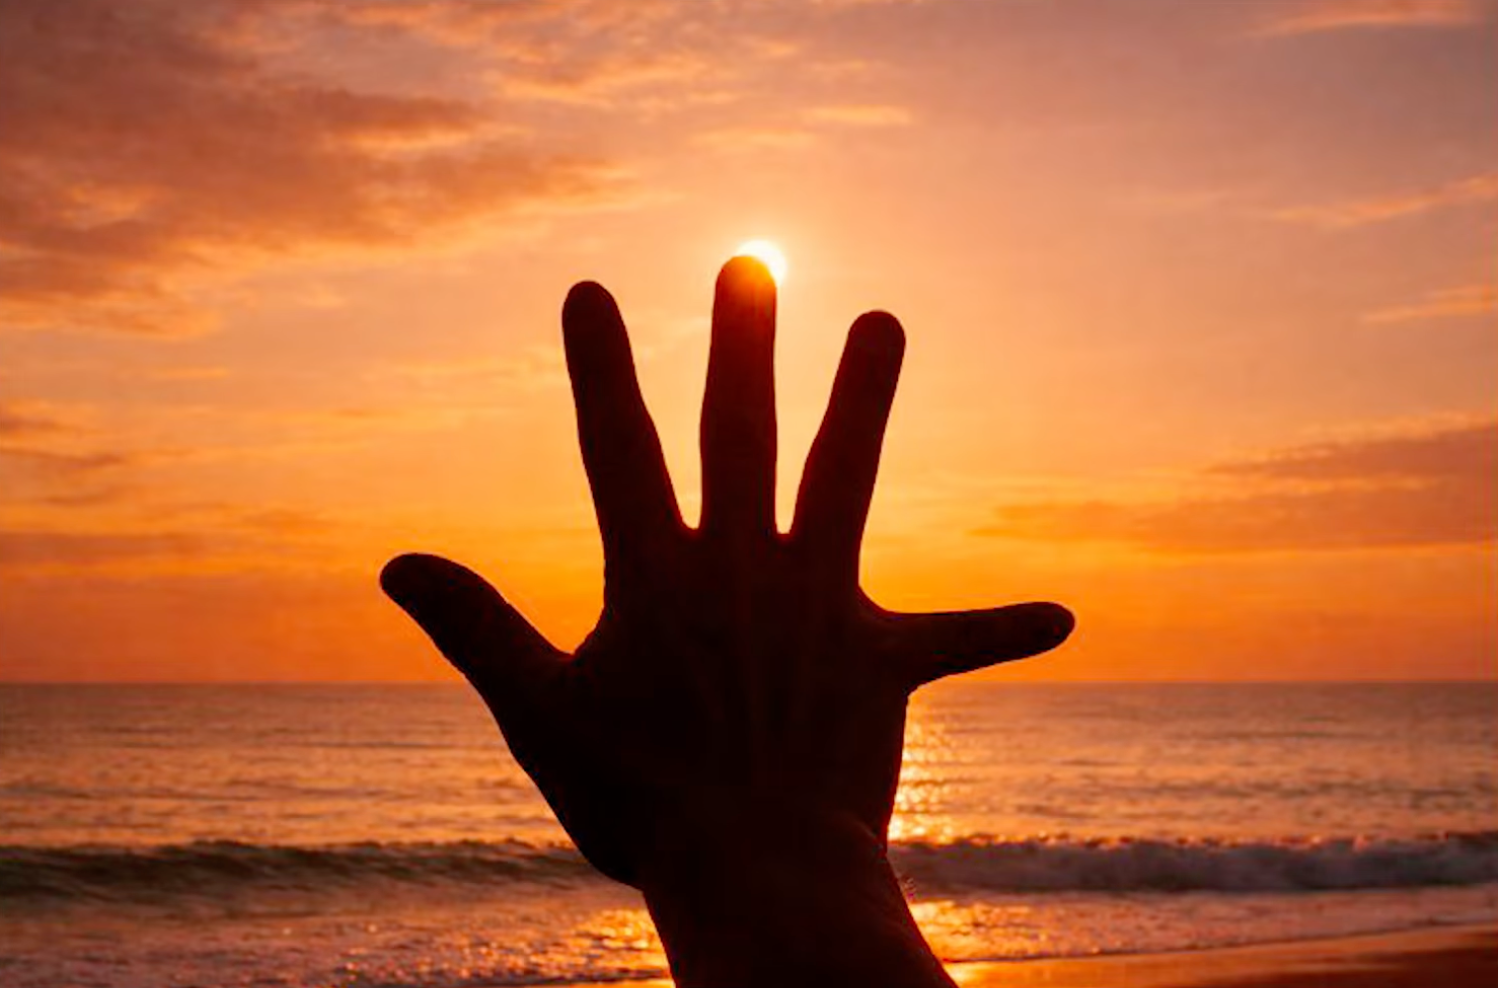
One hand, no app: each finger-width is roughly 15 minutes until the sun sets.
Get the Sun Inside the Frame
A sunset photo without the sun itself visible often just reads as a moody dusk shot, not a sunset. Cropping the sun out of frame, even when the surrounding color is nice, tends to feel incomplete.
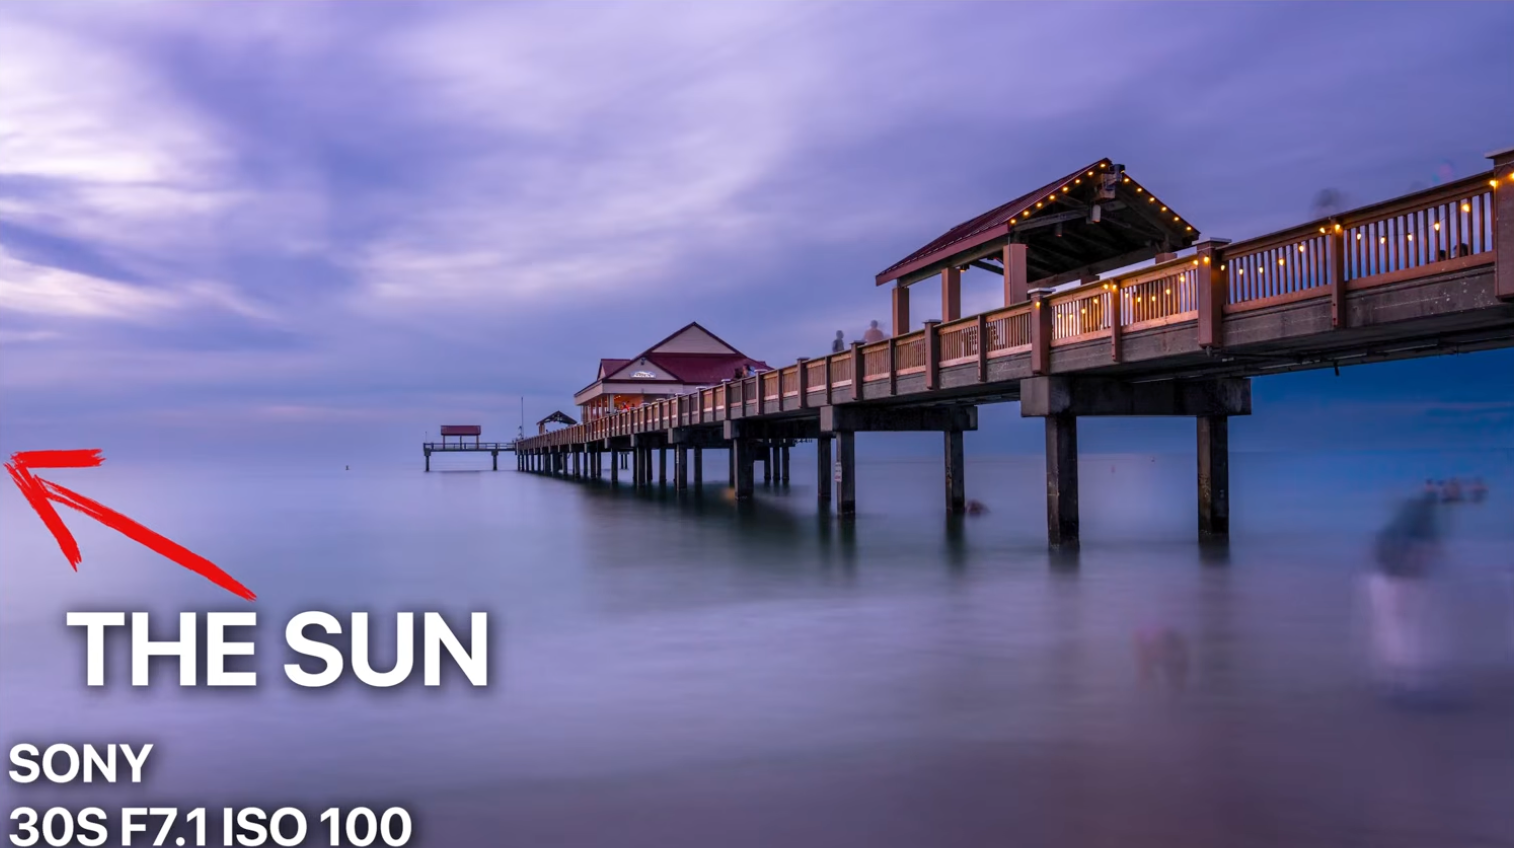
Nice color, but the sun itself is out of frame, and the shot reads as flat.
Reframing to actually include the sun's glow changes the whole feel of the photo, even when nothing else about the scene changed.
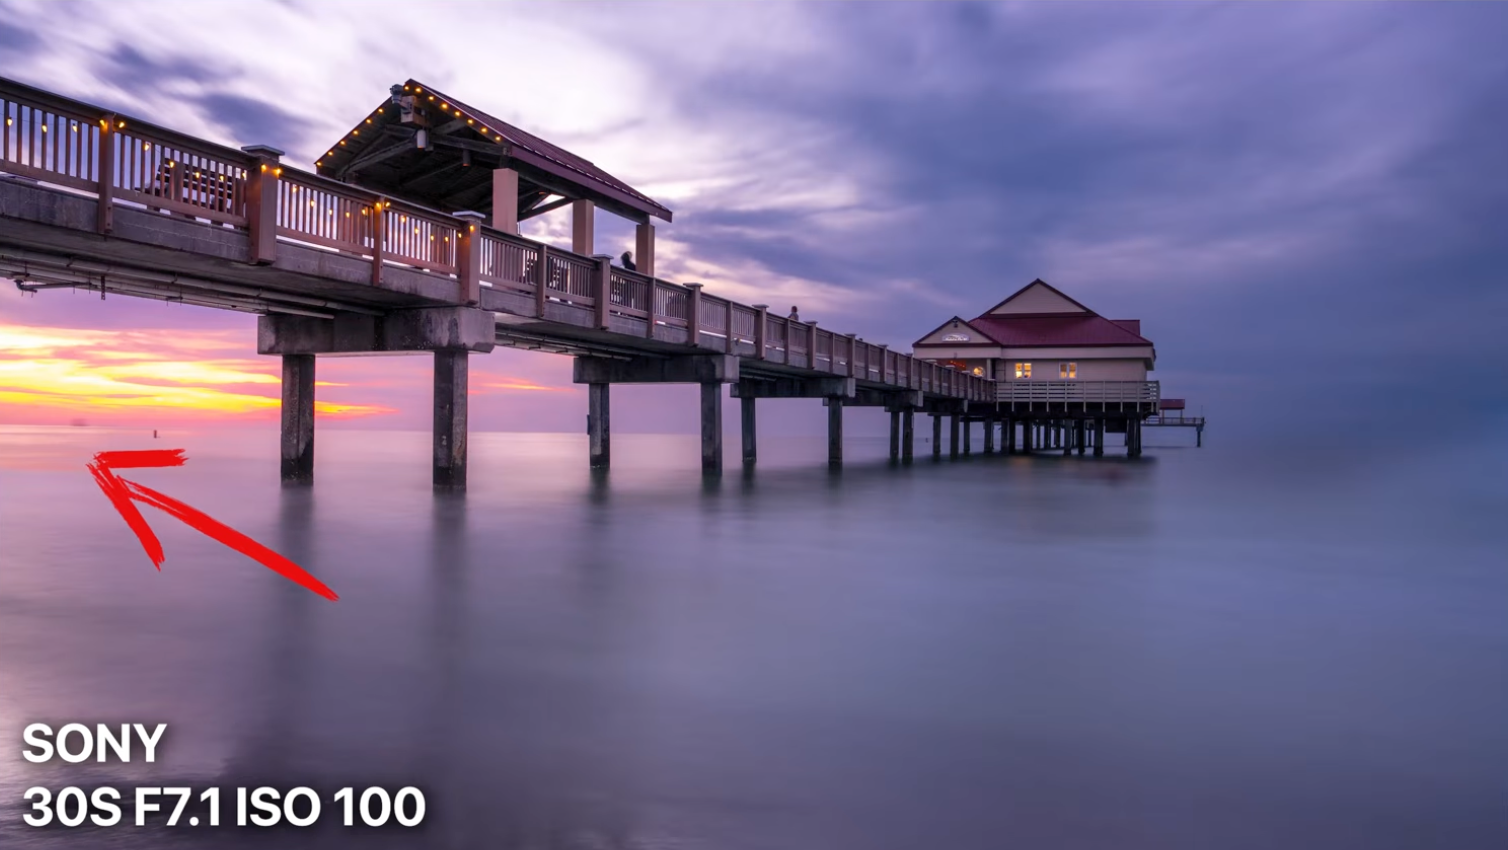
Same evening, same pier, the sun brought into frame.
Camera Settings That Can't Go Wrong
For a smooth, long-exposure sunset like this one, 30 seconds at f/13, ISO 100 is close to a default starting point, adjusted from there depending on how much light is left. With an ND filter strong enough to hold a 30-second exposure in brighter conditions, that can open up to f/7.1 instead.
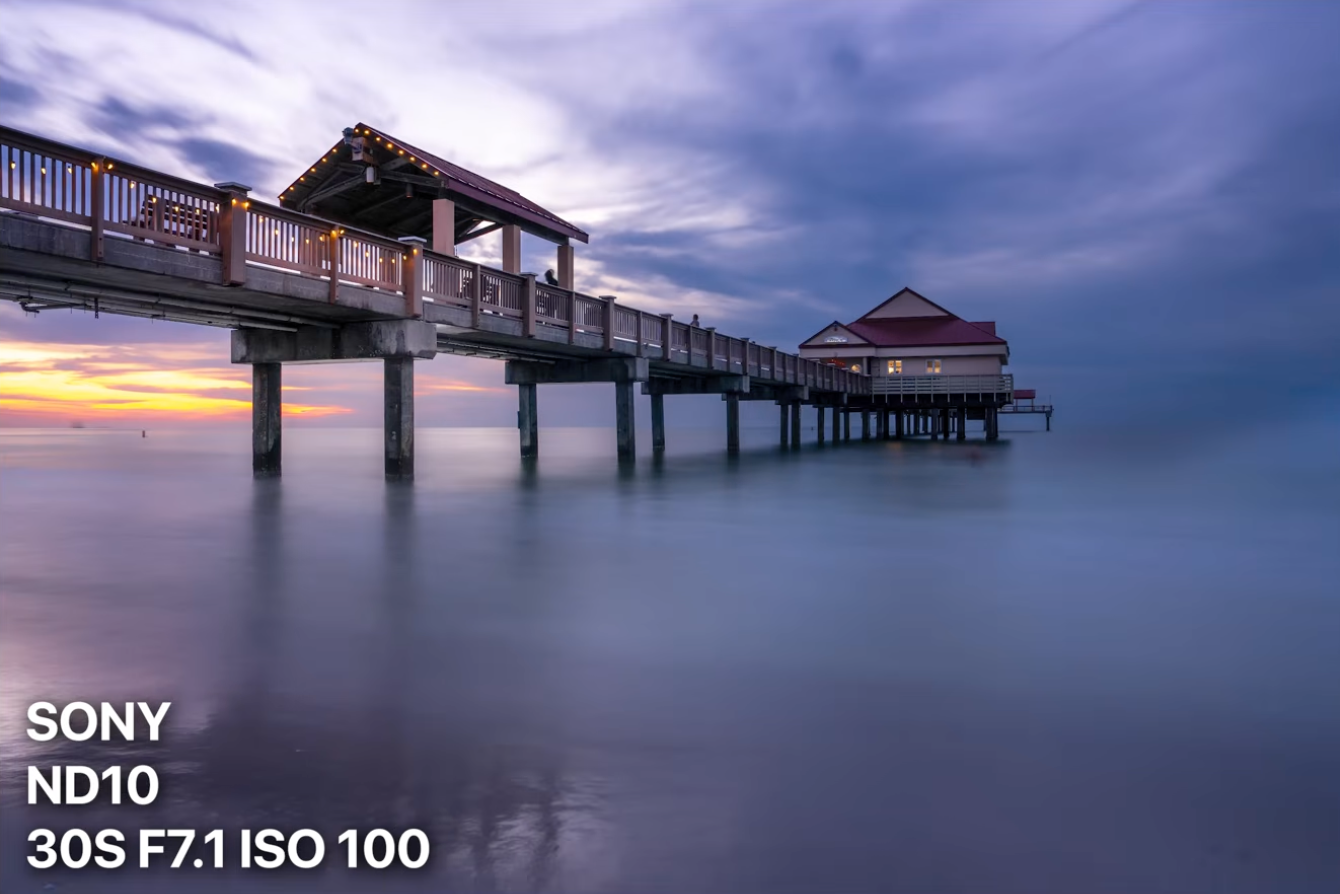
30 seconds, f/13, ISO 100: a starting point that's hard to get badly wrong.
Shoot in a Vivid Picture Profile
Setting the camera's Creative Look to a vivid profile before the shutter even clicks (Vivid 2 on Sony bodies) pushes contrast and color straight out of camera. It's not a substitute for editing, but it gives a much better starting point to judge exposure and color on location than a flat, neutral profile would.
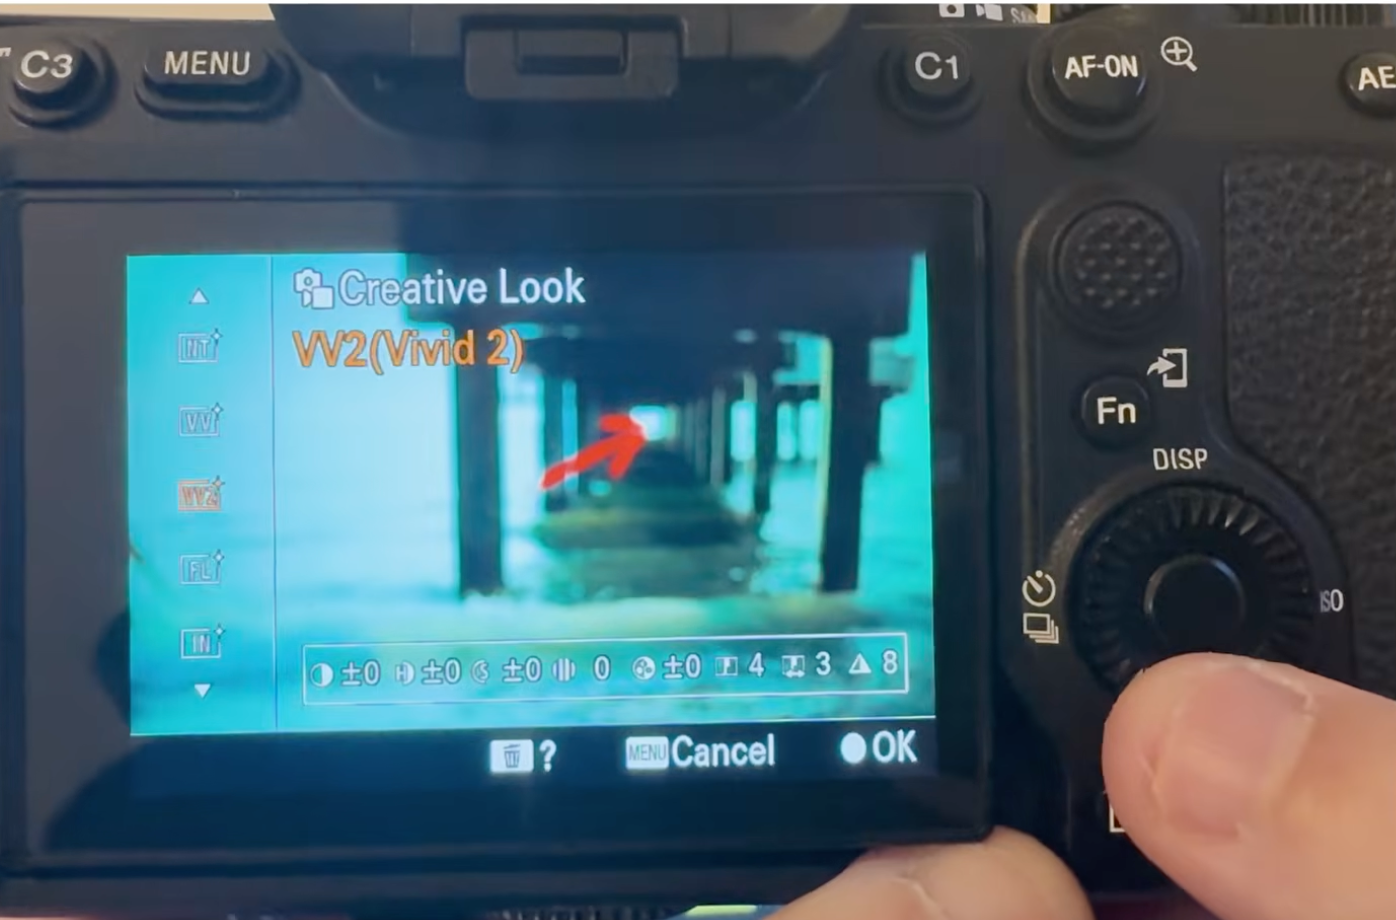
Vivid 2, set in-camera, before a single edit in Lightroom.
How to Expose a Sunset the Right Way
The instinct most people have is to expose for the ground, which almost always blows out the sky. The right approach is the opposite: protect the highlights in the sky first, even if the foreground reads dark. A RAW file has far more recoverable detail in the shadows than in a blown-out sky.
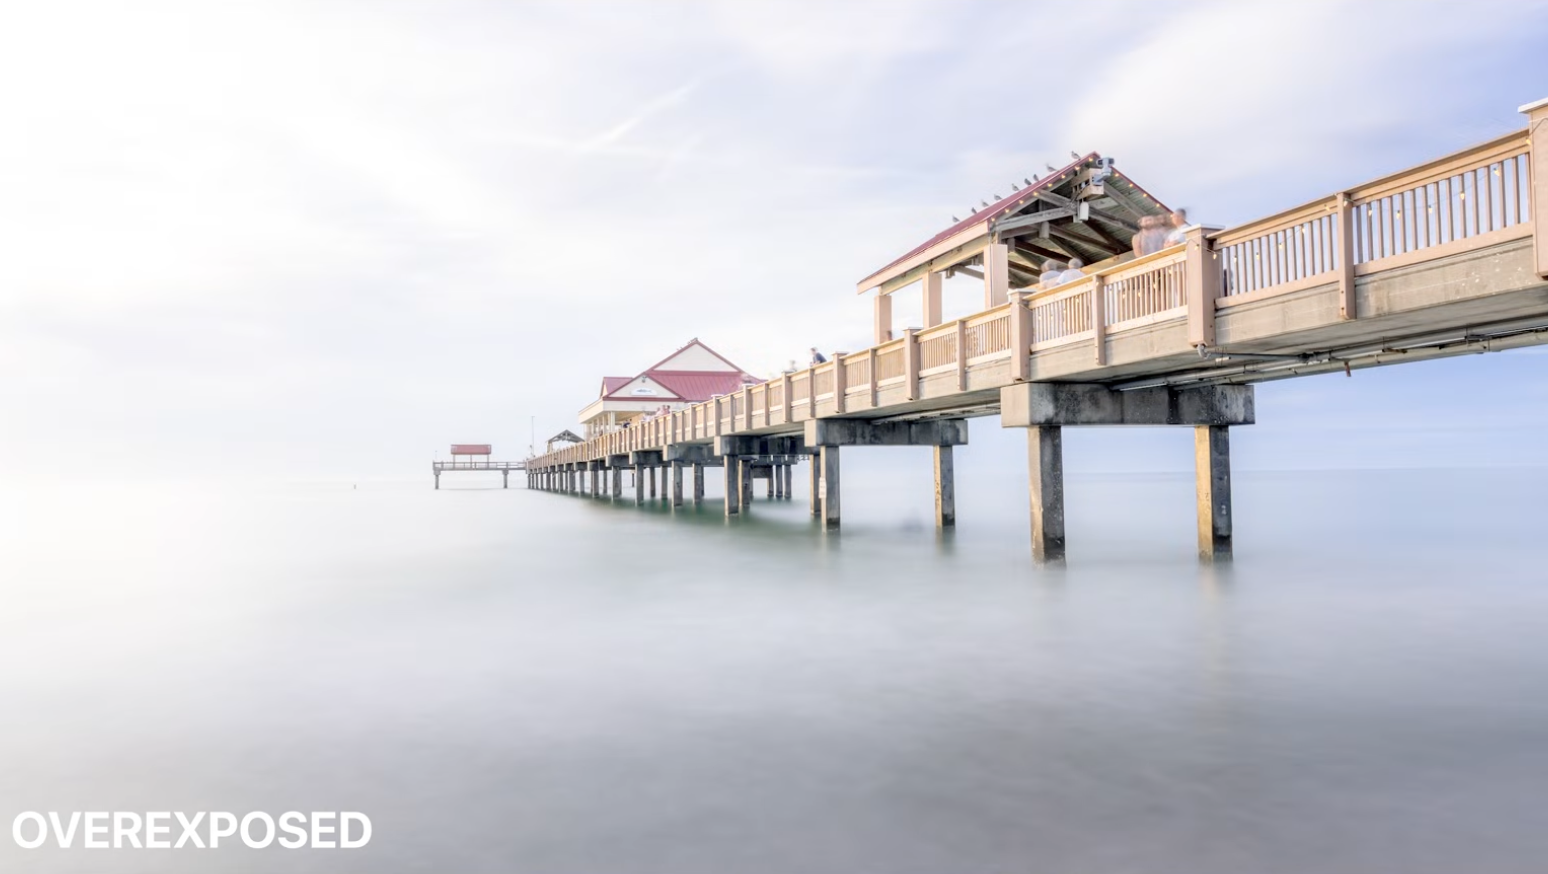
Overexposed: the sky's color and detail are already gone.
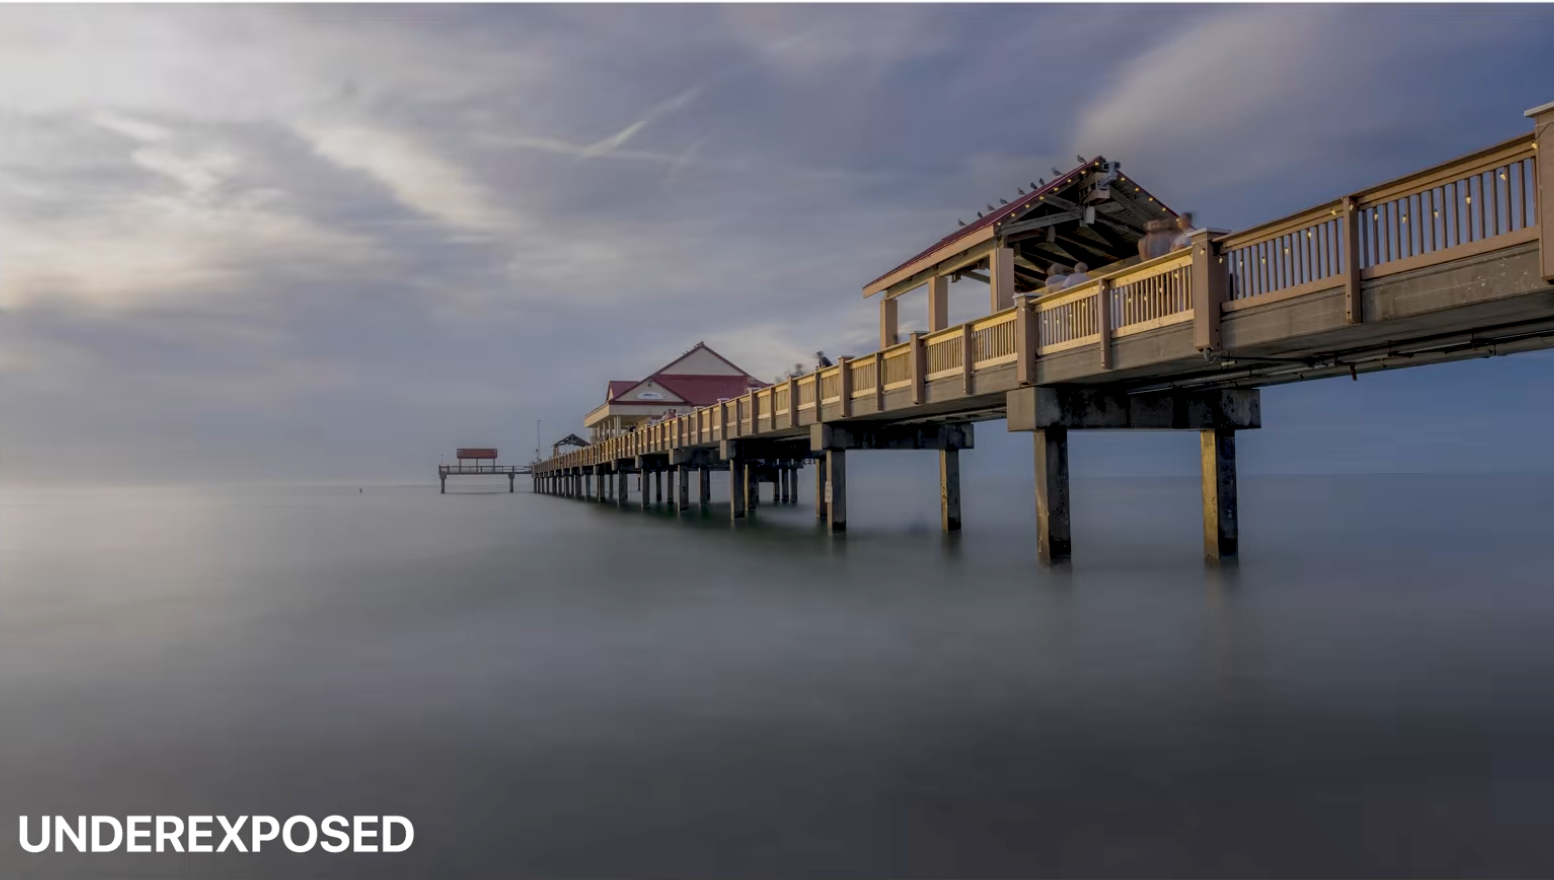
Underexposed instead: darker overall, but the sky still has color to recover.
Get the White Balance Right
White balance decides whether a sunset reads as warm and inviting or cold and lifeless, and it's easy to get backwards. Too cool, and a sunset loses the exact warmth that made it worth photographing in the first place.
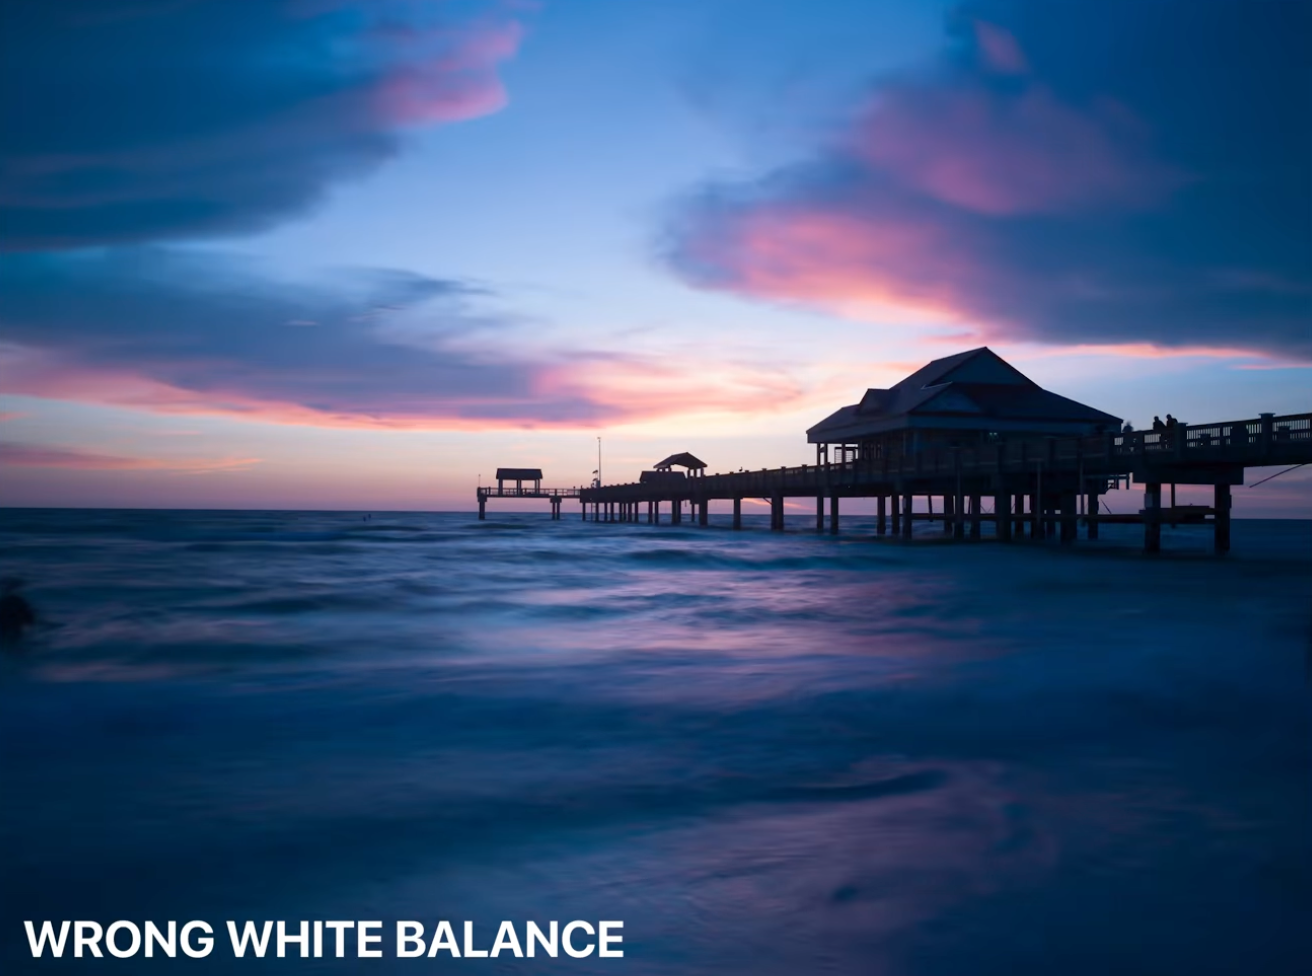
Wrong white balance: the sky reads blue and cold instead of like a sunset.
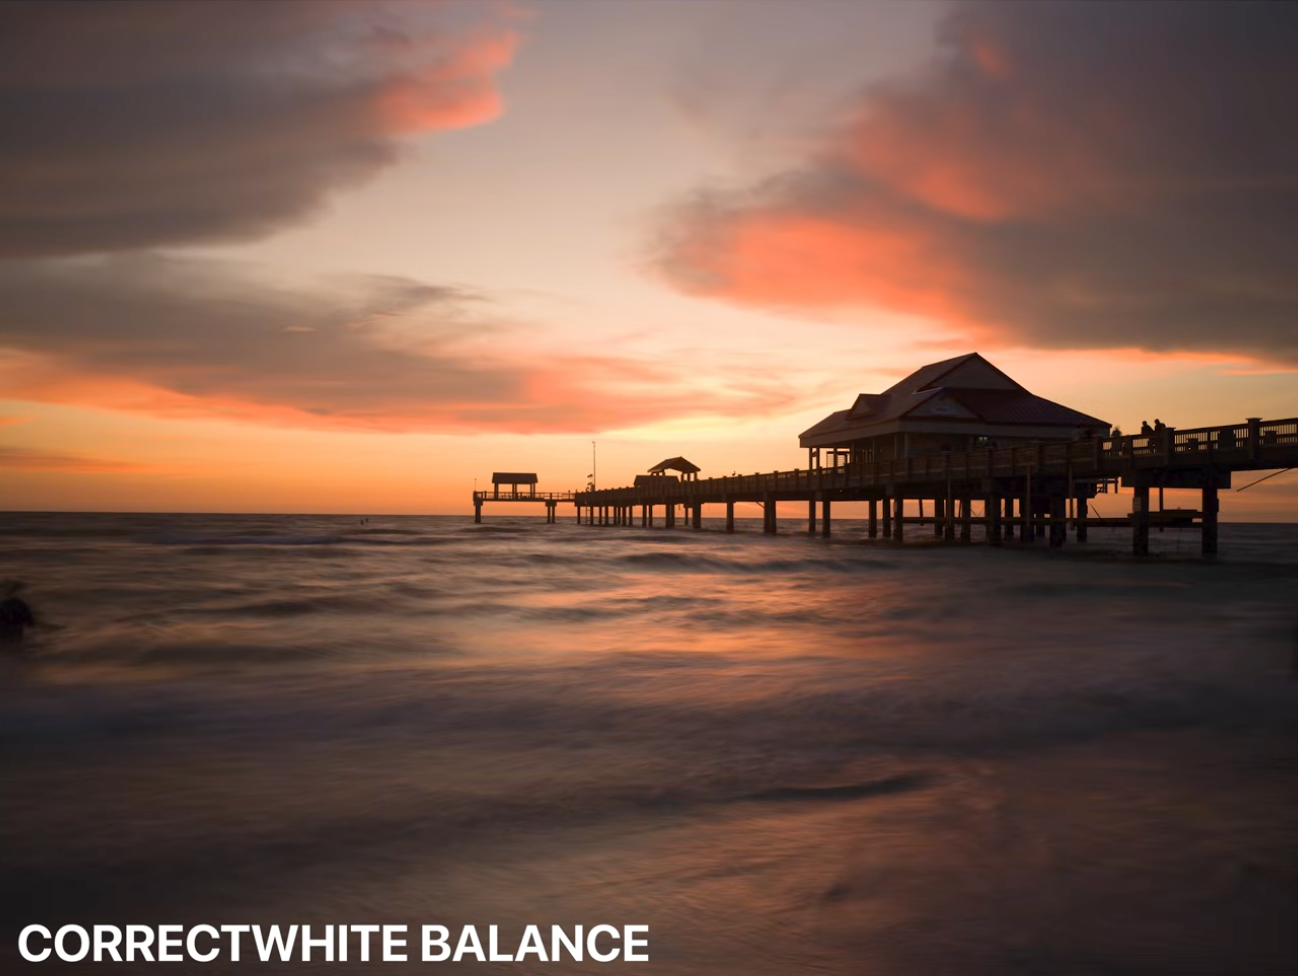
Corrected: the same sky, now reading warm the way it actually felt in person.
The Long Exposure Trick for Crowded Piers
Popular spots are crowded at sunset, and waiting for an empty pier usually means never getting the shot. A long shutter speed does most of the work on its own: anyone moving through a 30-second exposure blurs into near-nothing, while the water turns smooth and the light trails and figures still standing become soft, atmospheric shapes instead of a distraction.
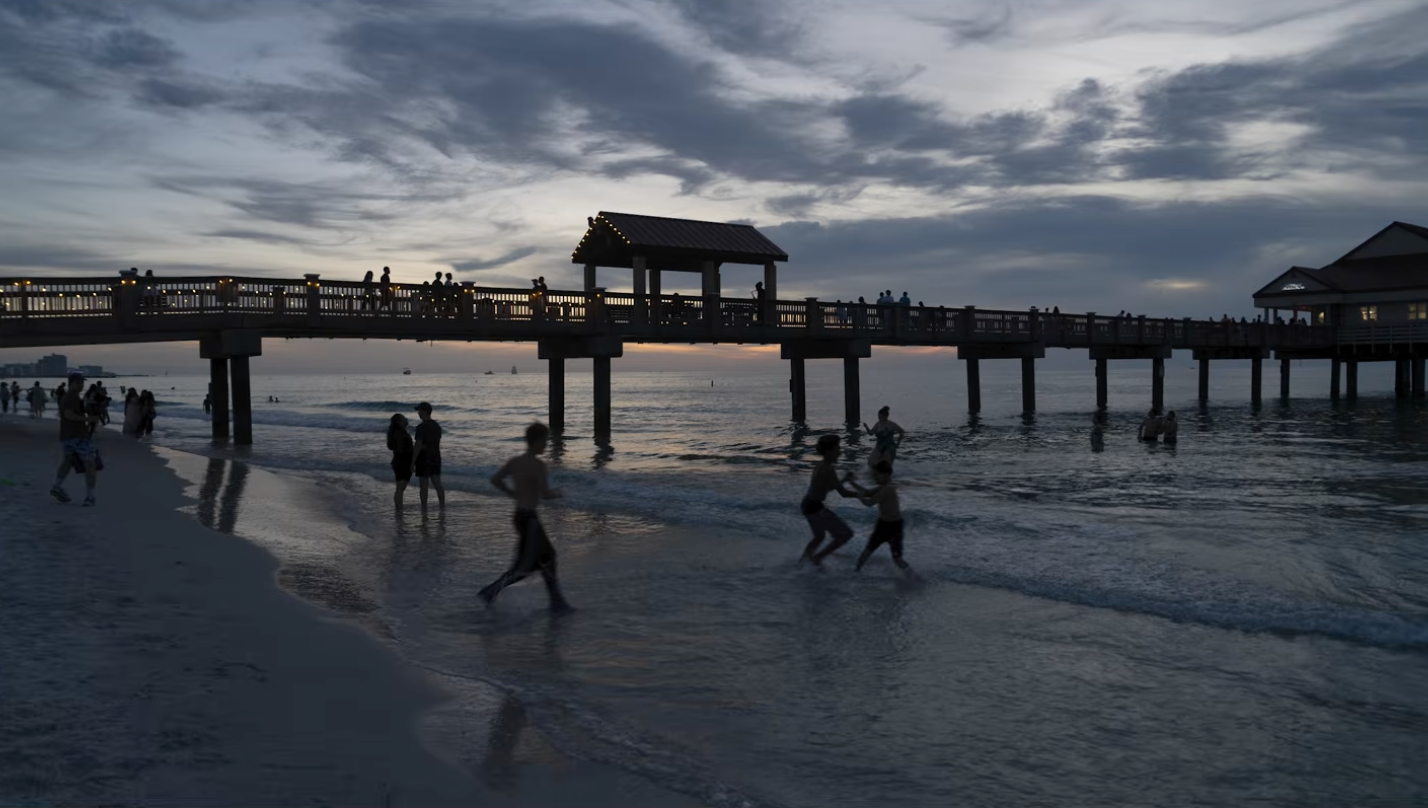
The pier as it actually was: full of people moving through the frame.
For anyone who stood still long enough to stay sharp in the frame, Lightroom's people detection flags each one so they can be handled individually rather than guessed at.
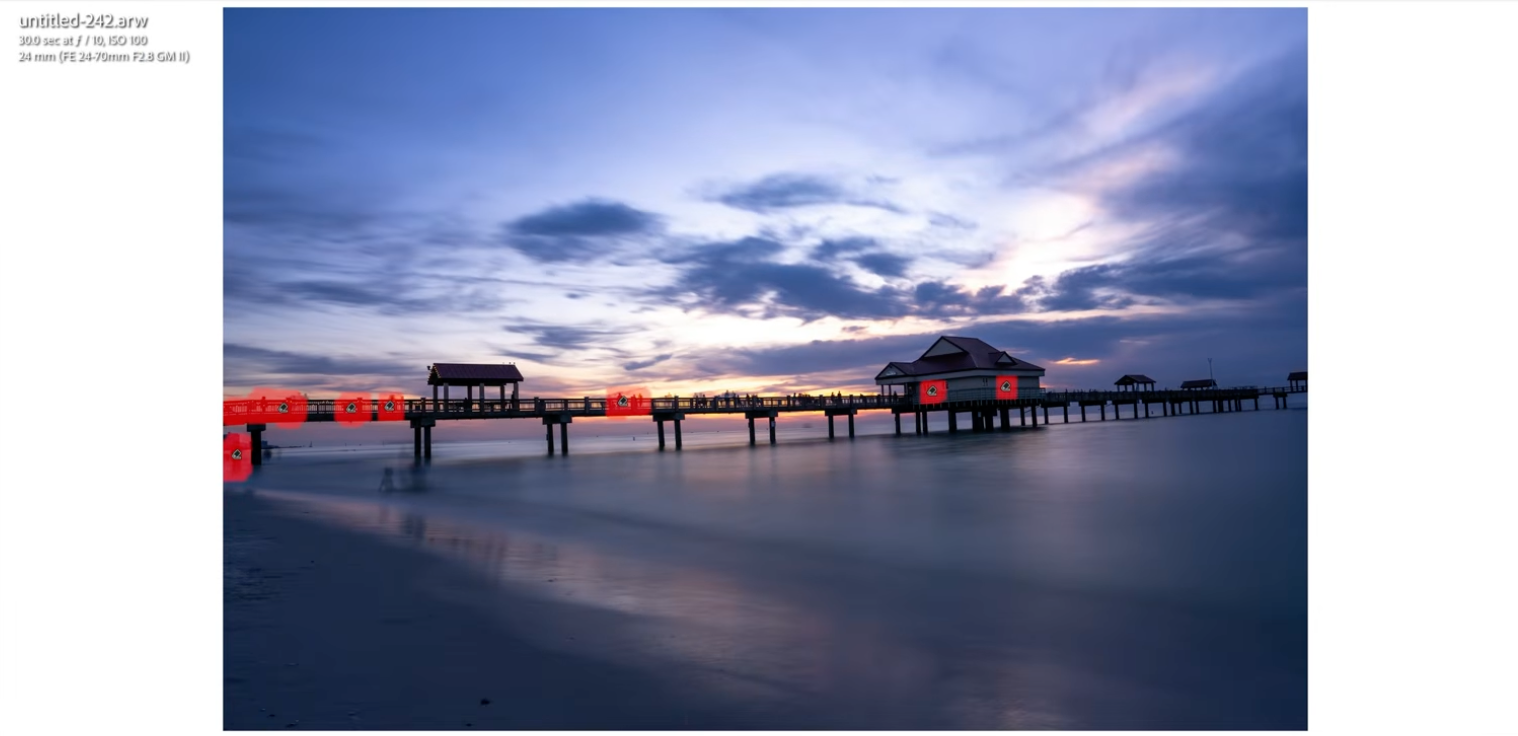
Lightroom detecting each person left in the frame after the long exposure.
The result: a 30-second exposure alone turns a busy pier into something that reads as calm and empty, without erasing a single person by hand.
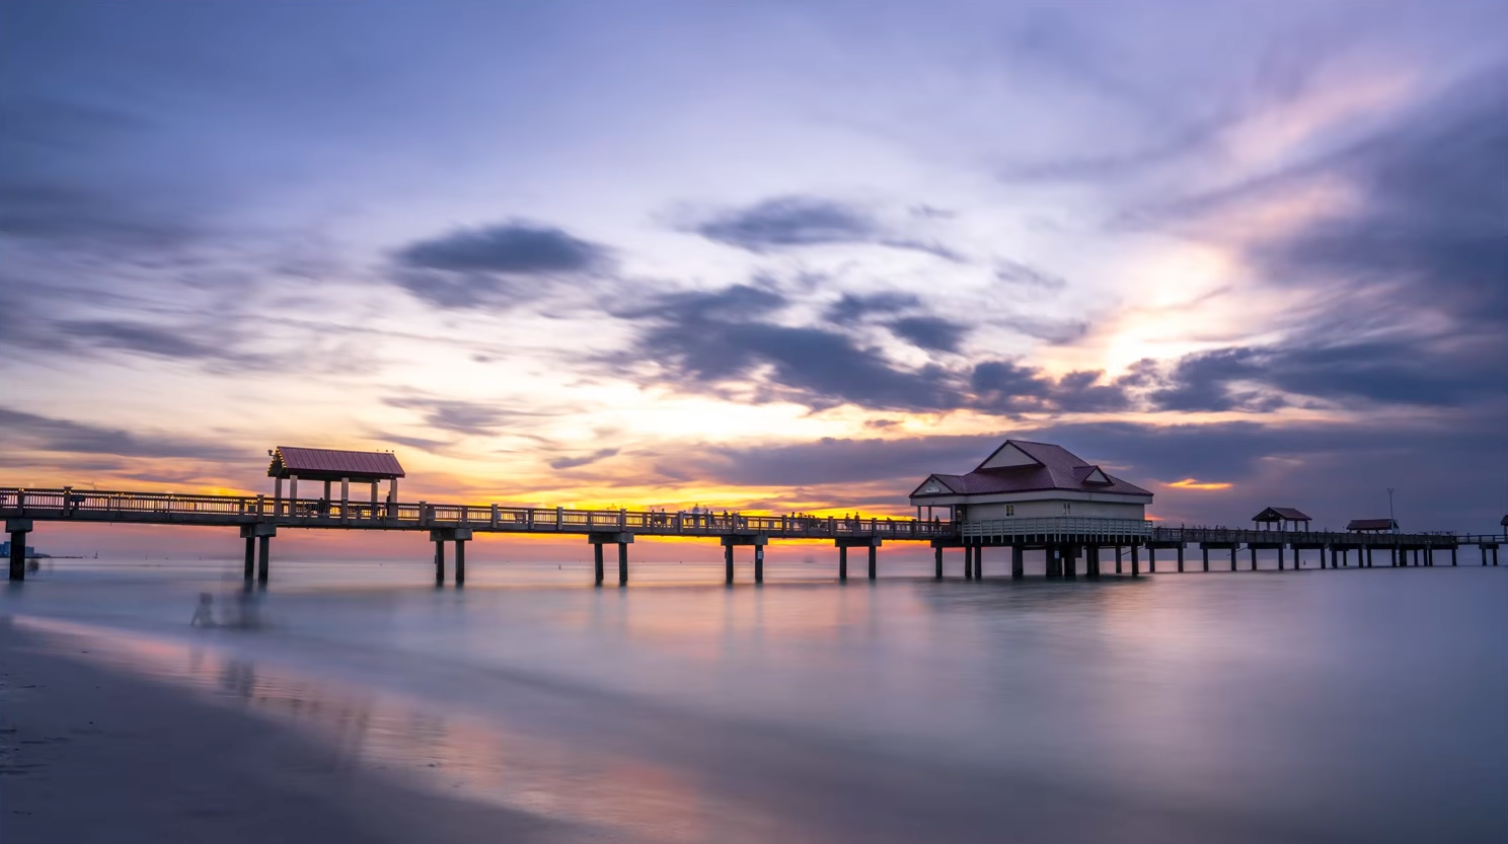
The same busy pier, after 30 seconds: the crowd is simply gone.
Setting the Black Point in Lightroom
Same technique as always: hold Alt (Option on Mac) while dragging the Blacks slider to see exactly which pixels are clipping to pure black in real time. On this file, Shadows went to +100 to recover detail, and Blacks came back to -23 once a real black point appeared.
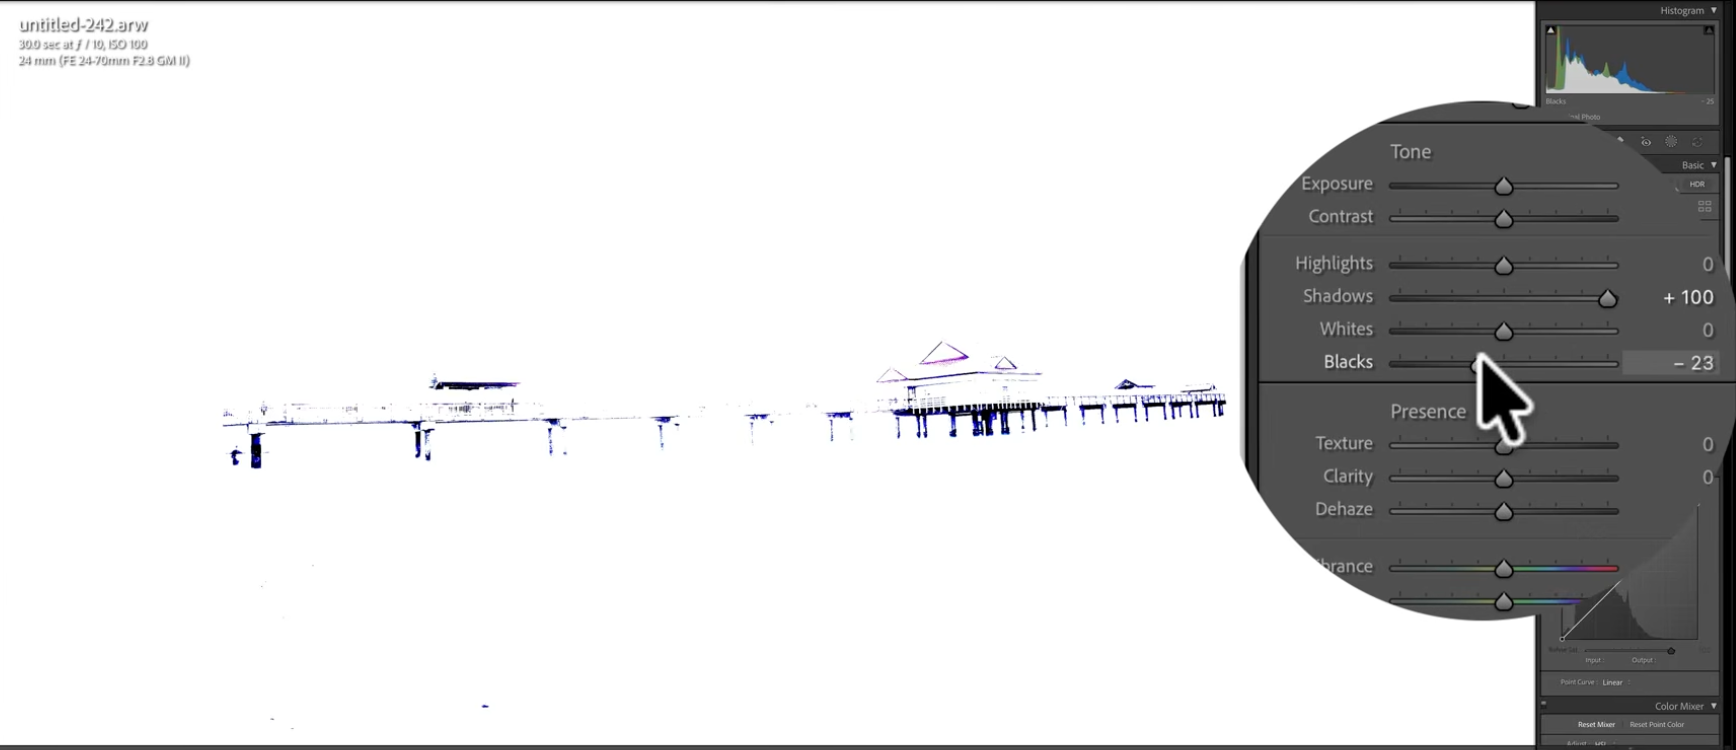
Shadows at +100, Blacks pulled to -23, set by watching the clipping view directly.
Straighten and Crop
A horizon that's even slightly off pulls focus away from everything else in the photo. A small Rotate adjustment, +1.6 degrees here, levels it out completely.
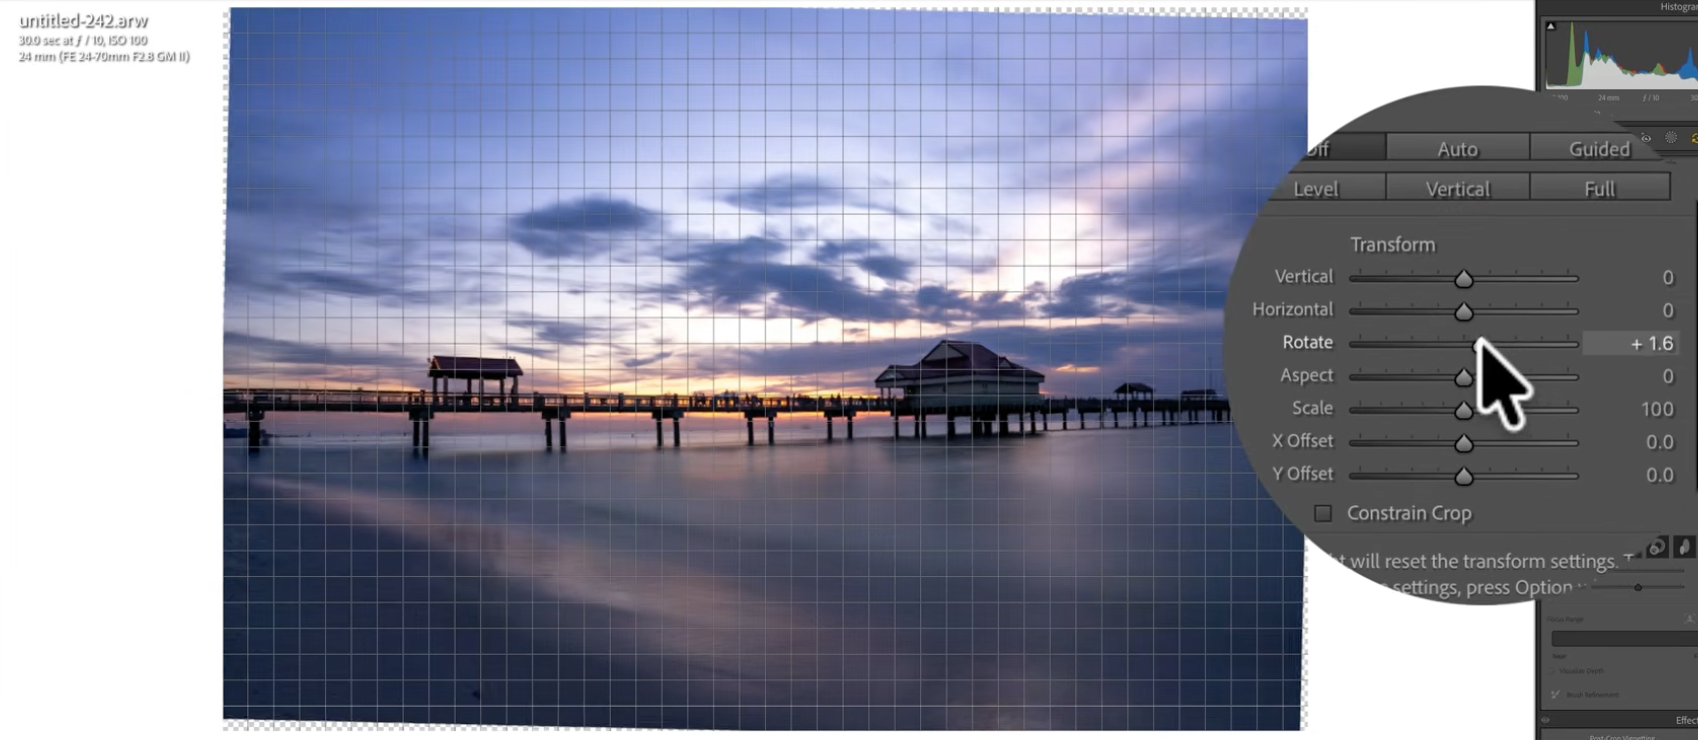
A 1.6 degree rotation is all it took to level this horizon.
With the horizon level, a rule-of-thirds crop tightens the composition to exactly what was decided back during the scouting phase.
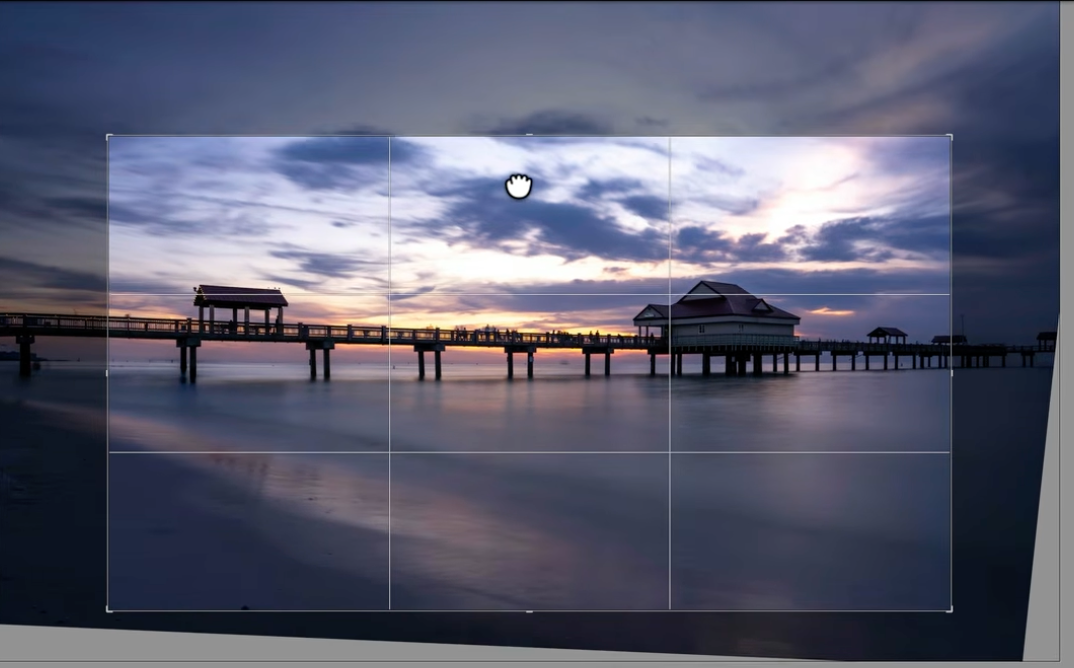
Cropped to the composition, now that the horizon is level.
Finish the Sky With a Radial Gradient
A large Radial Gradient placed over the whole sky, Feather at 100 and Amount at 100, is the base for the final color push. Inside that same mask, nudging Hue to 30 and Saturation to 46 in the Color Mixer deepens the sunset tones without touching anything outside the gradient.
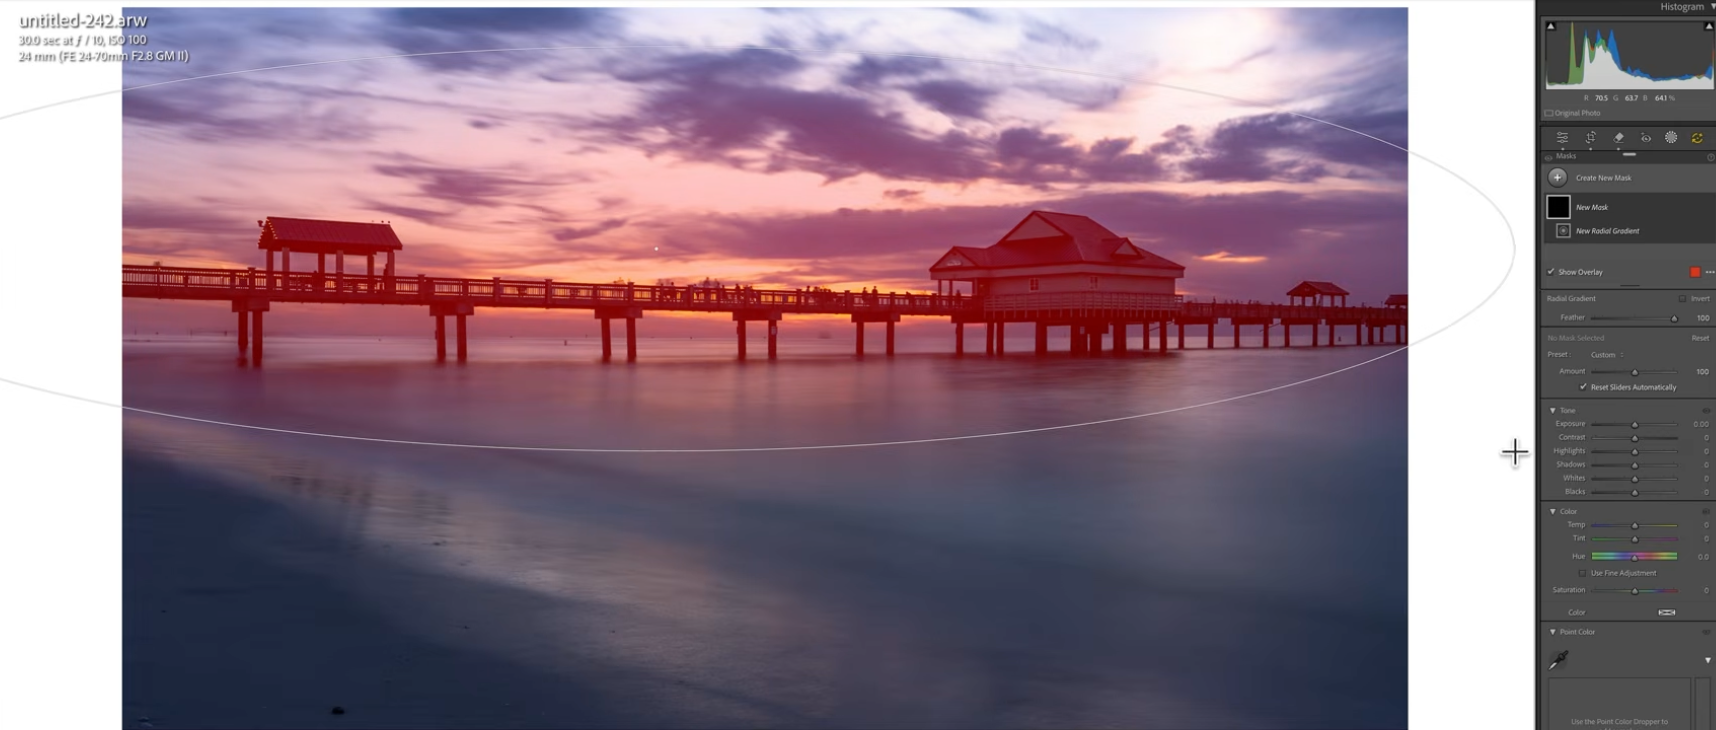
The Radial Gradient, covering the whole sky before any color is pushed.
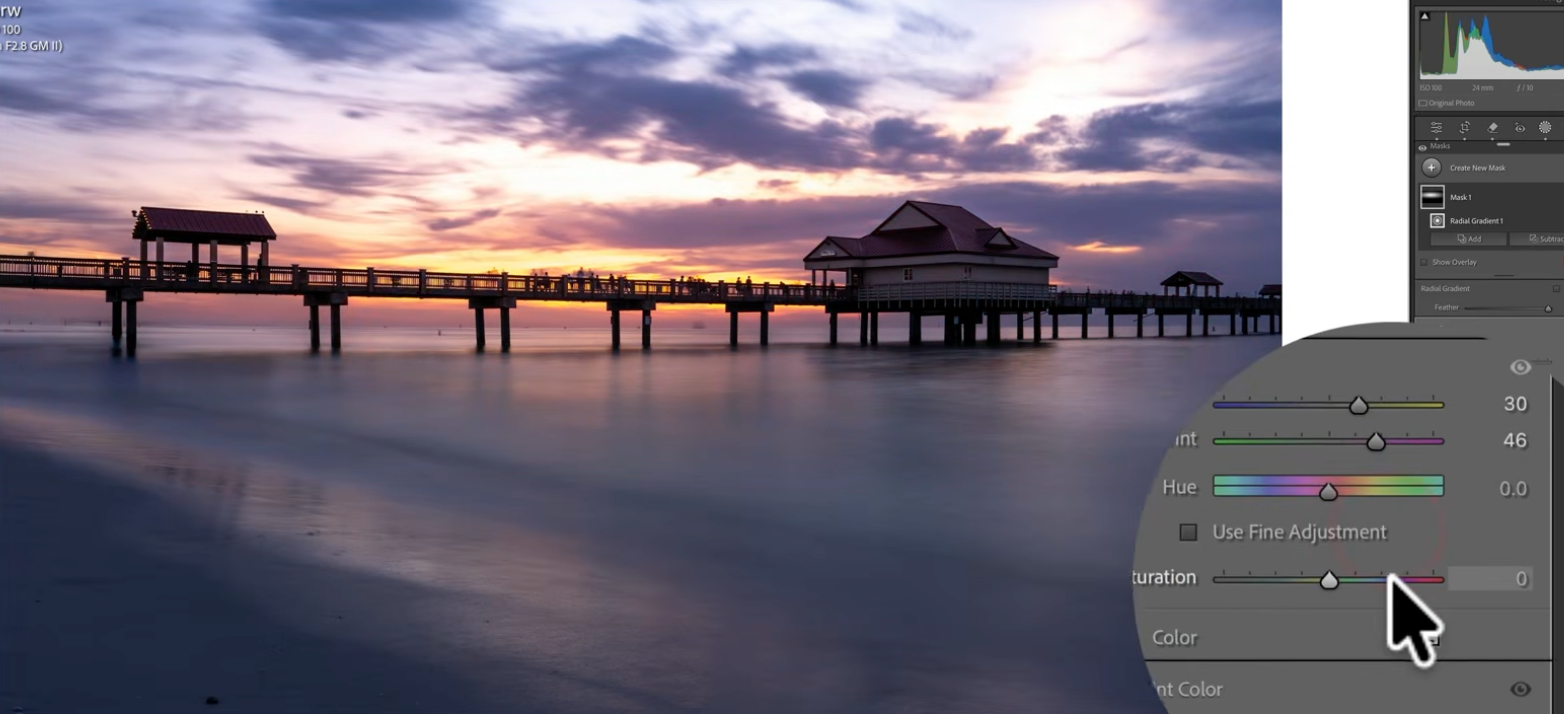
Hue at 30, Saturation at 46, inside that same mask.
Look for Depth, Not Just the Horizon
Not every strong frame at a location is the wide sunset shot. Standing underneath the pier and shooting straight down the row of pilings turns the structure itself into a leading line, with the horizon reduced to a small, bright point at the very end of the tunnel.
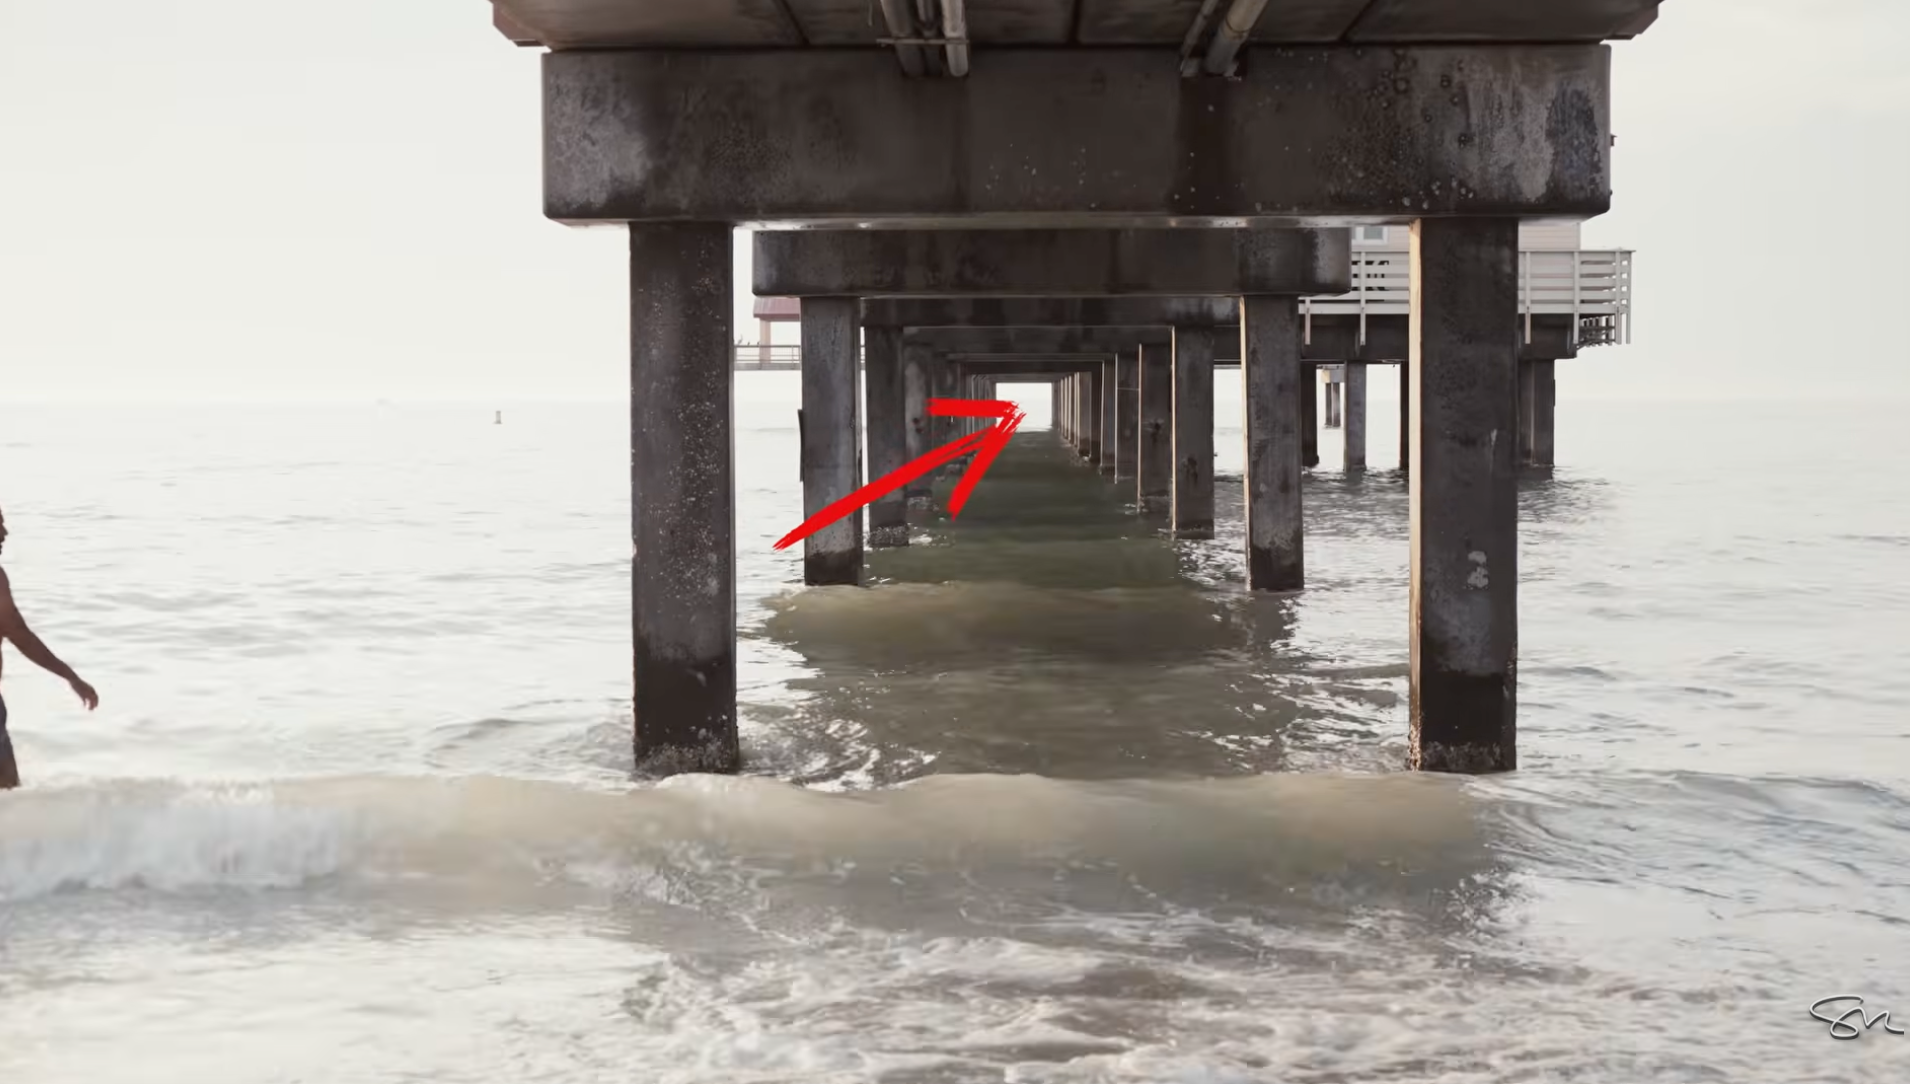
The same location, a completely different kind of depth.
Frequently Asked Questions
What camera settings work best for sunset long exposures?
Around 30 seconds at f/13, ISO 100 is a solid starting point, or f/7.1 with a strong ND filter in brighter conditions. Adjust from there depending on how much light is left in the sky.
How do I get rid of people at a crowded sunset location?
A long shutter speed does most of the work: anyone moving through a 30-second exposure blurs away almost entirely. Lightroom's people detection can then flag anyone who stood still long enough to still be sharp.
Should I expose for the sky or the foreground in a sunset photo?
Expose for the sky. A RAW file holds far more recoverable detail in a dark foreground than in a blown-out sky, so protect the highlights first and lift the shadows back in Lightroom afterward.
How can I tell how much time is left before the sun sets?
Hold your hand at arm's length with your fingers together and count how many finger-widths fit between the sun and the horizon. Each finger-width is roughly 15 minutes.
Explore More From Photo Serge
Want to go further with your landscape photography? Here are more guides:
- Sunset Photography Tips: How to Capture Stunning Sunset Photos Every Time
- Lightroom Editing for Beginners: Where to Start (The Natural Drama Formula)
- How to Remove Anything From a Photo: Dust, People, Reflections, and Wires
