
The #1 Lightroom Retouching Mistake: How to Fix Mask Halos and Fringing
If there's one thing that gives away an edited photo instantly, it's a halo. That thin, glowing (or dark) ring around a mountain ridge, a rooftop, or the edge of a tree line, right where a mask meets the rest of the image. I see it constantly in photos people send me for feedback, and for years I made the exact same mistake myself. It's the single most common retouching error I come across, and it's almost always fixable in seconds once you know where to look.
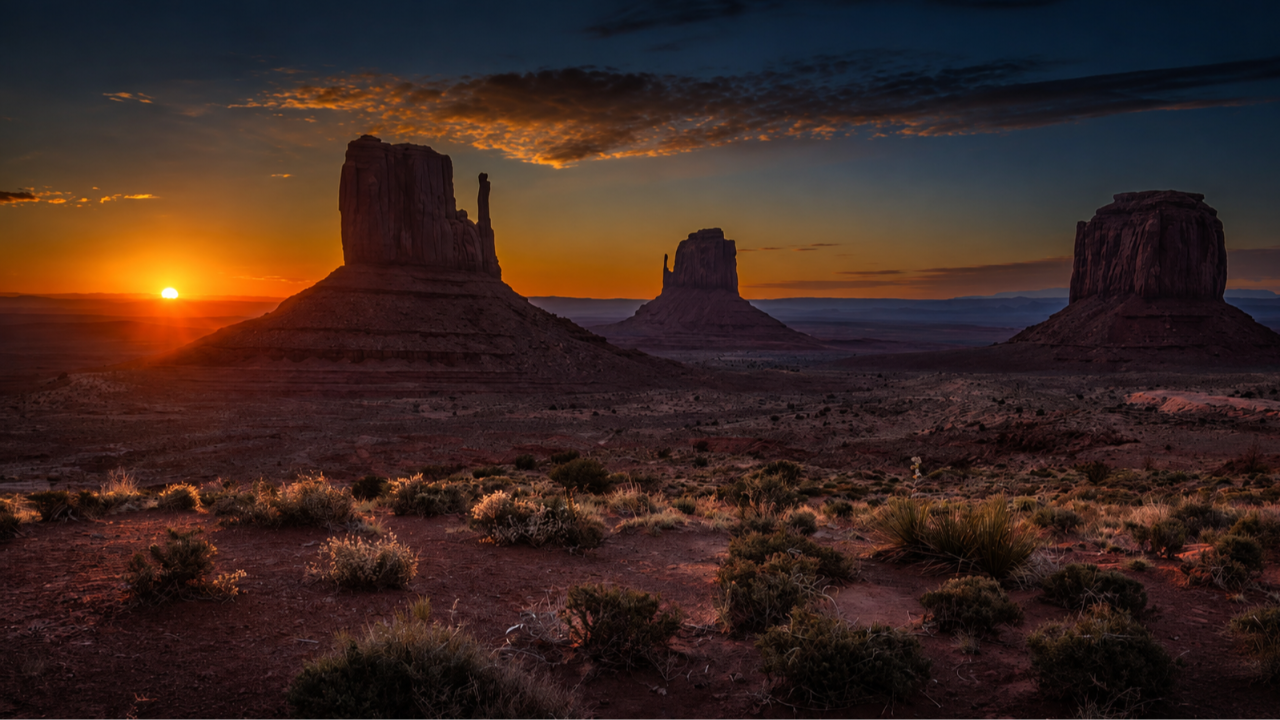
In this tutorial I'm breaking down exactly why Lightroom masks create these halos and fringes in the first place, and how two controls, Feather and Edge, fix the problem for good. I'll walk through a genuinely difficult photo from Monument Valley to show it in action.

Why Lightroom Masks Create Halos and Fringes
Every mask you create in Lightroom, whether it's the AI Sky mask, a Radial Gradient, or a brush, has an edge: the line where your adjustment stops affecting the photo. The problem is that a mask edge is rarely a clean, single-pixel line in real life. Skies bleed into mountain silhouettes through a haze of atmosphere. Tree branches break up against the sky in a thousand tiny gaps. When you push an adjustment too hard right up to that boundary, Lightroom has to make a decision about the pixels sitting exactly on the edge, and that's where halos are born.
The stronger your edit, the more visible the halo. A subtle exposure tweak on the sky might hide the seam completely. Push the same sky two stops darker, and suddenly there's a glowing rim tracing every mountain peak.
What Actually Causes the Halo Around Your Mask
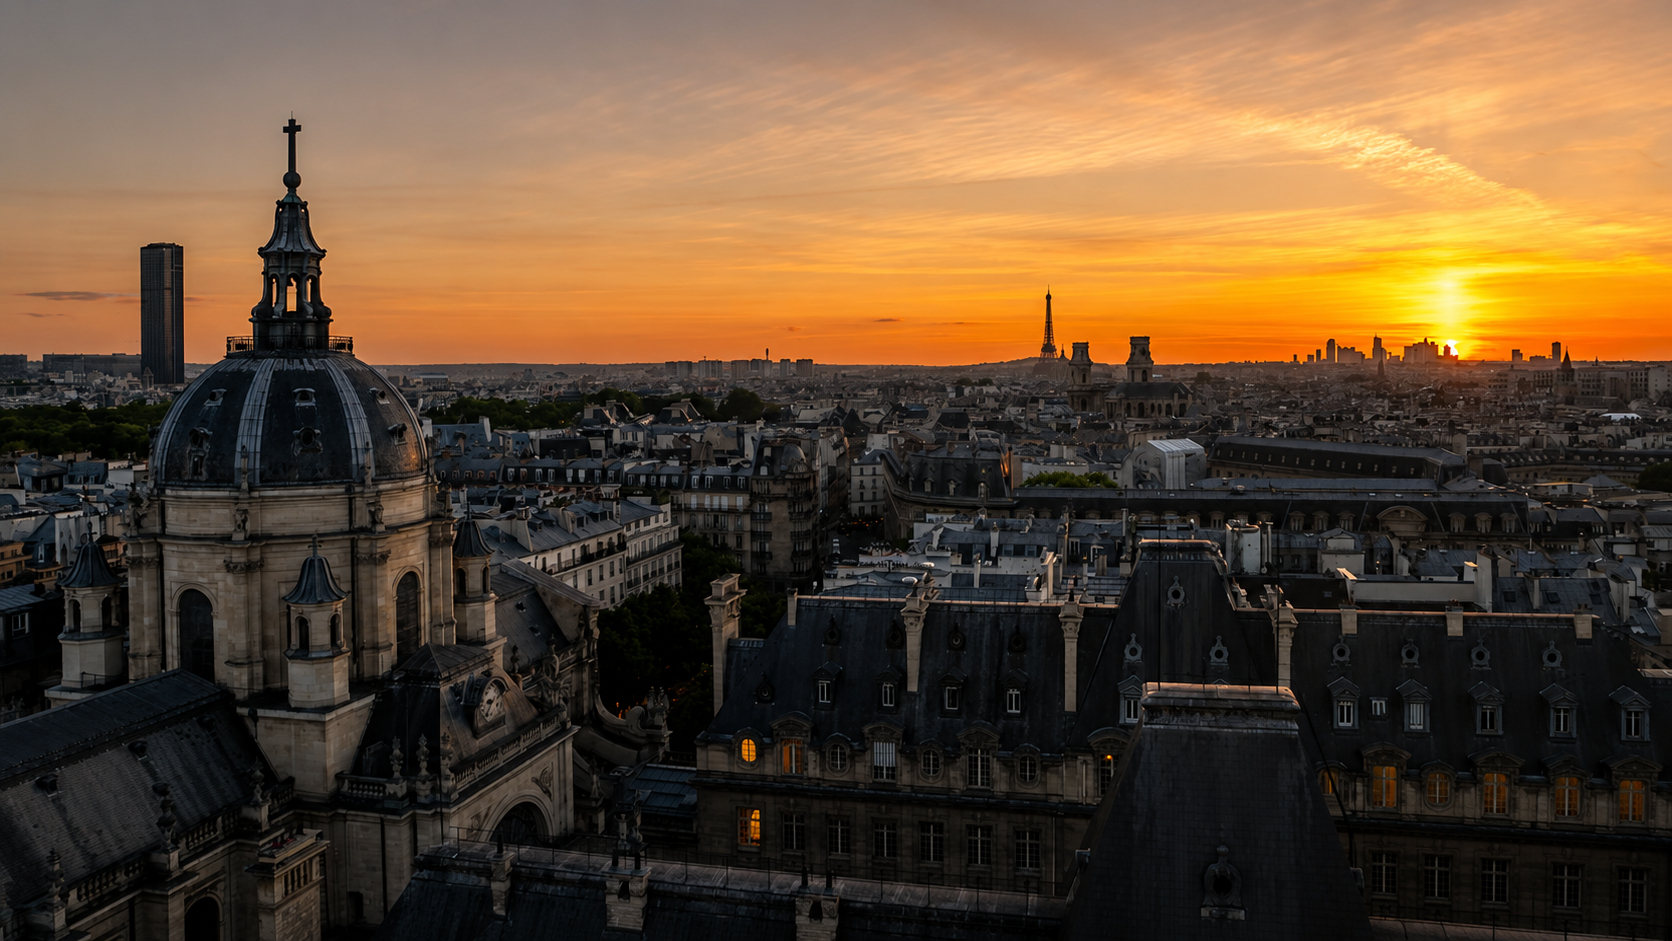
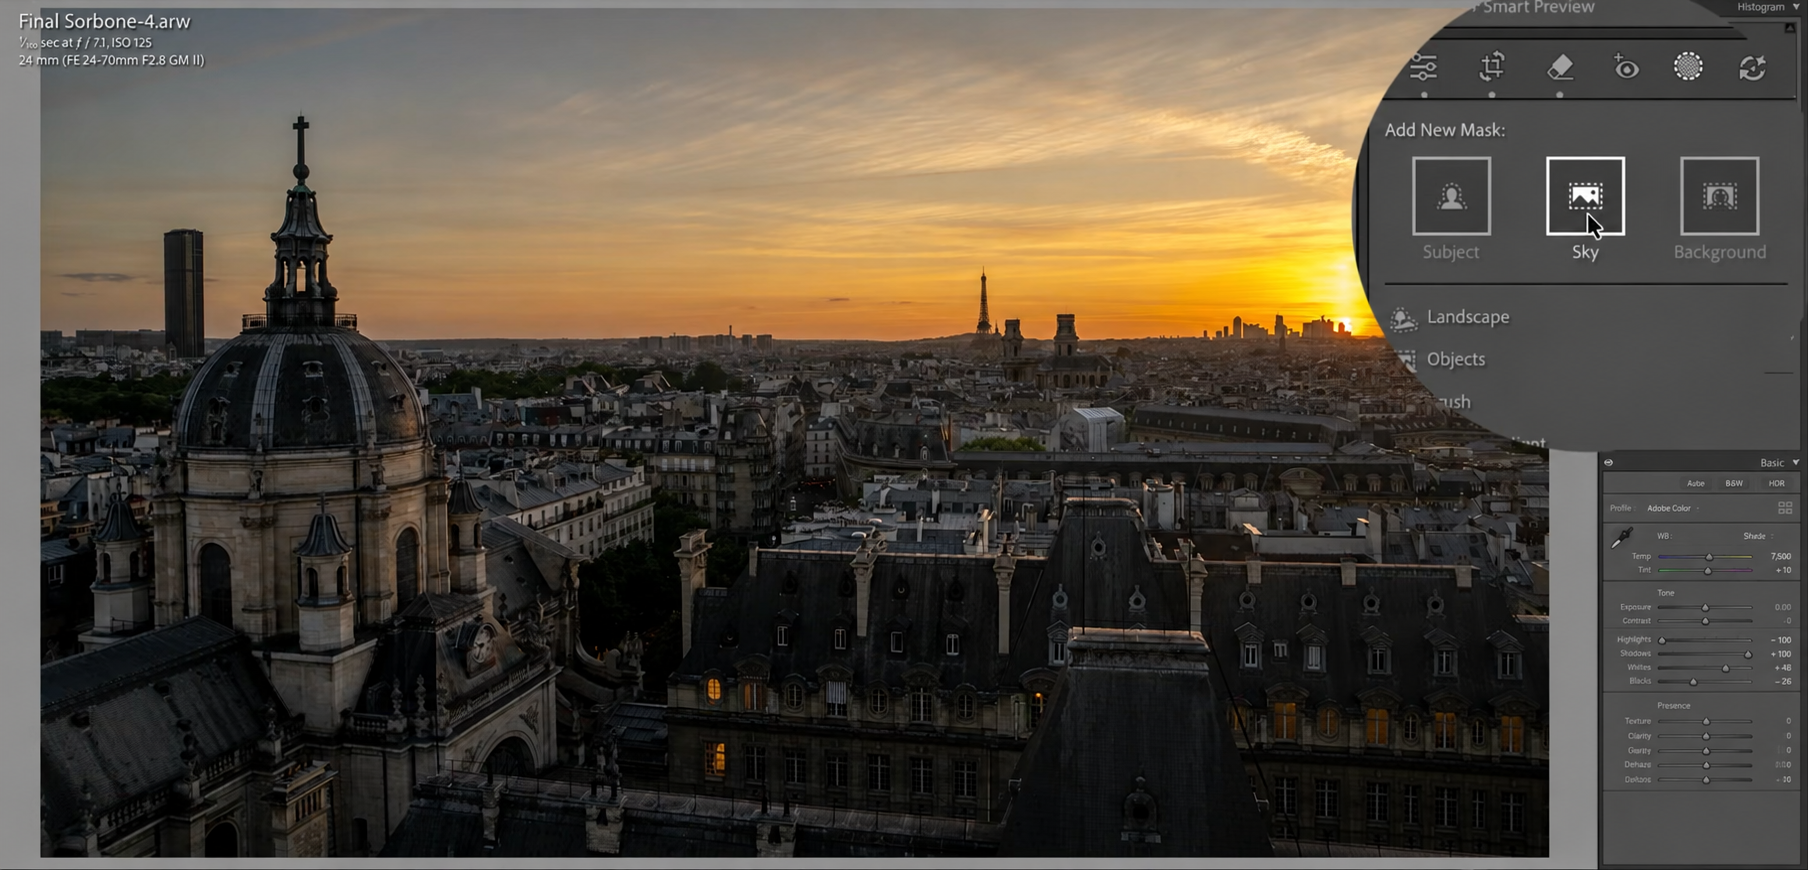
It comes down to contrast at the boundary. Lightroom's AI masks are extremely good at finding the right pixels, sky, architecture, a person, but the transition from "inside the mask" to "outside the mask" is still a hard edge by default. When the two sides of that edge already have different tones, a bright, saturated sky against a dark dome or rooftop, for example, any adjustment you add on one side pushes that natural contrast even further, and the eye reads it as an outline.
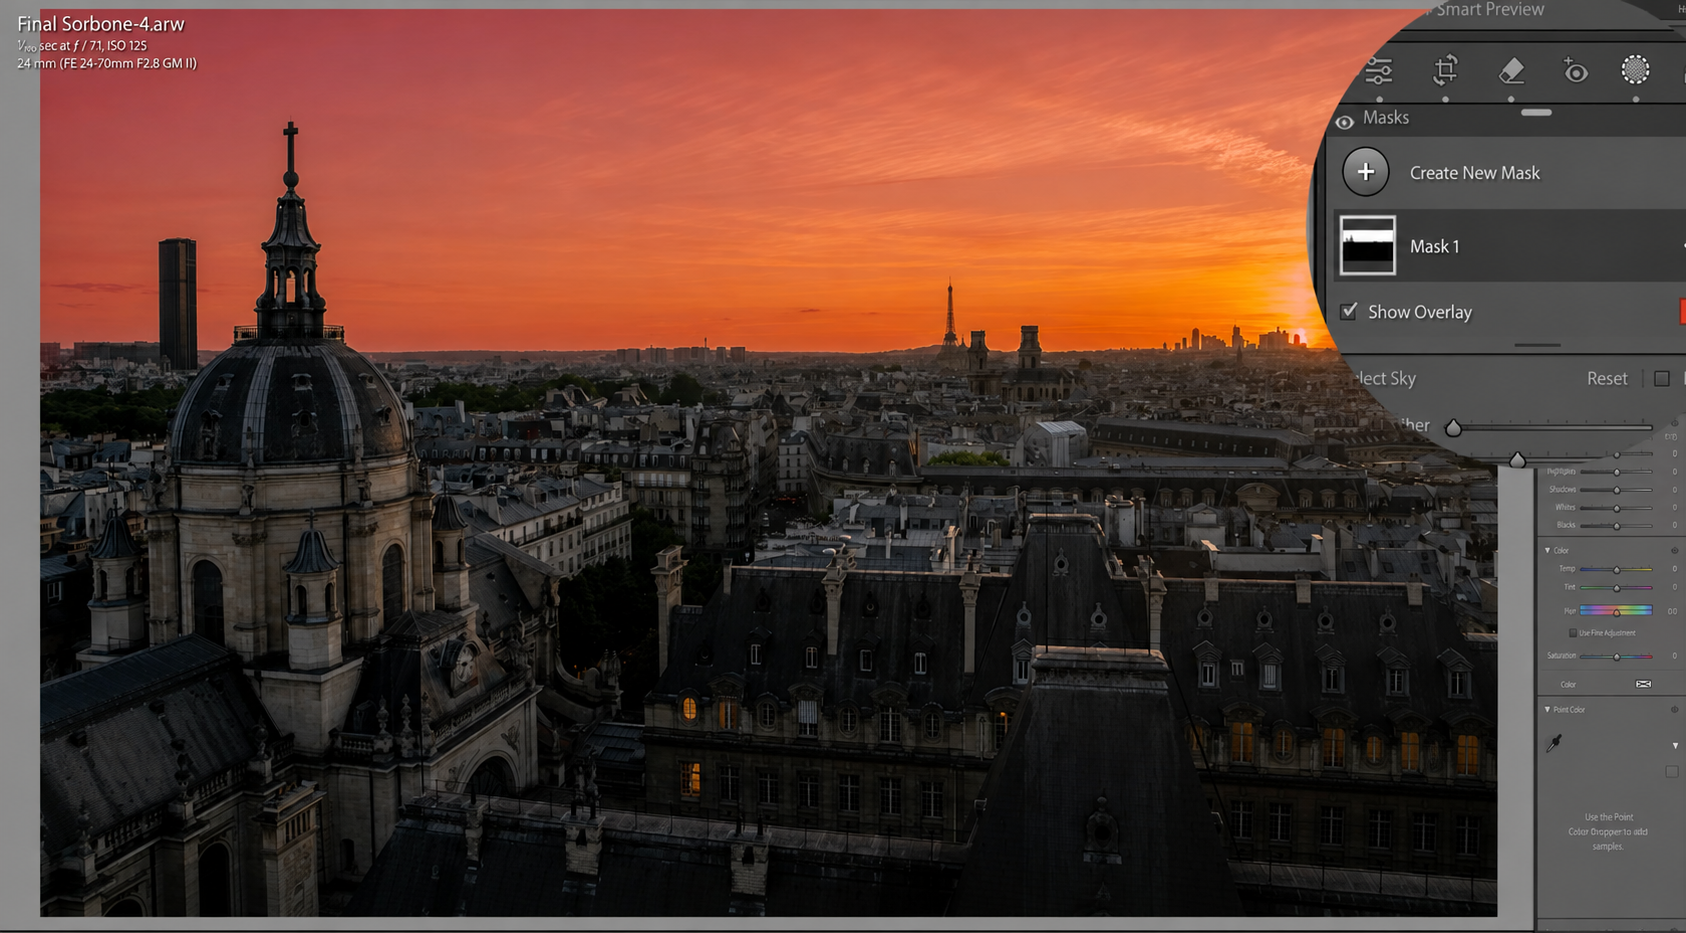
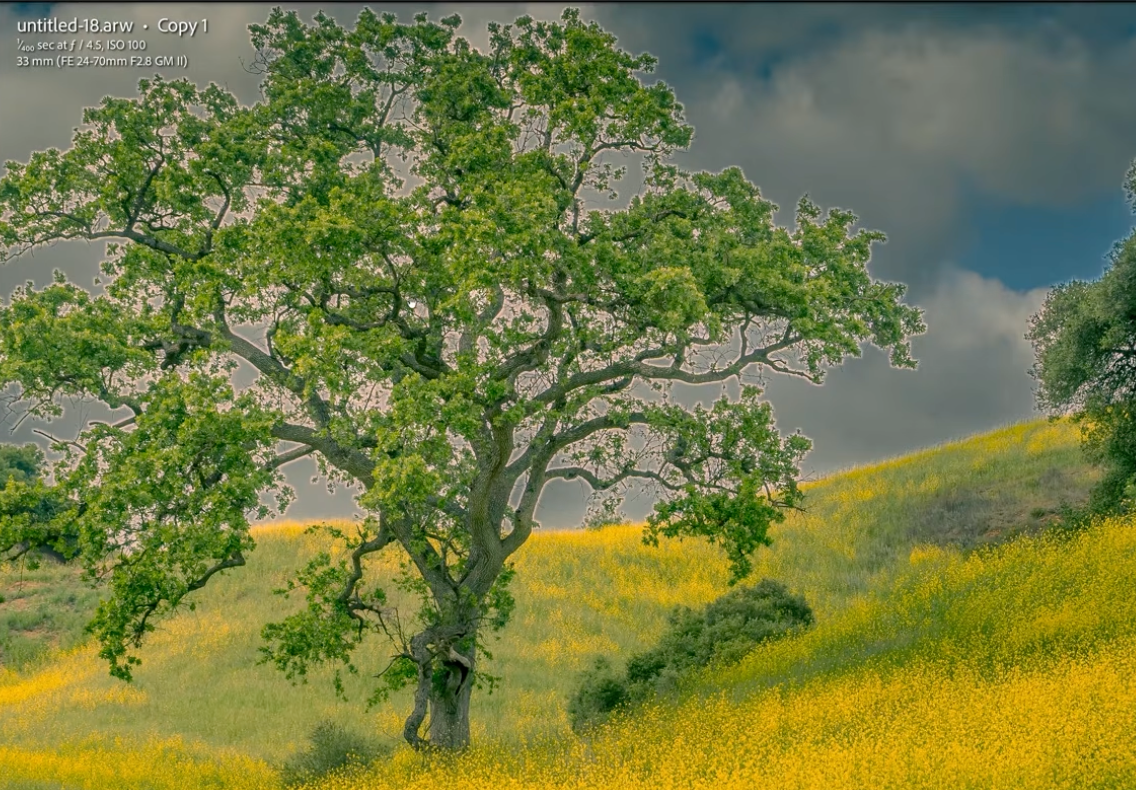
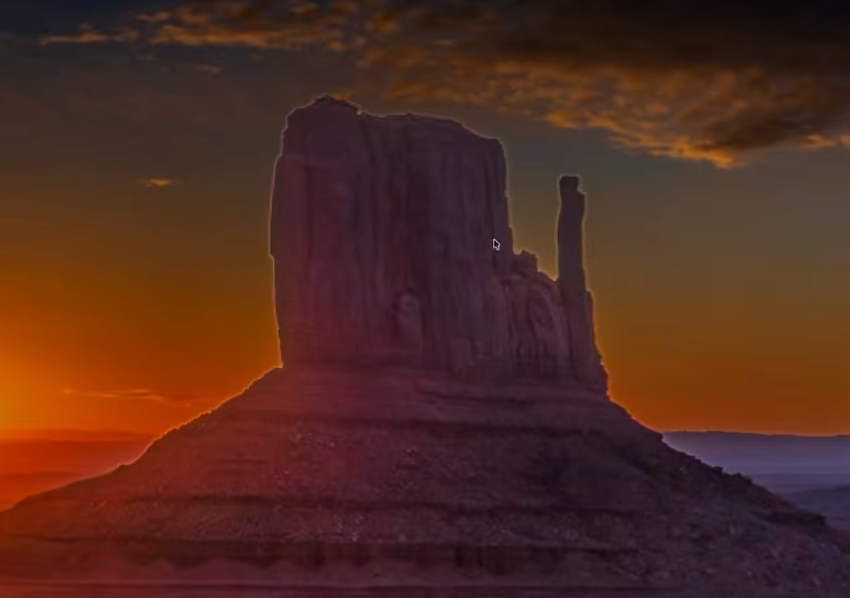
This is also why halos show up worse on some photos than others. A soft scene like a tree against a gently clouded sky, where the tones on both sides of the edge are already close, barely shows it. A crisp blue sky meeting a sharp, dark mountain ridge at sunset (exactly the kind of shot I love shooting) is a halo magnet.
How to Fix Fringing With the Feather Slider
The first tool to reach for is Feather. It softens the transition between the inside and the outside of your mask, spreading the edge over a small range of pixels instead of a hard line. Increase it, and the boundary between your adjustment and the rest of the photo blurs just enough that the eye stops registering it as a line at all.
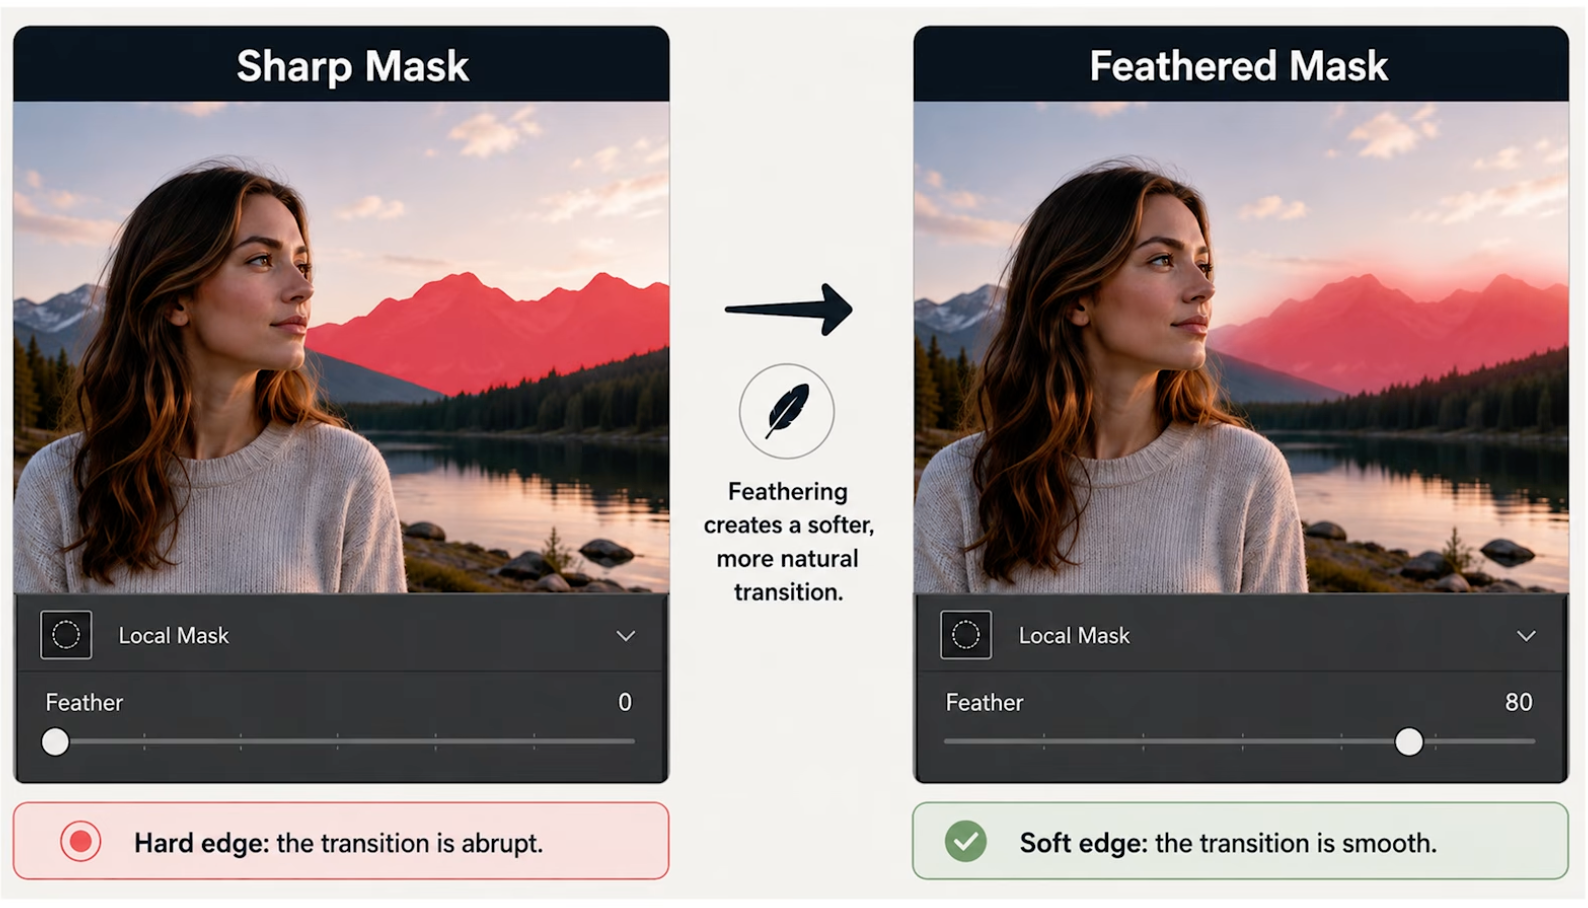
The trap is overdoing it. Too much Feather and you start bleeding your adjustment into areas you never meant to touch, brightening the top of a mountain because the sky mask's soft edge crept downward. The right amount is almost always less than you'd expect: enough to kill the visible seam, not so much that the effect drifts off target.
The New Edge Control: Refining Your Selection
Feather alone doesn't always solve it, especially on complex, detailed edges like tree lines or rocky ridges. That's where Lightroom's Edge control comes in. Where Feather softens the transition, Edge lets you shift the actual boundary of the mask itself, pulling it tighter to the real edge of the subject or pushing it slightly outward, so the mask hugs the terrain instead of cutting across it in a straight, artificial-looking line.
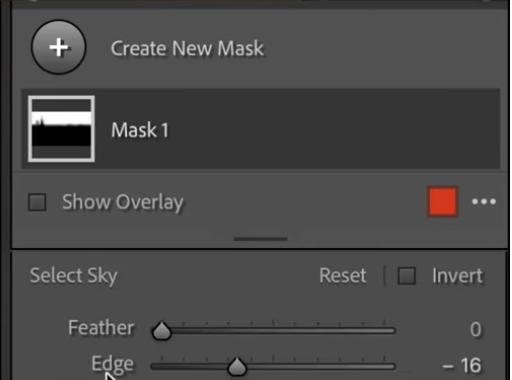
Used together, Feather and Edge solve two different halves of the same problem: Edge gets the boundary sitting in the right place, and Feather makes sure that boundary doesn't read as a hard line once you do.
How to Build Smooth Local Color Adjustments
Once the edge itself is under control, the same principle applies to any local color or tone adjustment you stack on top: sky color grading, a warmth boost on architecture, a contrast push on foreground rock. Build the adjustment gradually and check the edge at each step rather than pushing one slider to the extreme and hoping Feather cleans it up afterward. A halo that was invisible at a mild setting can reappear the moment you add a second or third adjustment on the same mask.
Fixing a Genuinely Difficult Photo: Monument Valley
To show this isn't just a theoretical fix, I worked through one of my own Monument Valley photos, a scene with exactly the ingredients that cause the worst halos: a bright sky, hard mountain silhouettes, and scattered vegetation along the bottom of the frame.
Starting From an Underexposed File
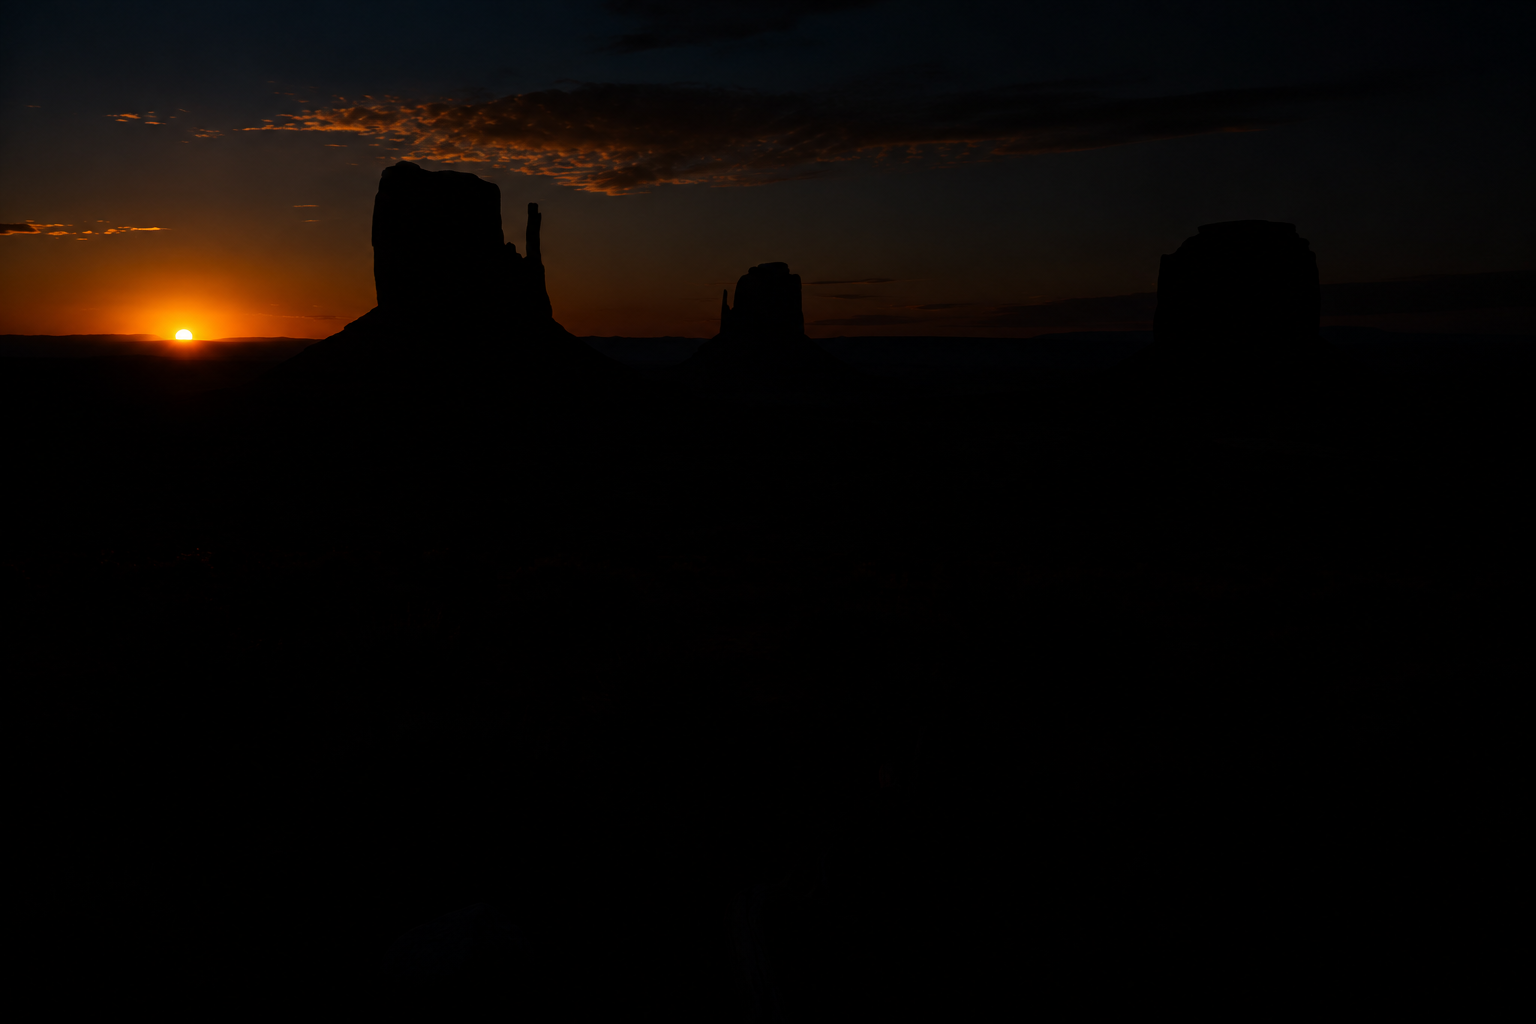
Like most of my landscape shots, this one was captured slightly underexposed on purpose, protecting the highlights in the sky so I could recover shadow detail later without losing anything. That's a good habit in the field, but it also means the sky-to-mountain contrast is already strong before I've touched a single mask, exactly the condition that produces halos if I'm not careful.
How Over-Editing Creates Fringing
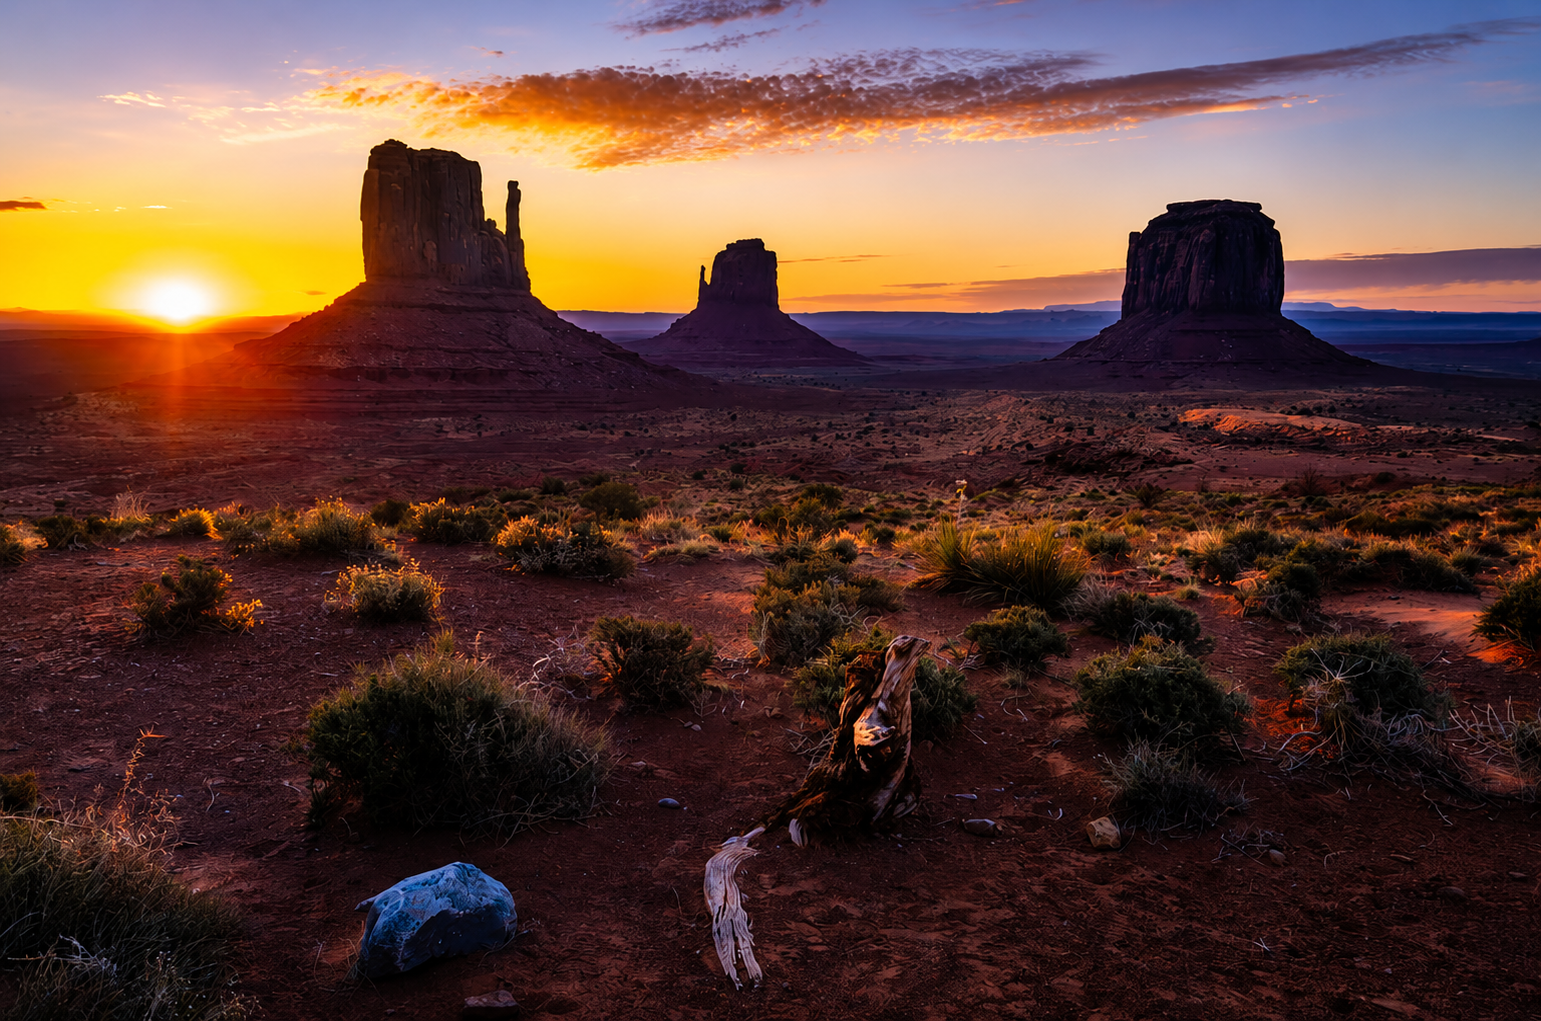
My first pass on this photo pushed the sky mask too hard: darker, more saturated, more contrast, all in one move. On a boundary this crisp, that's exactly the setup for the same kind of glowing rim I showed you earlier, a thin bright line tracing every peak. It's a useful reminder that fringing isn't really a Lightroom bug, it's a symptom of asking one mask to do too much at once.
Fixing the Sky Mask
Dialing back the sky adjustment slightly and then applying Feather and Edge together cleaned up the ridge line almost completely. The sky still reads as dramatically graded, but the transition into the mountains disappears.
Removing Fringes Around the Mountains
The mountains themselves needed a second pass with their own mask; darkening them slightly to add depth without letting that adjustment bleed back up into the sky. Same principle, same two controls, applied to the opposite side of the same boundary.
Using Feather on Vegetation
The scrubby vegetation along the bottom of the frame is the hardest edge in the whole photo: hundreds of tiny, irregular gaps between the sky (or ground) and the plants. A hard mask edge here looks obviously wrong almost instantly. A slightly higher Feather value on this mask, more than I used on the sky or mountains, blends it naturally without erasing the texture of the plants themselves.
The Final Before and After
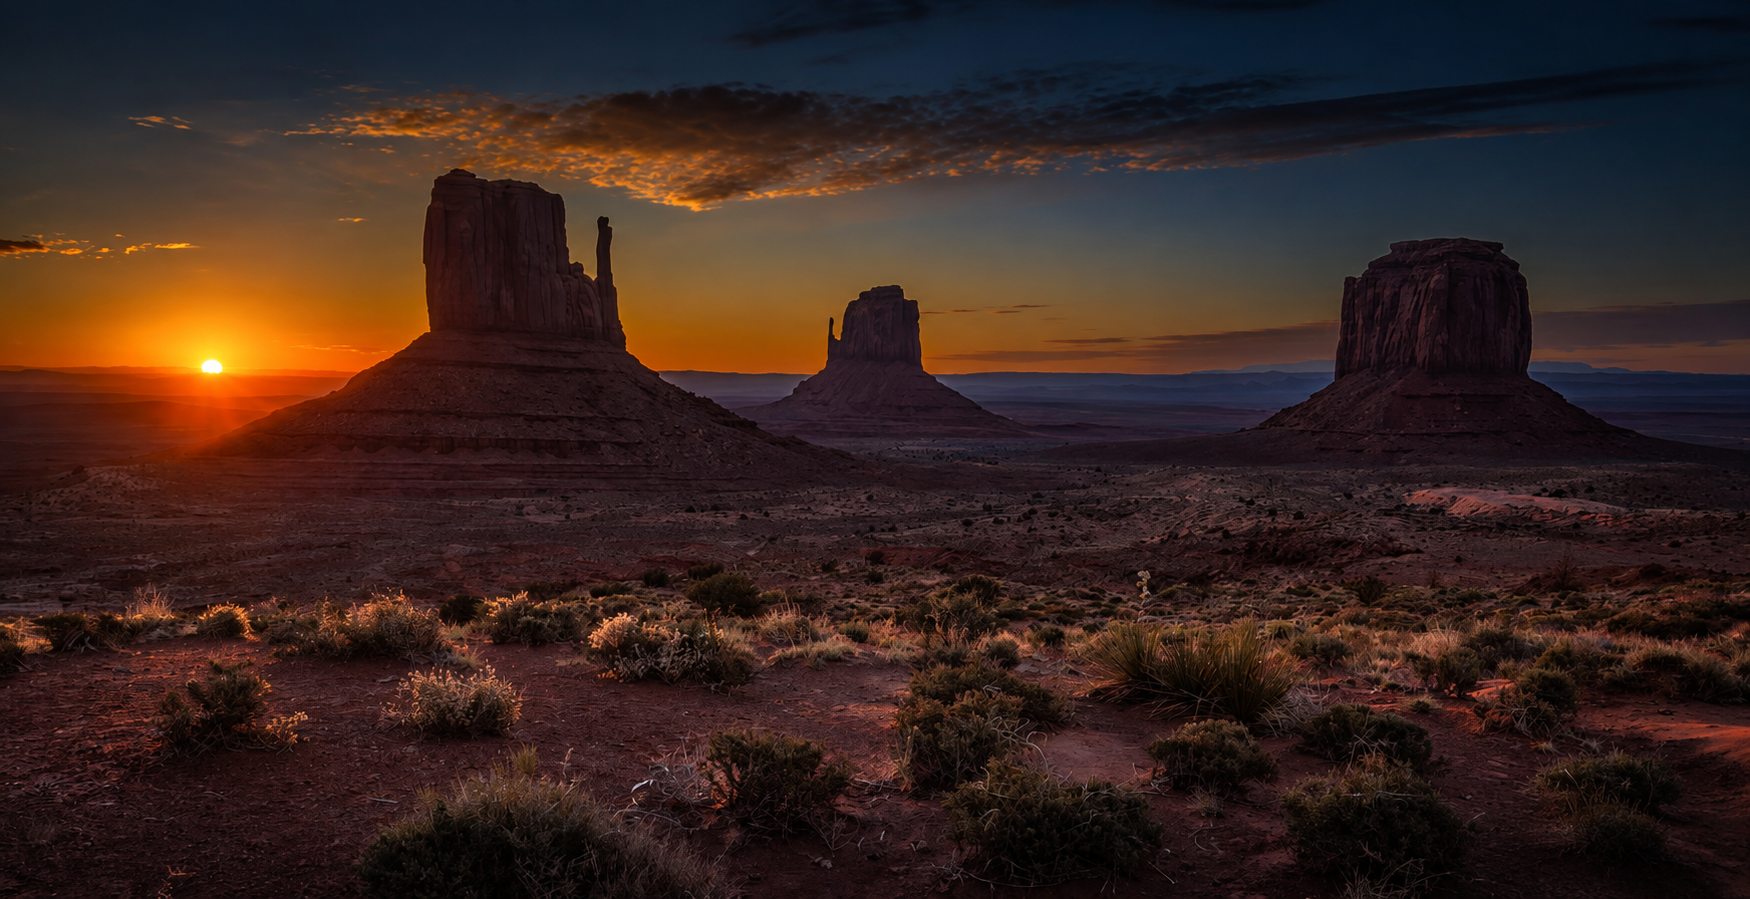
Put all three fixes together, sky, mountains, and vegetation, and the difference is dramatic: the same dramatic, contrasty edit as my first attempt, but with every mask boundary invisible. Nothing about the final image reads as "retouched," even though every part of it was.
Before
After
The One Lightroom Setting to Always Check
If you take away one habit from this: before you call any masked edit finished, zoom in on the mask boundary itself, not the whole photo, the actual line where your adjustment ends. It takes five seconds and it's the difference between a photo that looks professionally graded and one that quietly gives itself away.
Frequently Asked Questions
Why do my Lightroom masks create a halo or bright ring around the edge?
It happens when a strong adjustment meets a hard mask boundary next to an area of naturally high contrast, like a bright sky against a dark mountain. The eye reads that boundary as an outline. Increasing Feather and using the Edge control to tighten the mask to the real subject edge both reduce it.
What is the difference between Feather and Edge in Lightroom masking?
Feather softens the transition between the inside and outside of a mask, spreading it over a range of pixels instead of a hard line. Edge shifts where the mask boundary itself actually sits, pulling it tighter to the real edge of the subject. Used together they solve most halo and fringing problems.
How much Feather should I use to avoid halos without ruining my mask?
Start lower than you think you need and increase gradually while watching the edge, not the whole image. Too much Feather bleeds the adjustment into areas outside the intended mask. The right amount is the minimum that makes the seam disappear.
Why does fringing get worse the more I edit a photo?
Because it's cumulative. A halo that's invisible after one mild adjustment can reappear once you stack a second or third adjustment on the same mask edge. Build local adjustments gradually and re-check the boundary after each one, rather than pushing a single slider to the extreme.
Explore More Lightroom Tutorials
Want to keep building your editing skills? Here are more step-by-step guides:
- The Best Masking Tool in Lightroom: A Step-by-Step AI Masking Guide
- 10 Lightroom Secrets That Will Instantly Improve Your Photos
- Lightroom Editing for Beginners: Where to Start
- I Waited 15 Years for This Monument Valley Shot
- The Best Photography Locations in Antelope Canyon and Monument Valley
